先前有介紹過一款文章目錄外掛「Easy Table of Contents」,這次要介紹另外一款外掛「LuckyWP Table of Contents」,這兩款相較起來差不多,依照自己喜好選擇即可。
Easy Table of Contents 特點:使用上比較輕盈、樣式簡單
LuckyWP Table of Contents 特點:外觀設計選擇樣式多

外掛資訊
作者: LuckyWP
網址: https://wordpress.org/plugins/luckywp-table-of-contents
版本: 2.1.4
當安裝好外掛後,點選設定 -> 內容目錄
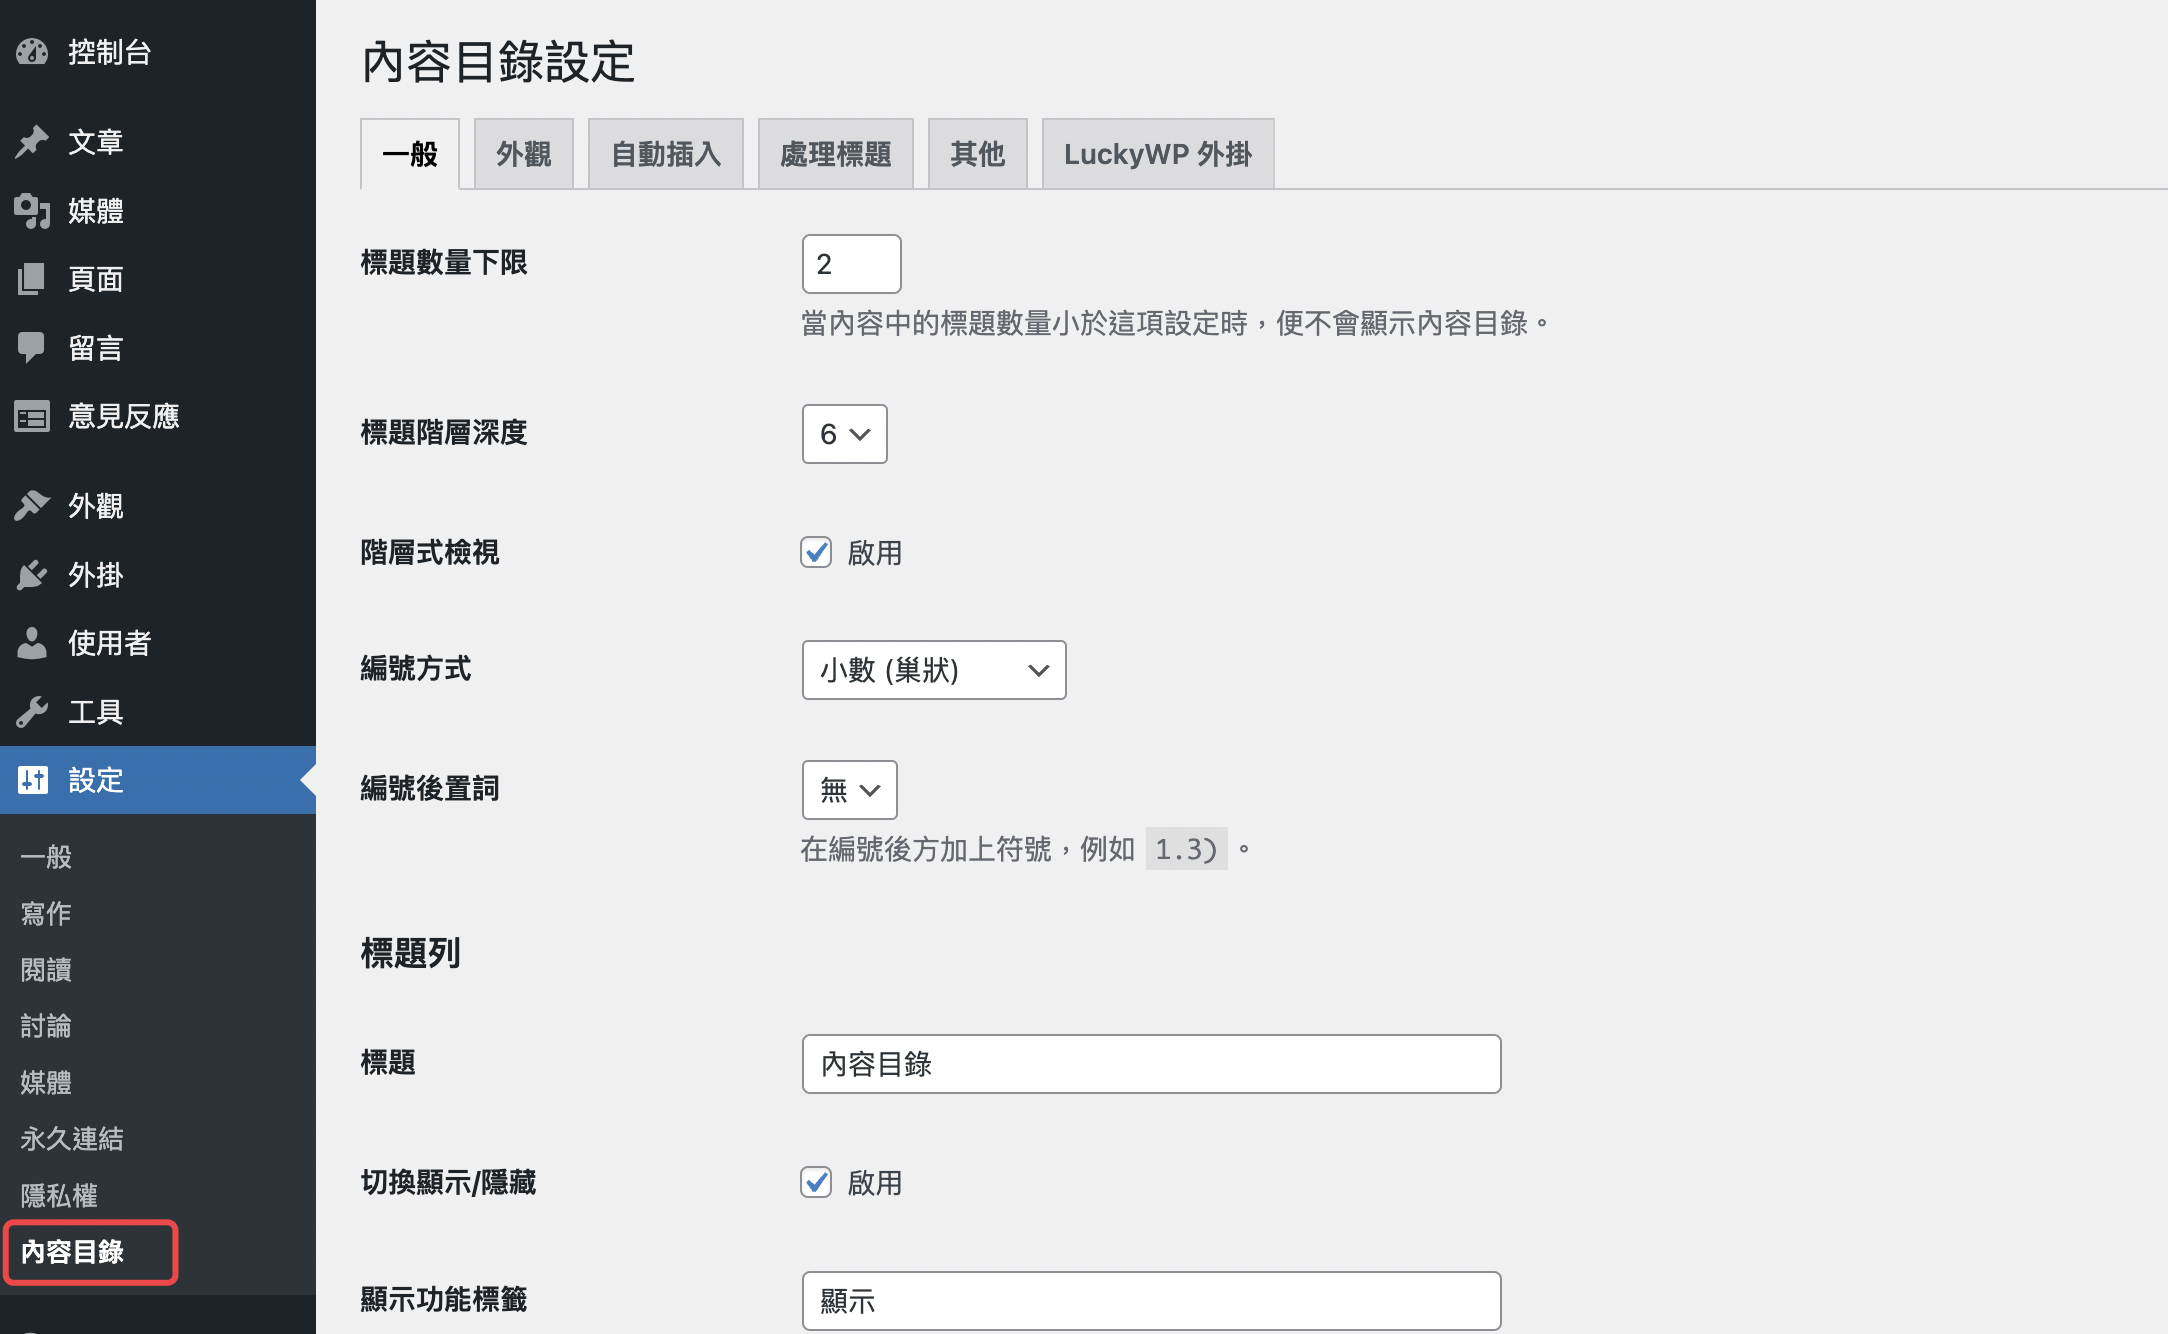
在內容目錄的“一般”中,可以先設定呈現樣式和文字標題,如果不變更也可以直接使用預設的
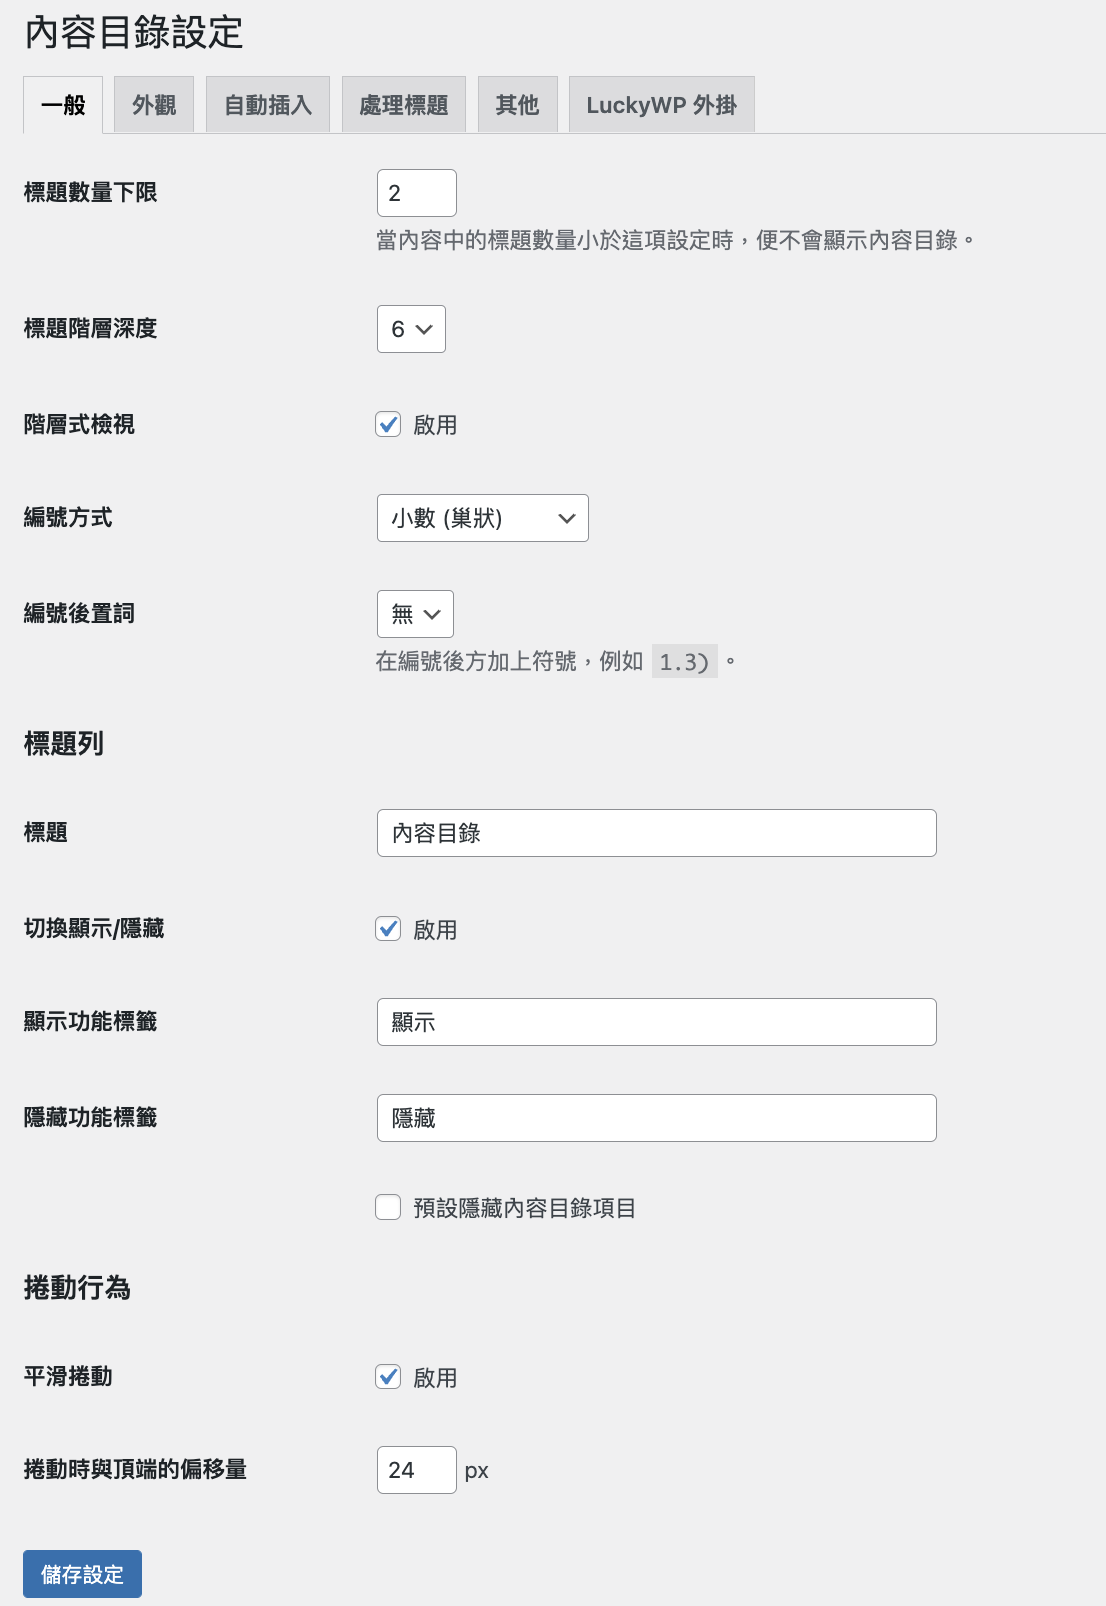
接著切換到外觀,這邊可以字體大小和外觀顏色
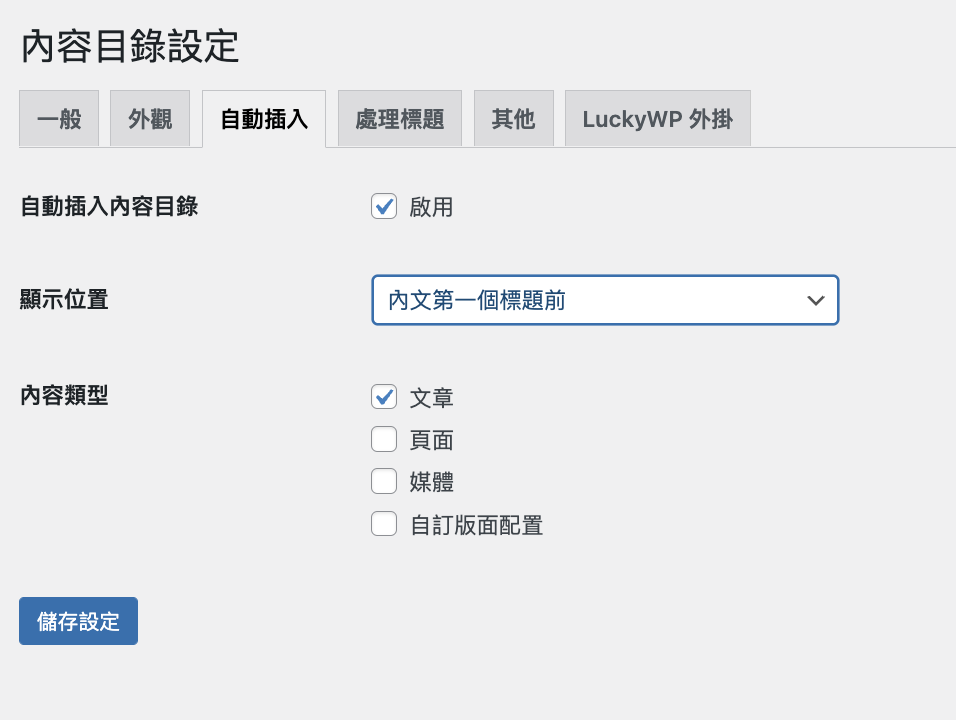
接著切換到 “自動插入” ,這邊一定要將自動插入內容目錄勾選,並點選儲存設定。
當我們文章寫好後就會自動產生目錄,才不需要寫好一篇文章就需要設定一次
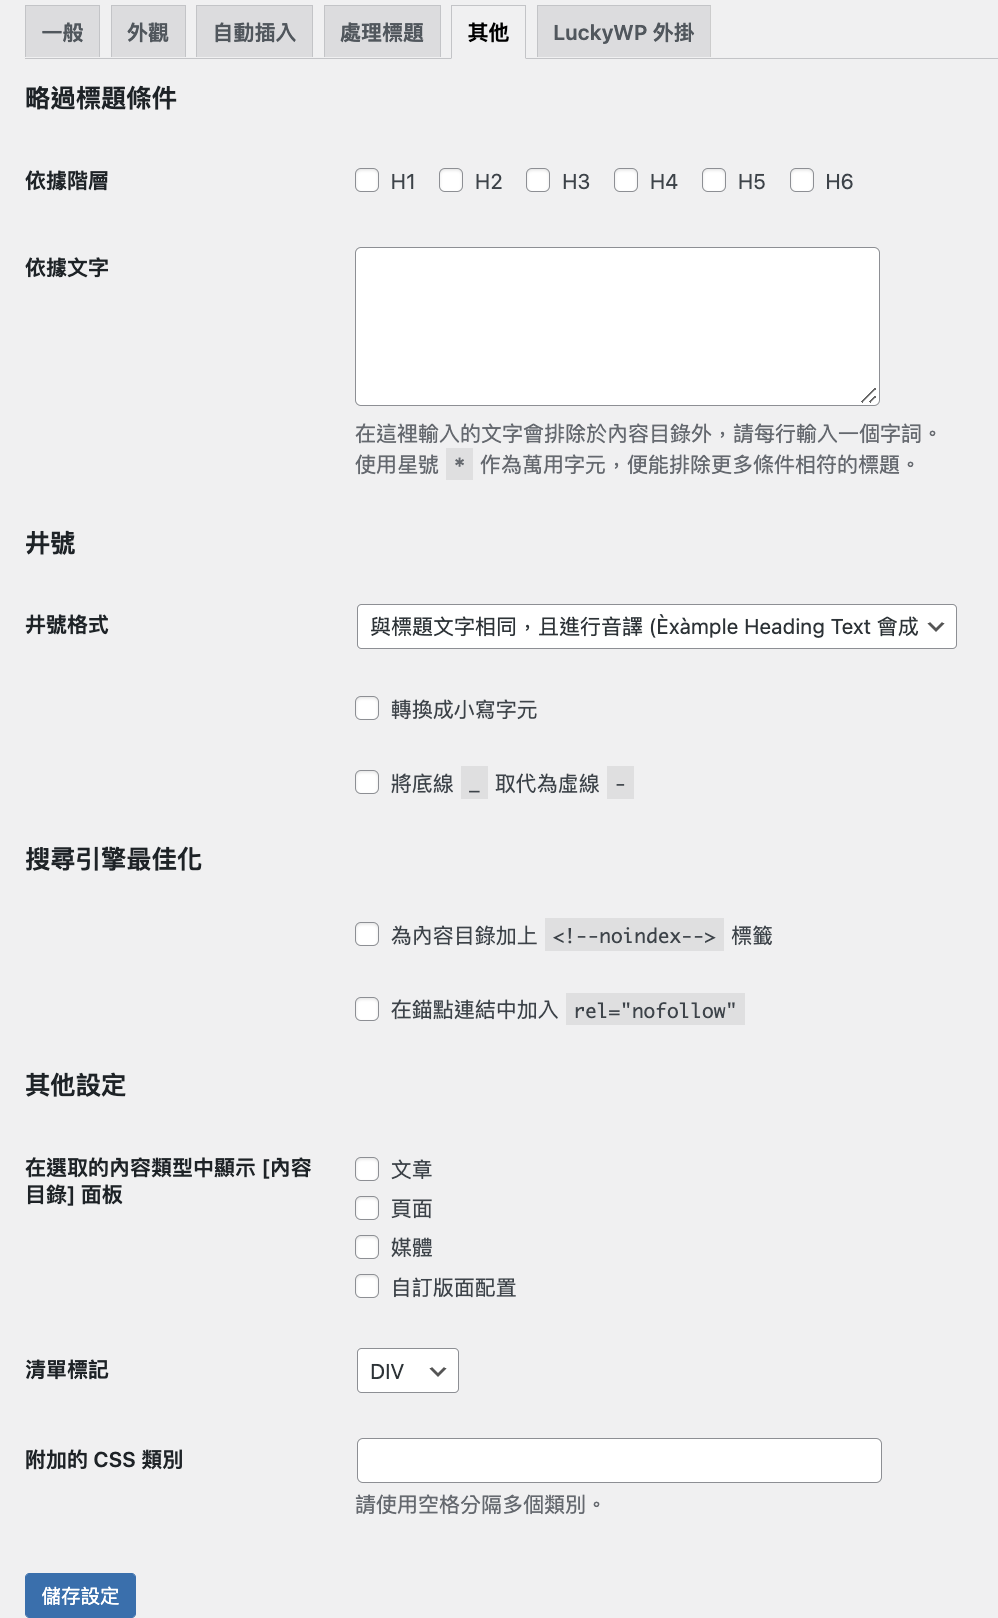
如果要針對部分html標籤做設定,可以到“其他”做調整
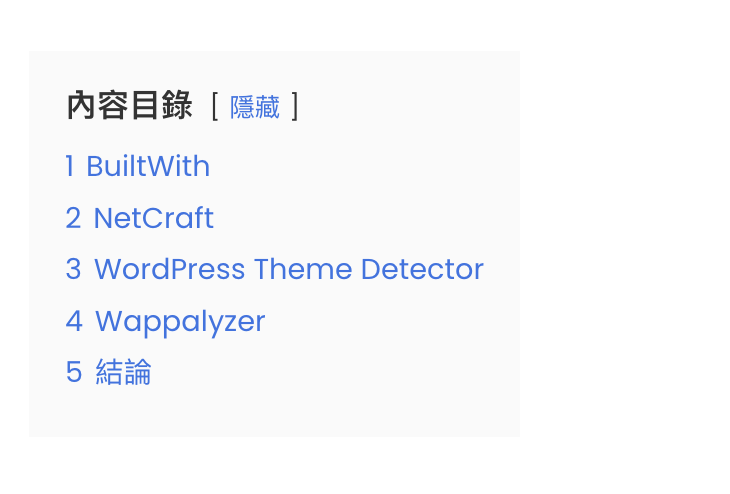
最後下圖是預設所呈現的效果,但是前提是html標籤和文章結構要符合最上方的“一般”設定才會呈現出來
