最近跟從事健身領域的朋友在聊天,剛好討論到一對一預約的問題,一般都會使用Google行事曆之類的工具,但是時間安排容易有衝突問題,所以嘗試找了一下使用其他工具做解決。
這時發現了這一套一對一線上預約的外掛,使用免費版的就可以讓用客戶自行選擇時間,而教練可以透過網站後台看到哪些時段已經被預約了。

外掛資訊
作者: CodePeople
網址: https://wordpress.org/plugins/appointment-hour-booking
版本: 1.3.85
Table of Contents
表單重命名
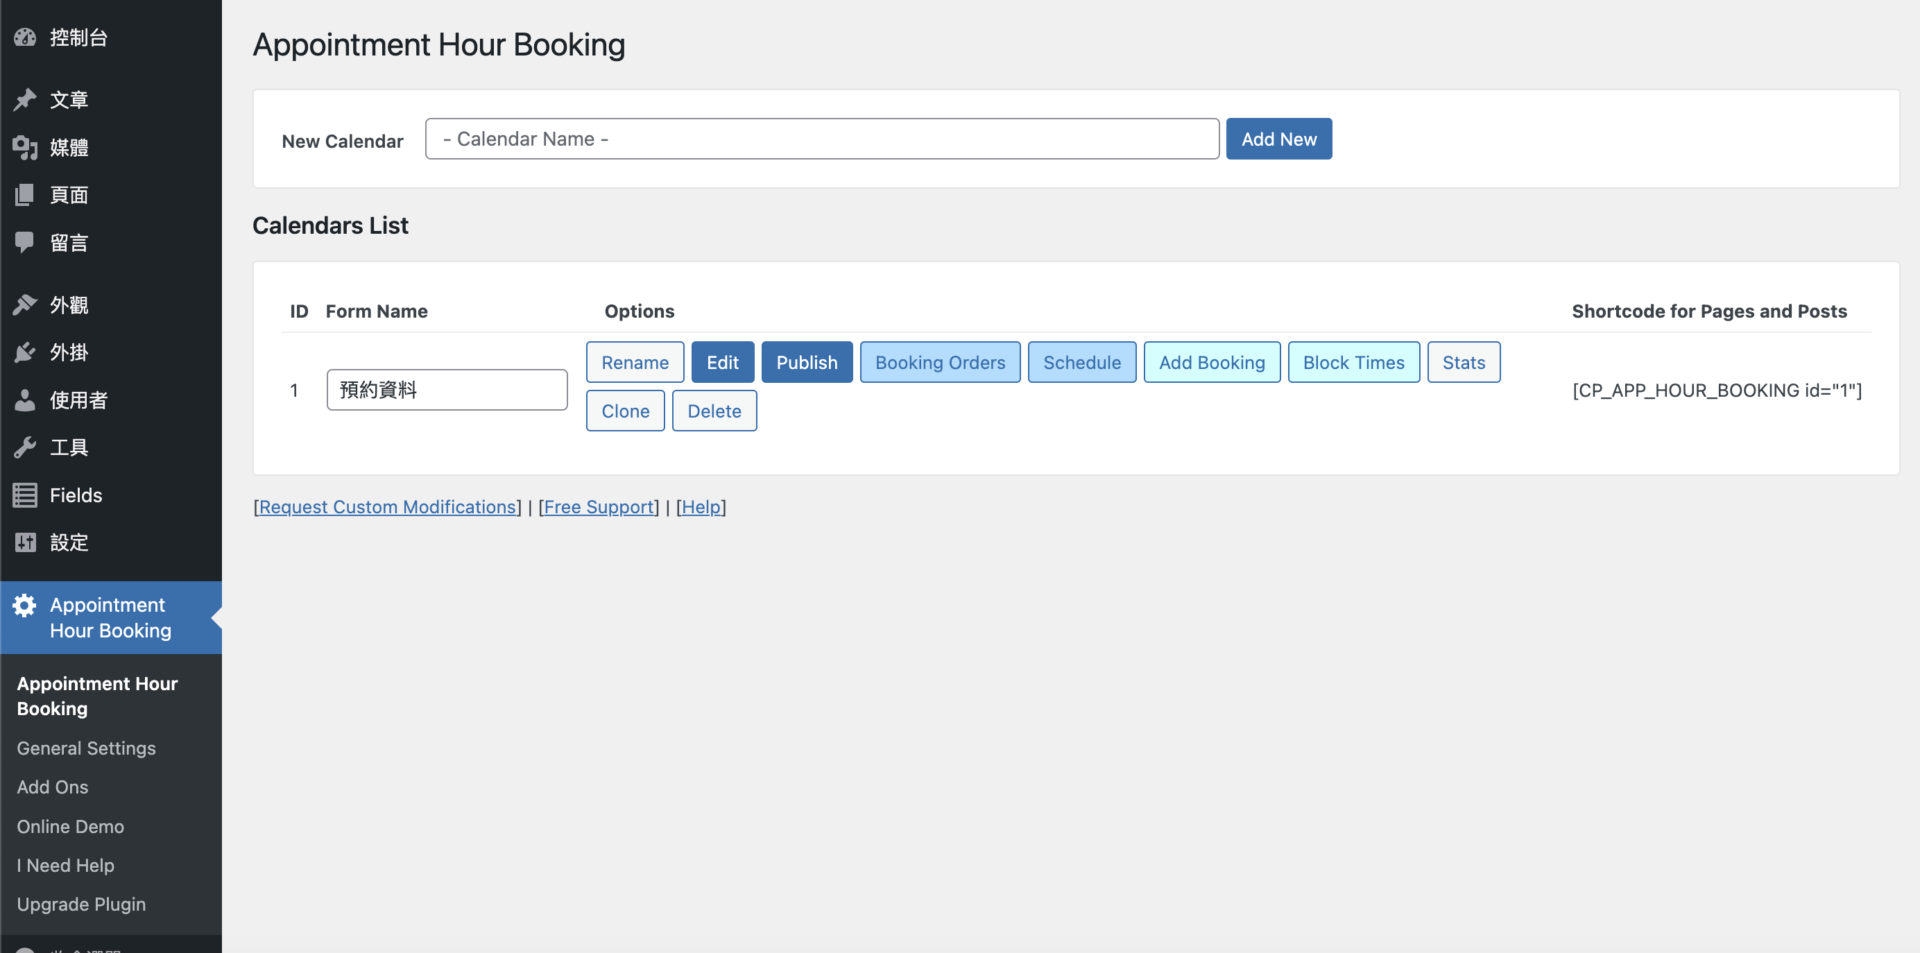
當安裝好外掛後,點選左方的 Appointment Hour Booking
這時我們可以先對Calendars List 裡預設的名稱進行變更,更改後點後Rename
接著點選Edit 進入編輯頁面
預約表單設計
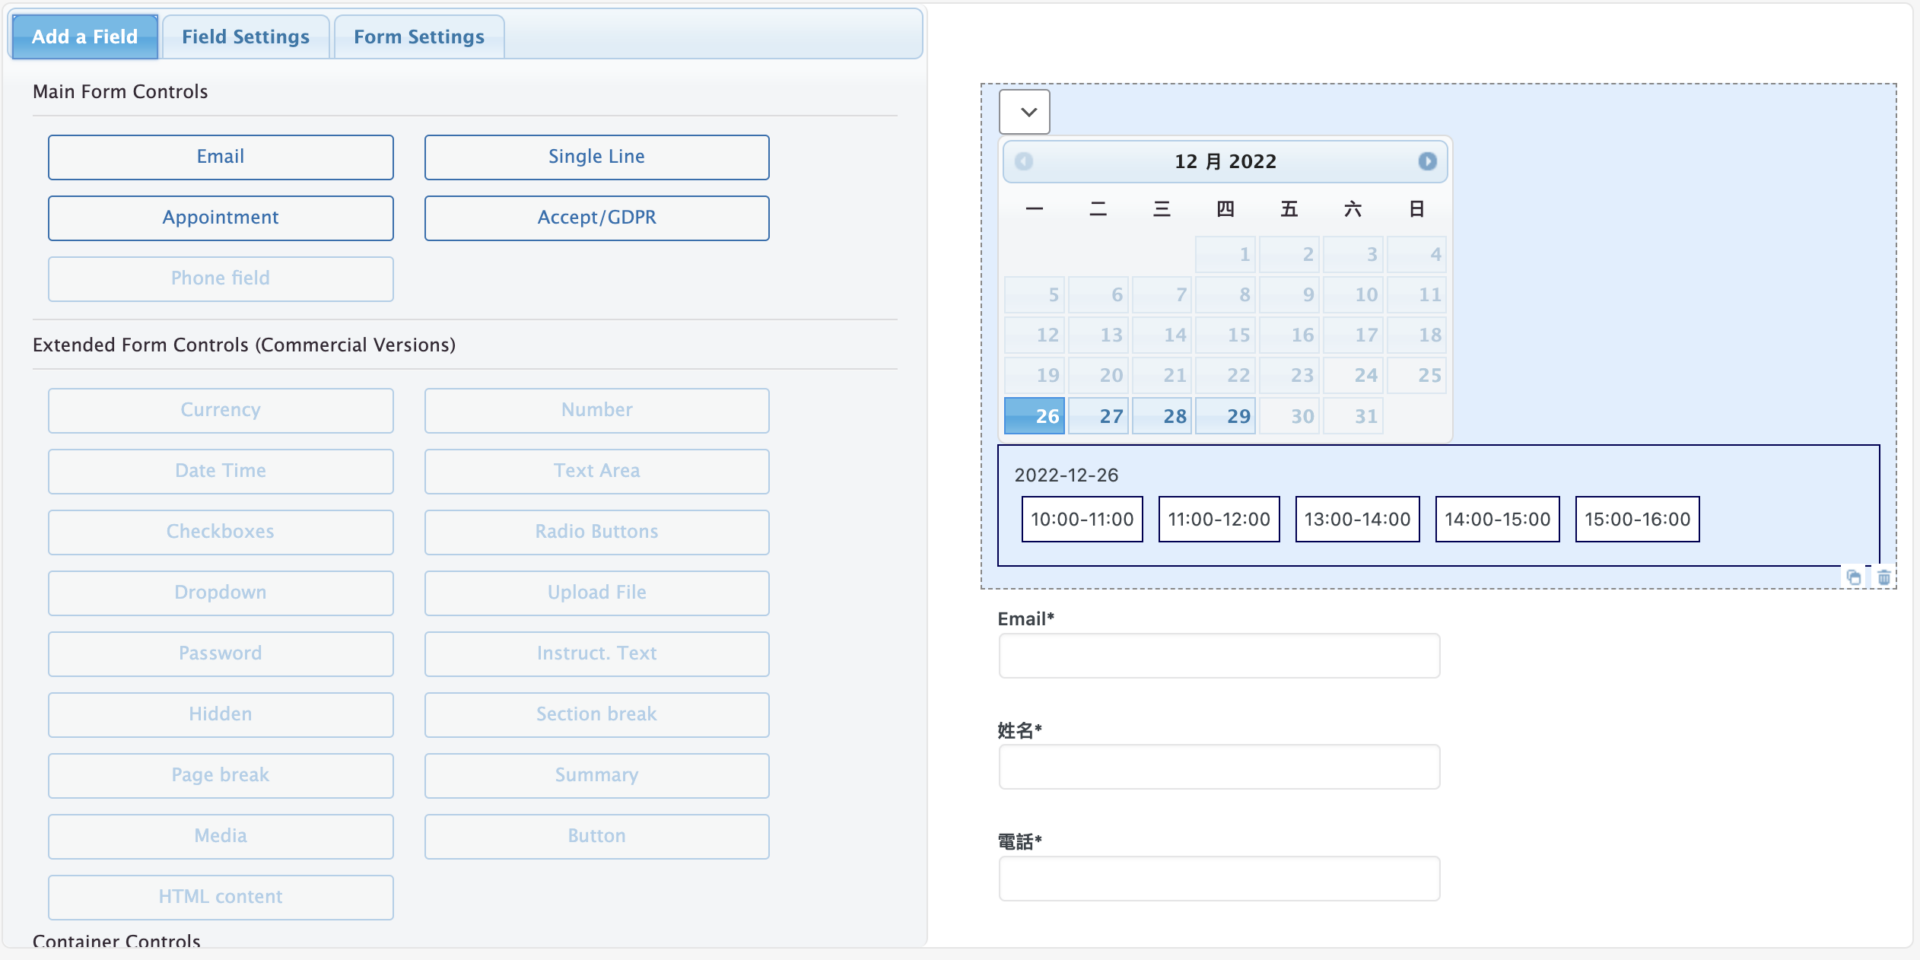
添加欄位 Add a Field
在Add a Field 中免費版的只有提供“Email (電子郵件)”、“Single Line (文字)”、“Appointement (預約)”和“Accept/GDPR (同意內容)”這幾個功能可以讓我們使用。
點擊一下左邊可用的功能就會跳到右方區塊,這時我們就可以任意移動上下順序
欄位設定 Field Settings
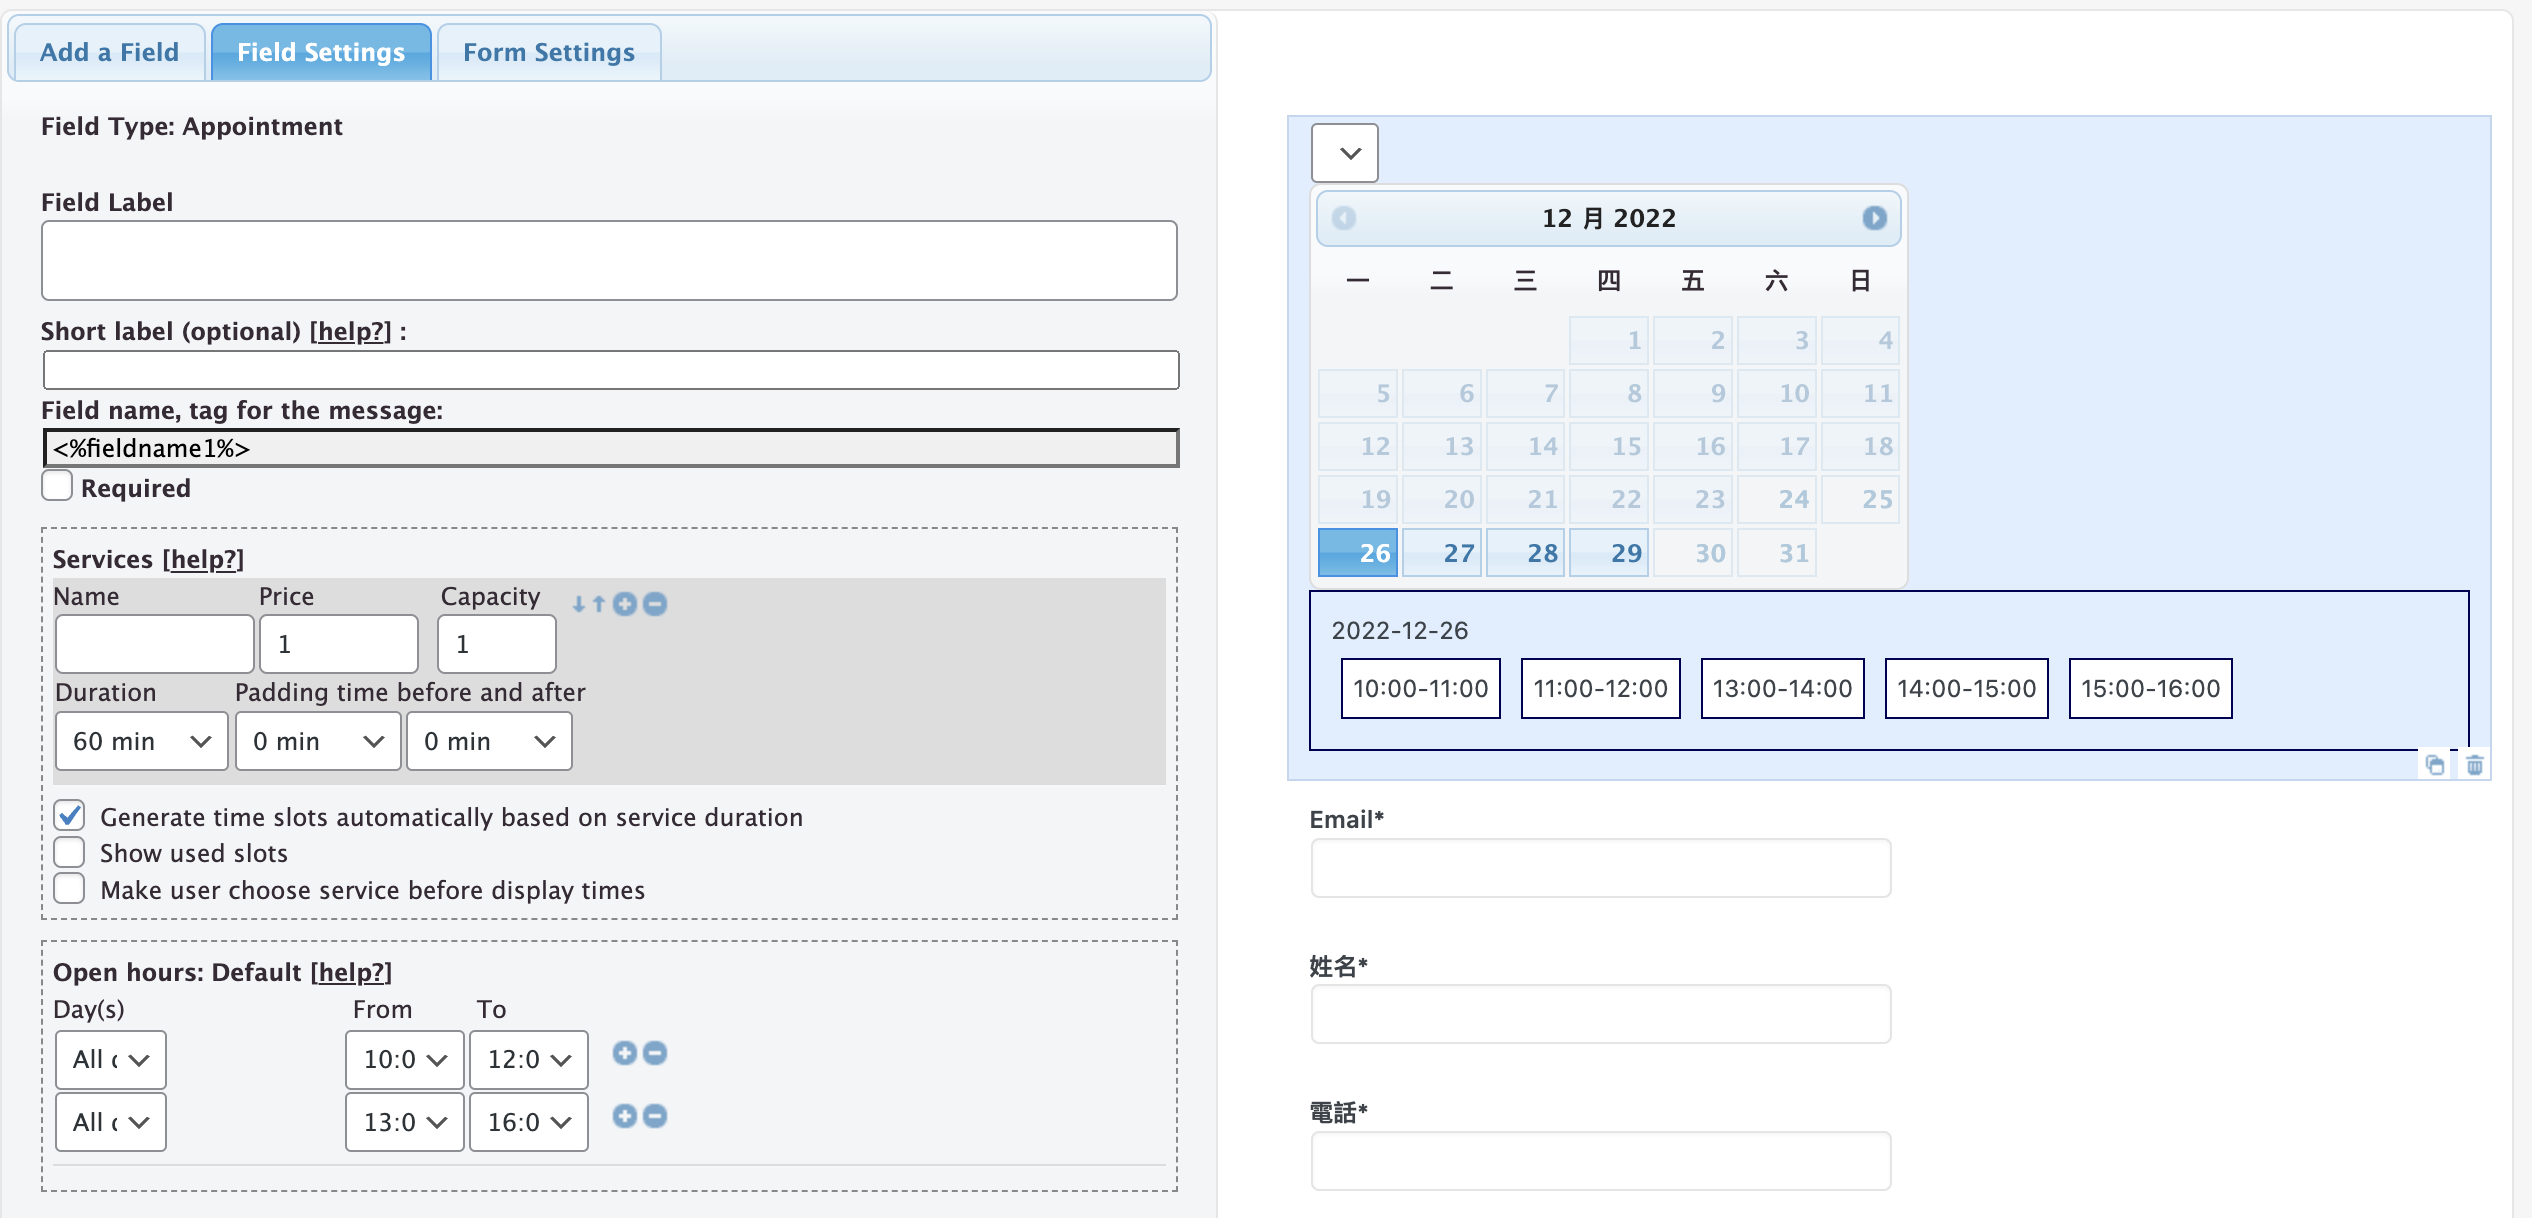
首先我們要設定開放哪些日期可以提供預約,下面是我們會常用到的功能
Duration:前後時段間隔幾分鐘
Open hours:Default:預設可預約時段
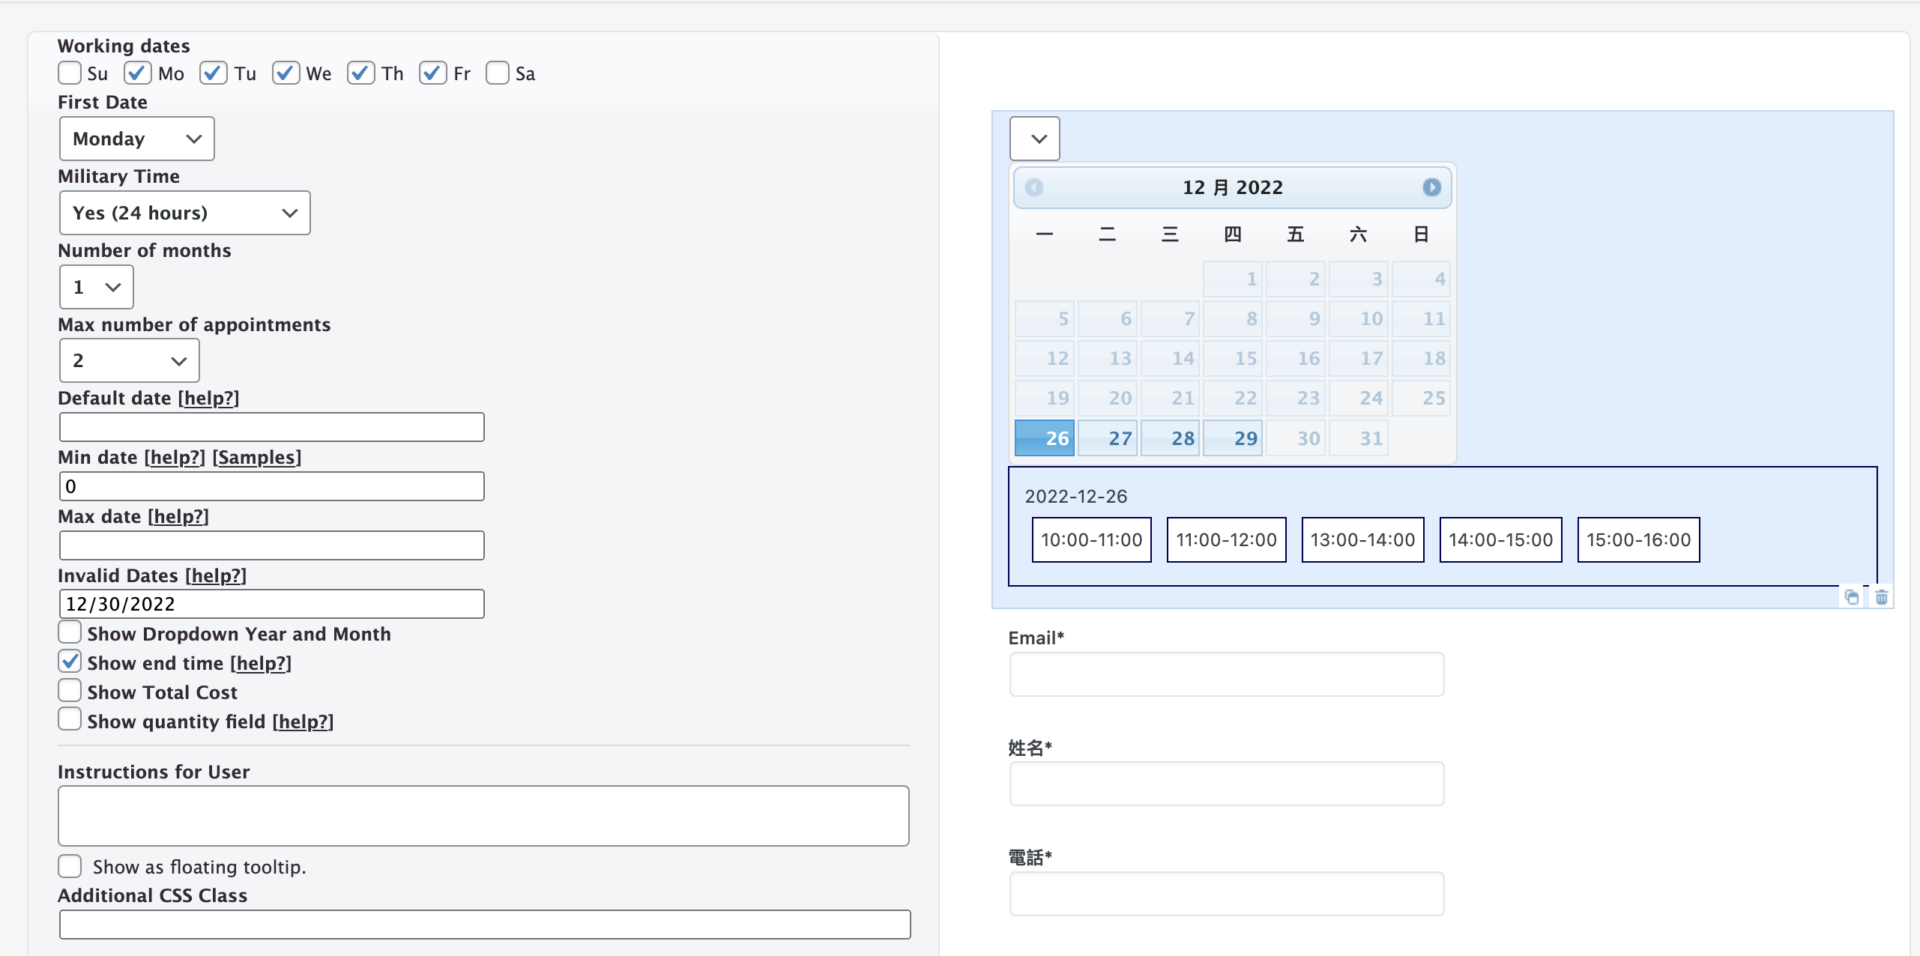
Working dates :每週固定哪幾天可預約
First Date:每週起始日
Number of months:顯示可往後預約幾個月
Max number of appointments:每次最多可預約次數
Invalid Dates:排除特定日期不可預約
Show end time:顯示結束時間
新增聯絡資料,免費版的只有提供Email和Single Line,所以都需要使用Single Line進行客製化。
如果該資料是必填的,Requiredr就必須勾選起來
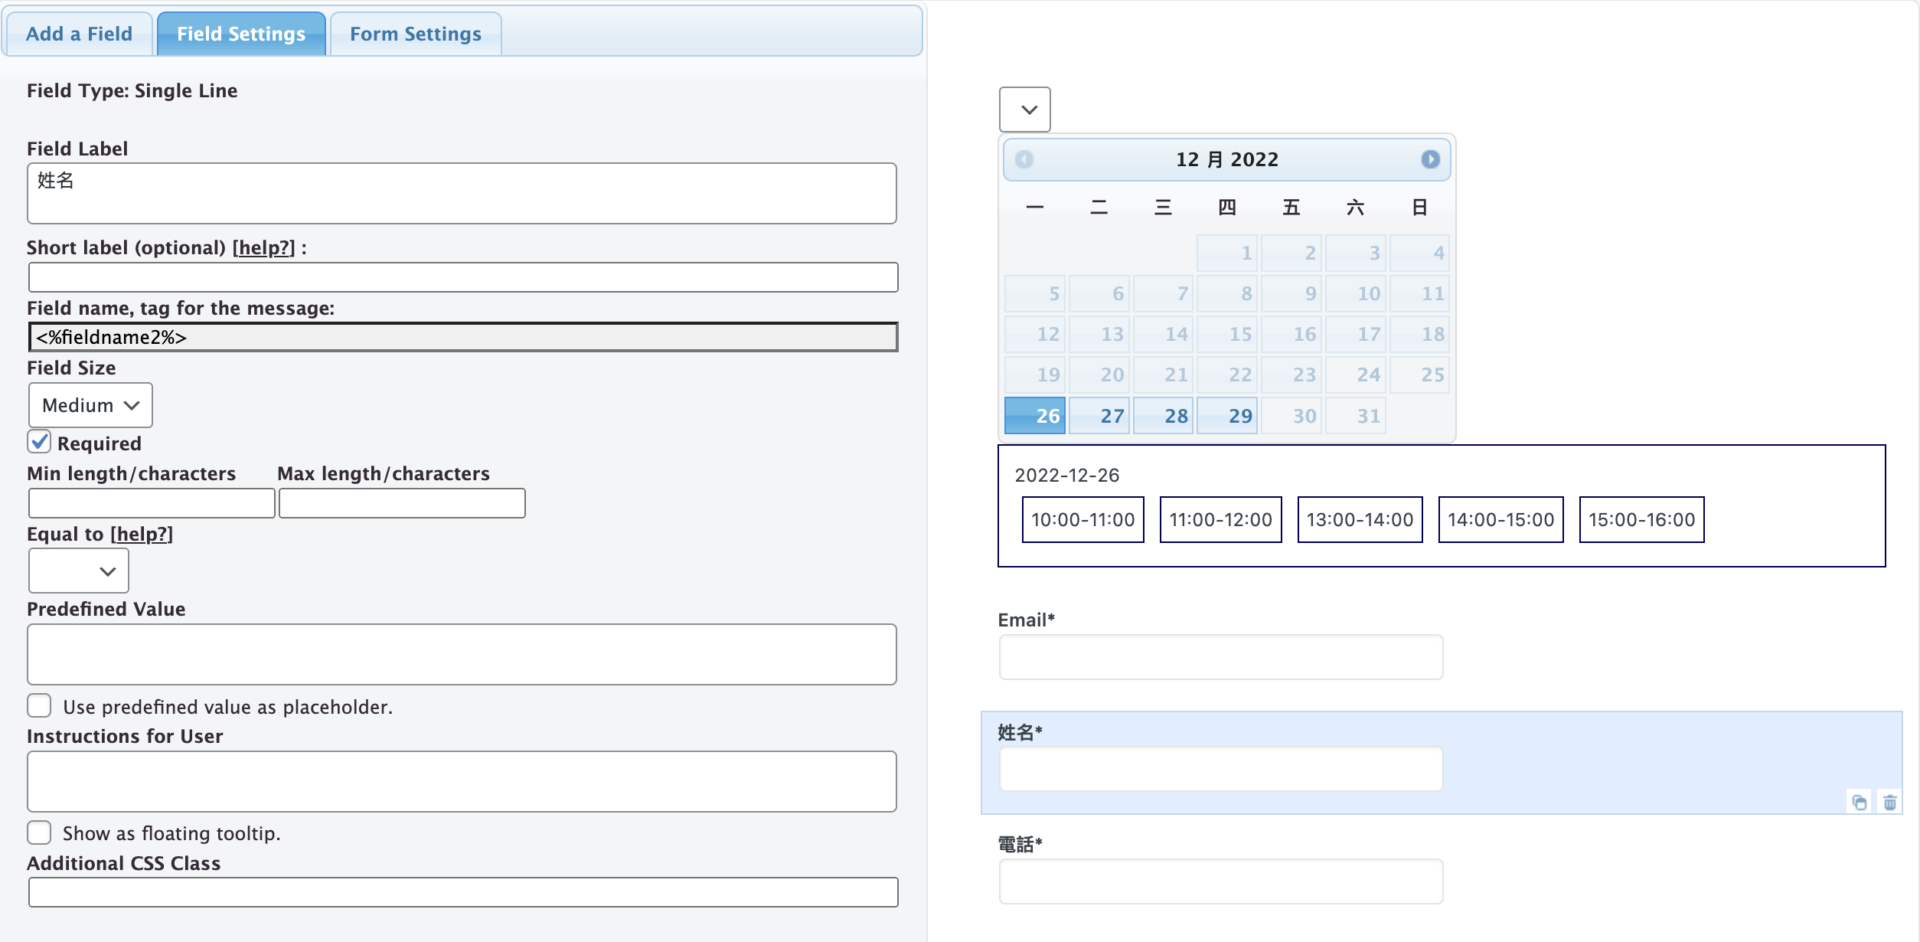
表單樣式設定 Form Settings
當前面表格設計好了之後,我們需要美化一下行事曆,在Form Template中有很多樣式可以選擇
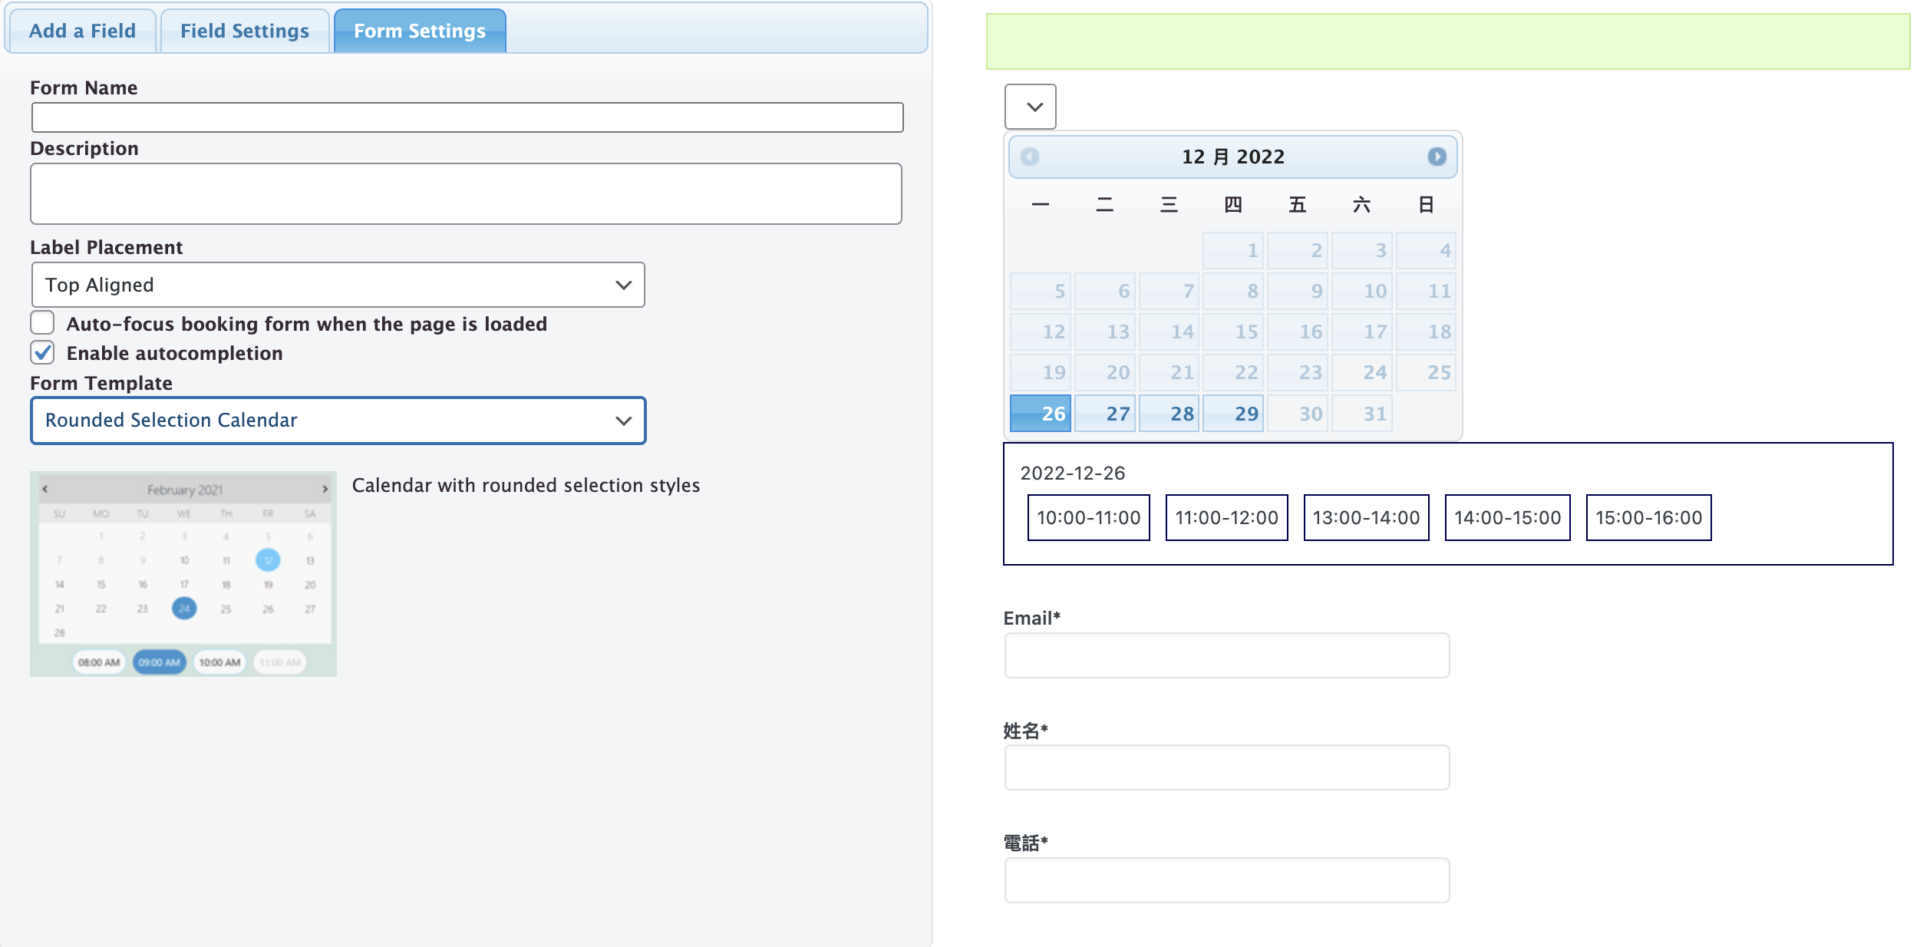
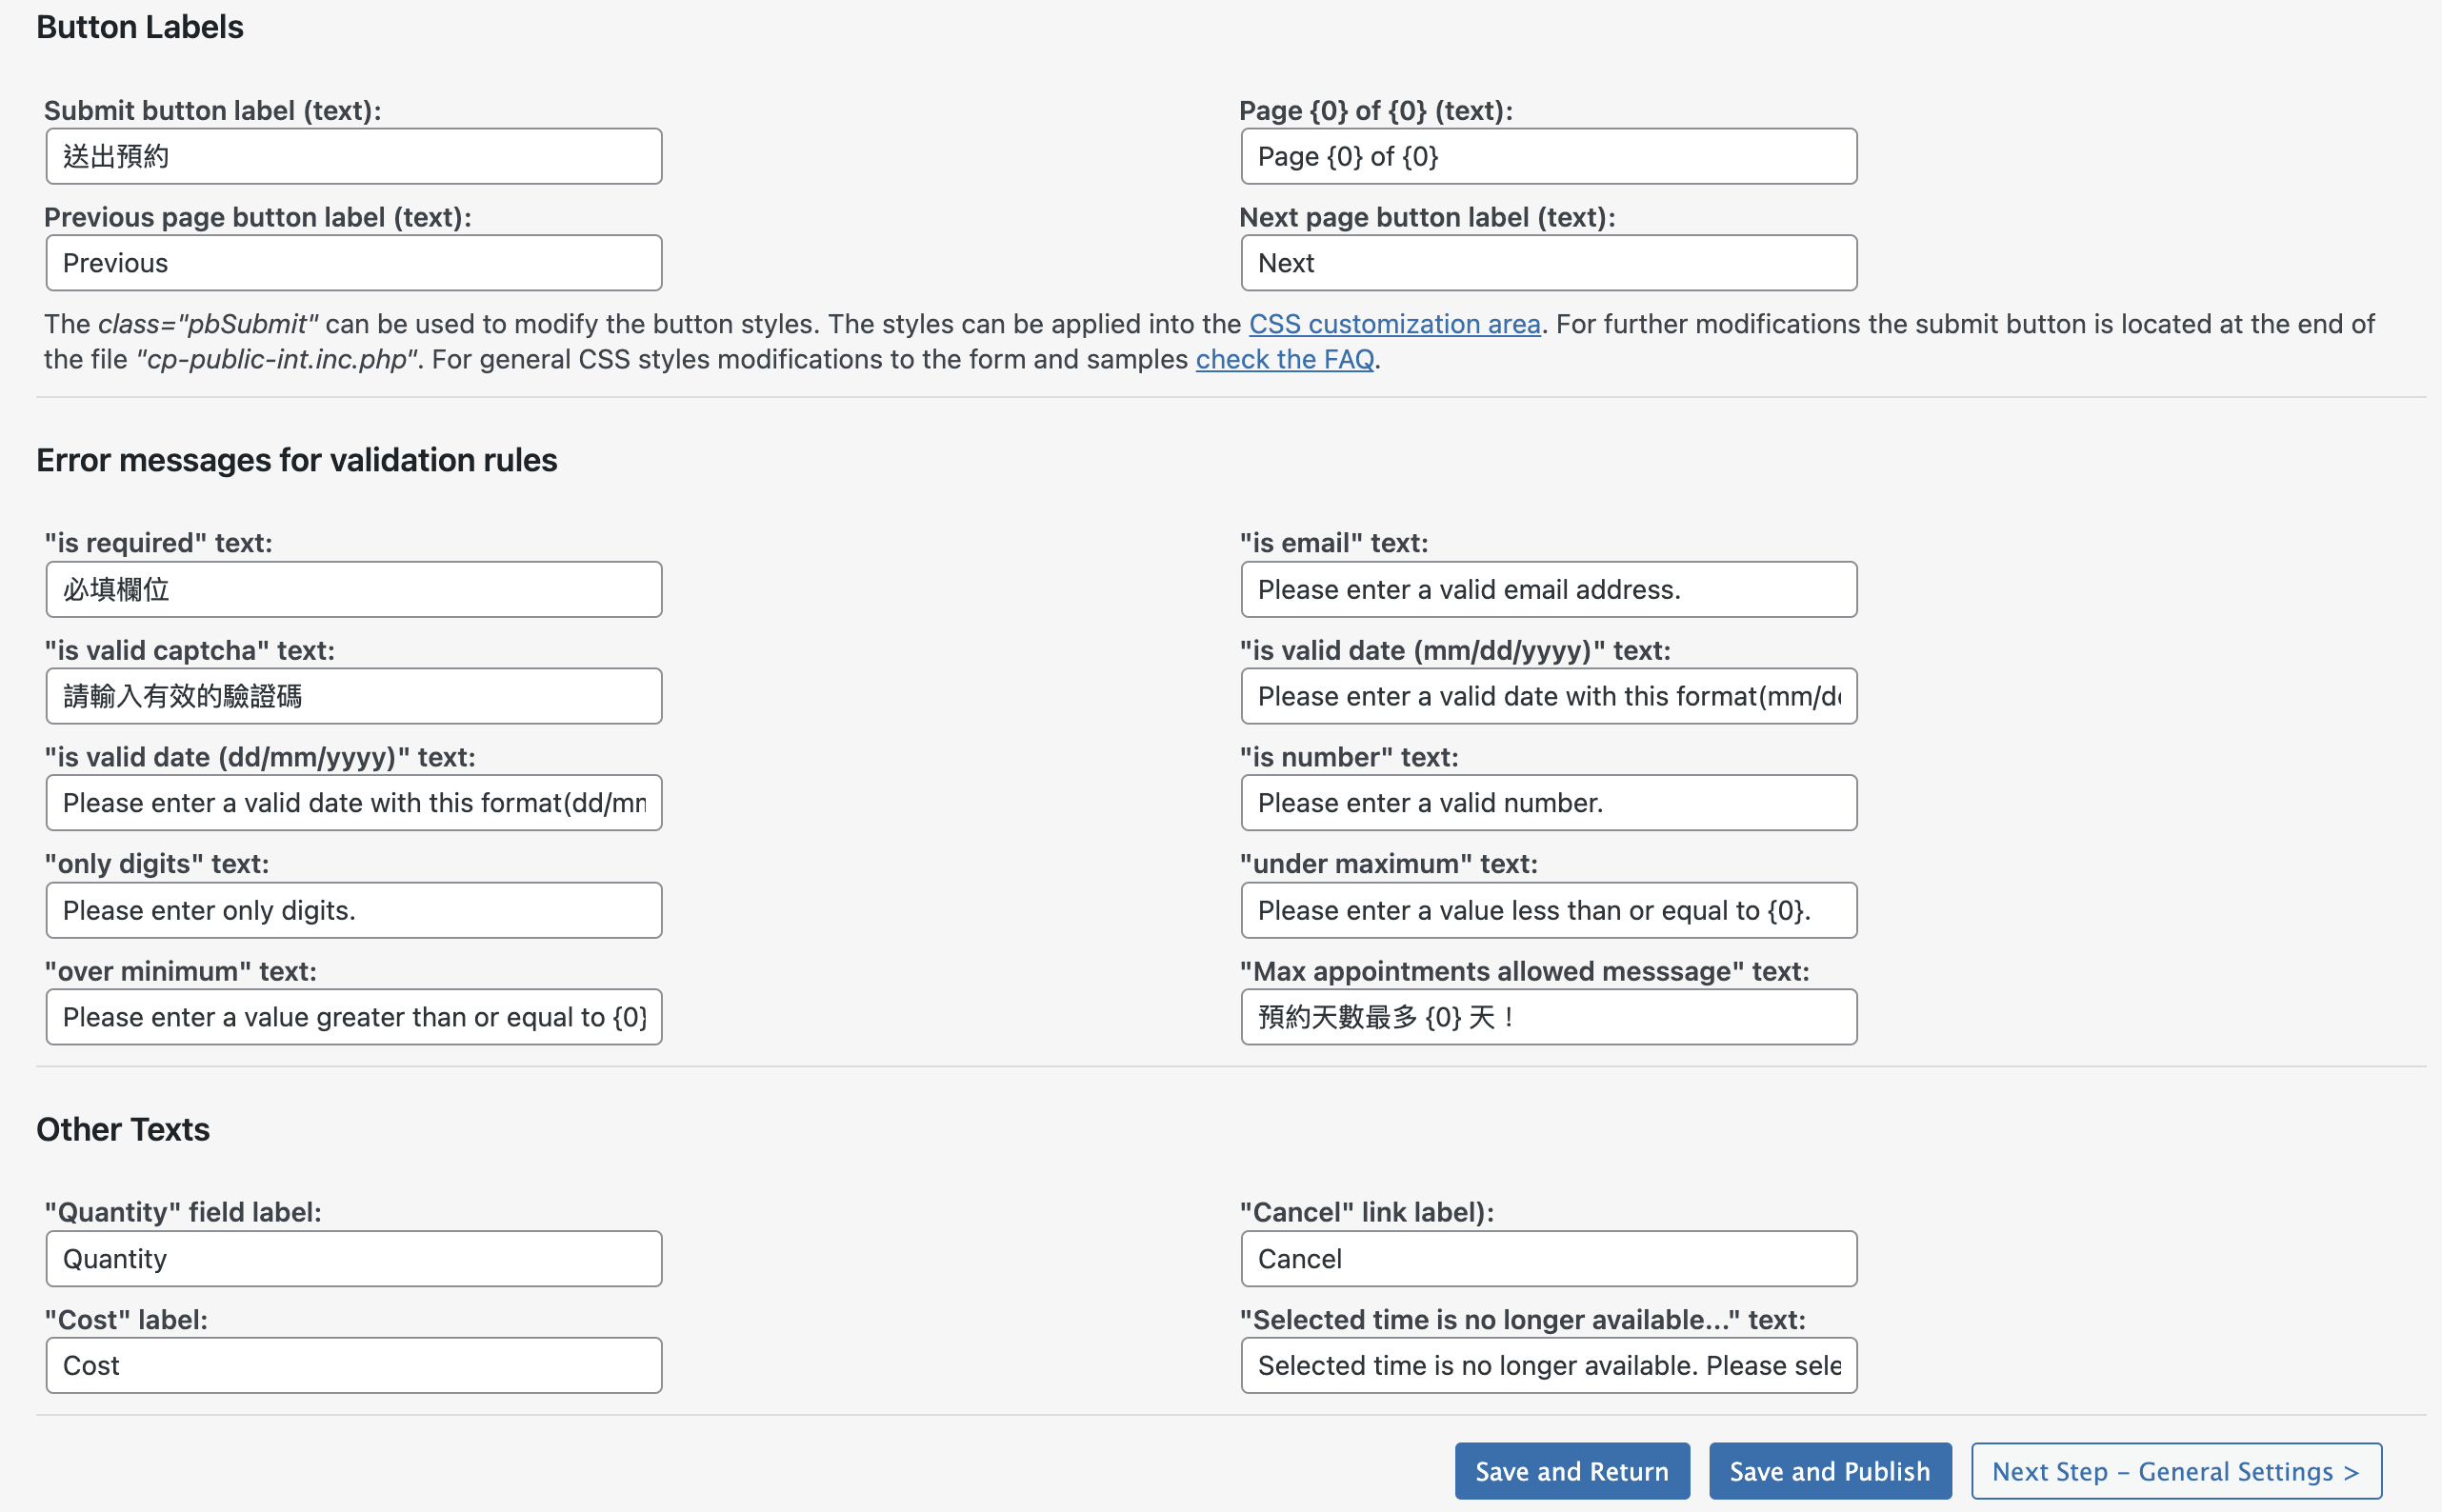
接著往下會看到button Labels、Error messages for validation rules和Other Texts,
這個畫面提示預設是英文,我們可以將它修改成中文,但是{}和()中內容不要去修改
當完成之後,點擊Next step – General Settings 進到下一步
常用設定
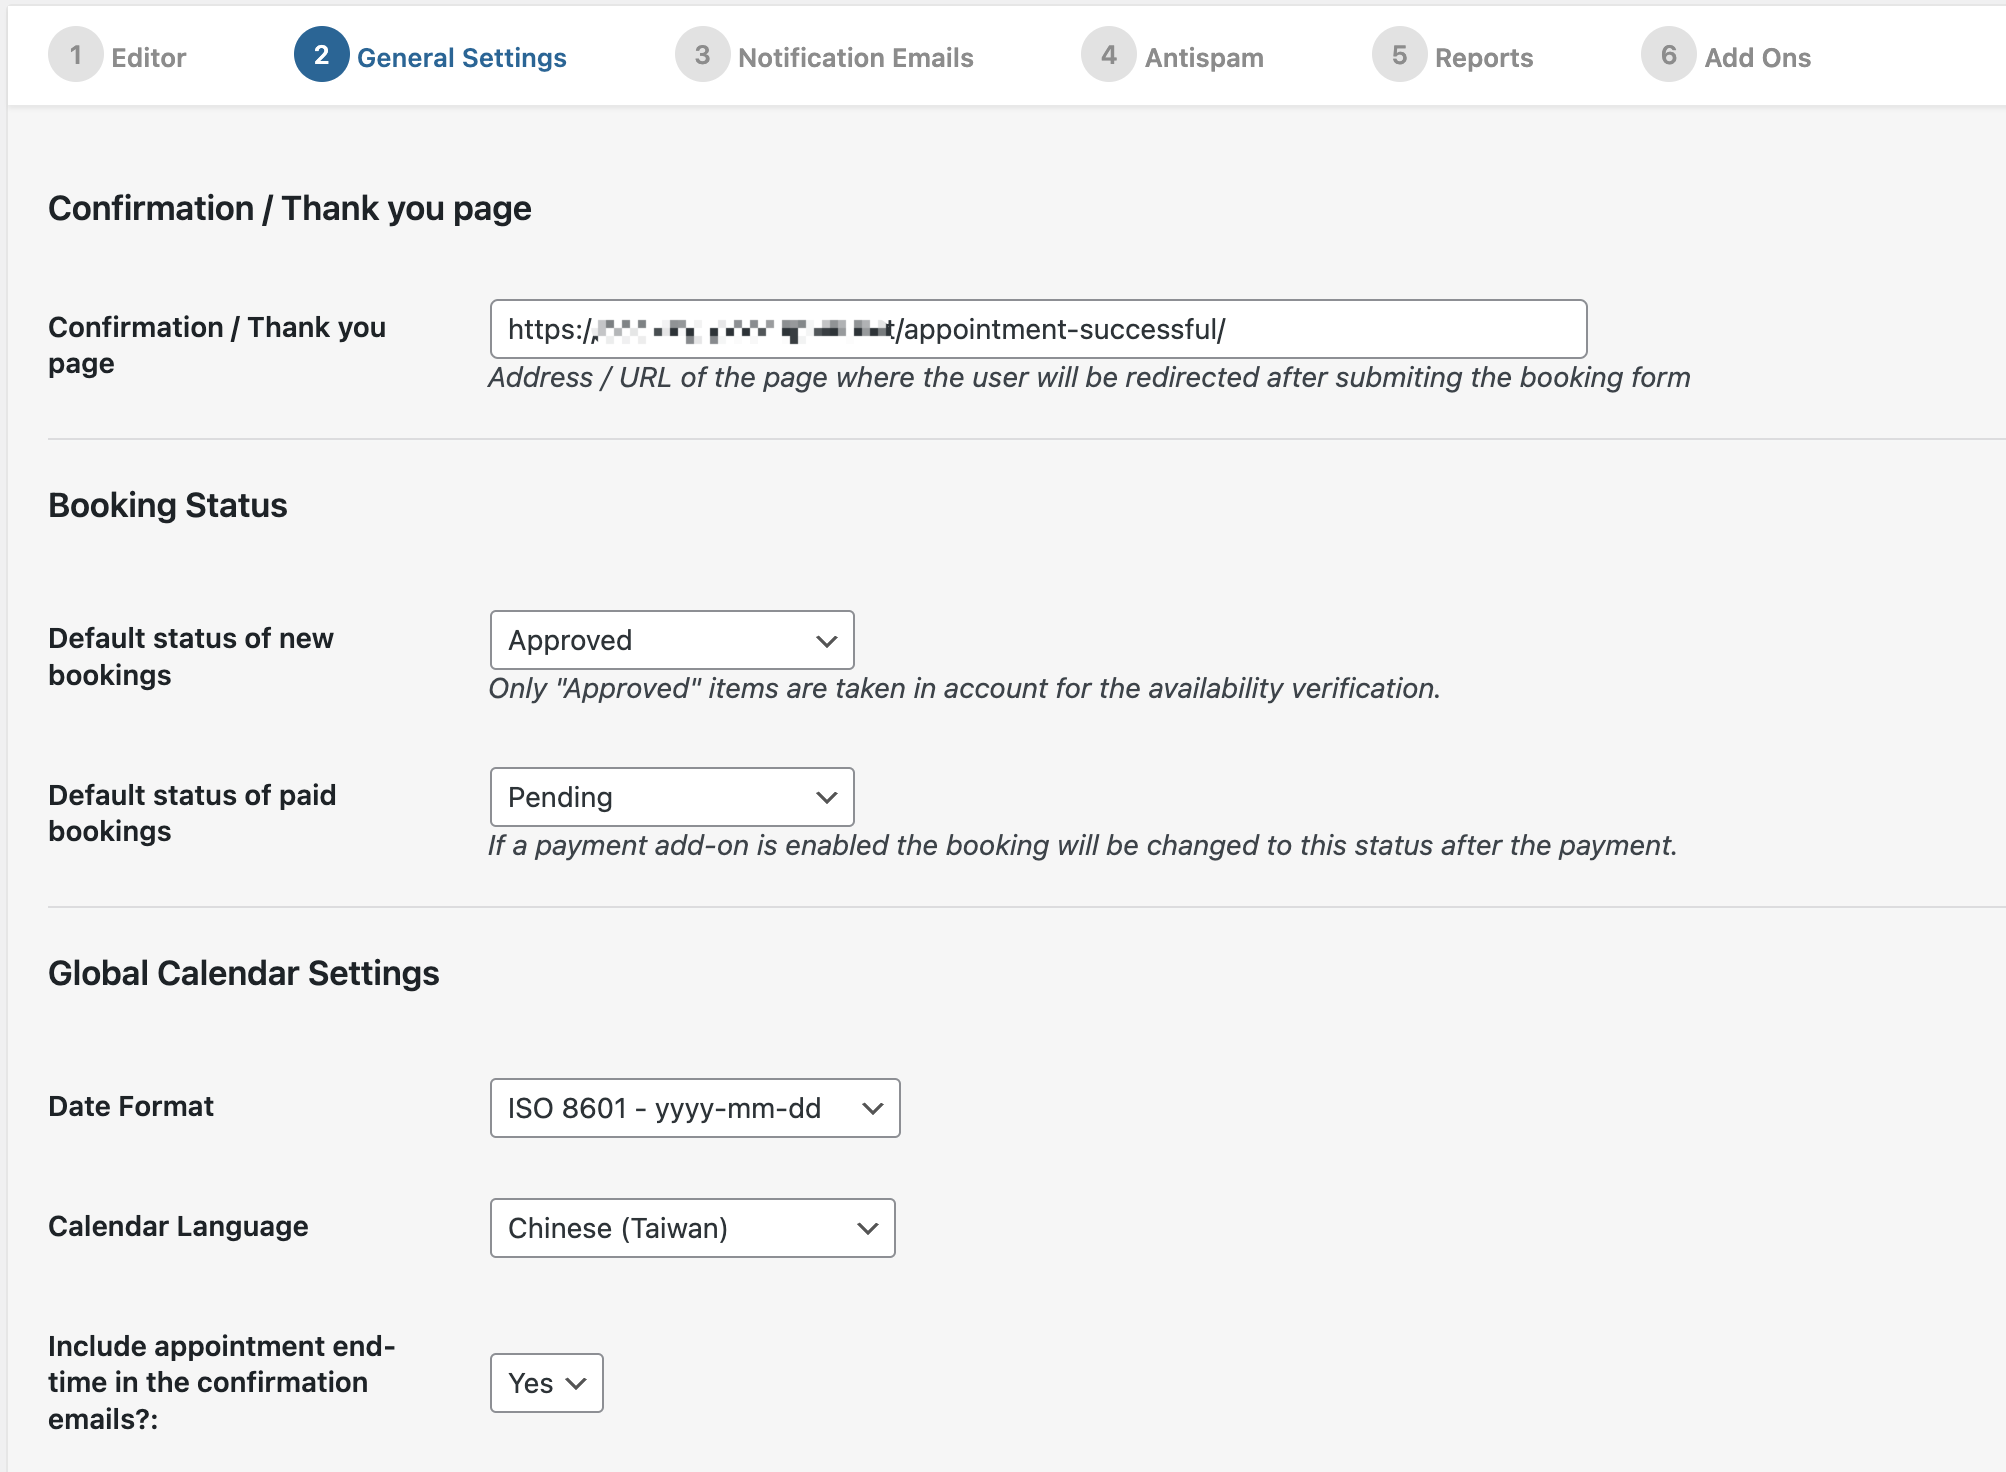
Confirmation / Thank you page :告知完成填寫的頁面
Booking Status:預約狀態,這邊我們要改成Approved 讓系統先鎖定該時段已預約
Date Format和Calendar Language 這邊將日期改成我們慣用的格式、語系修改成中文
Users with access to the messages list:設定哪些帳號有使用權限
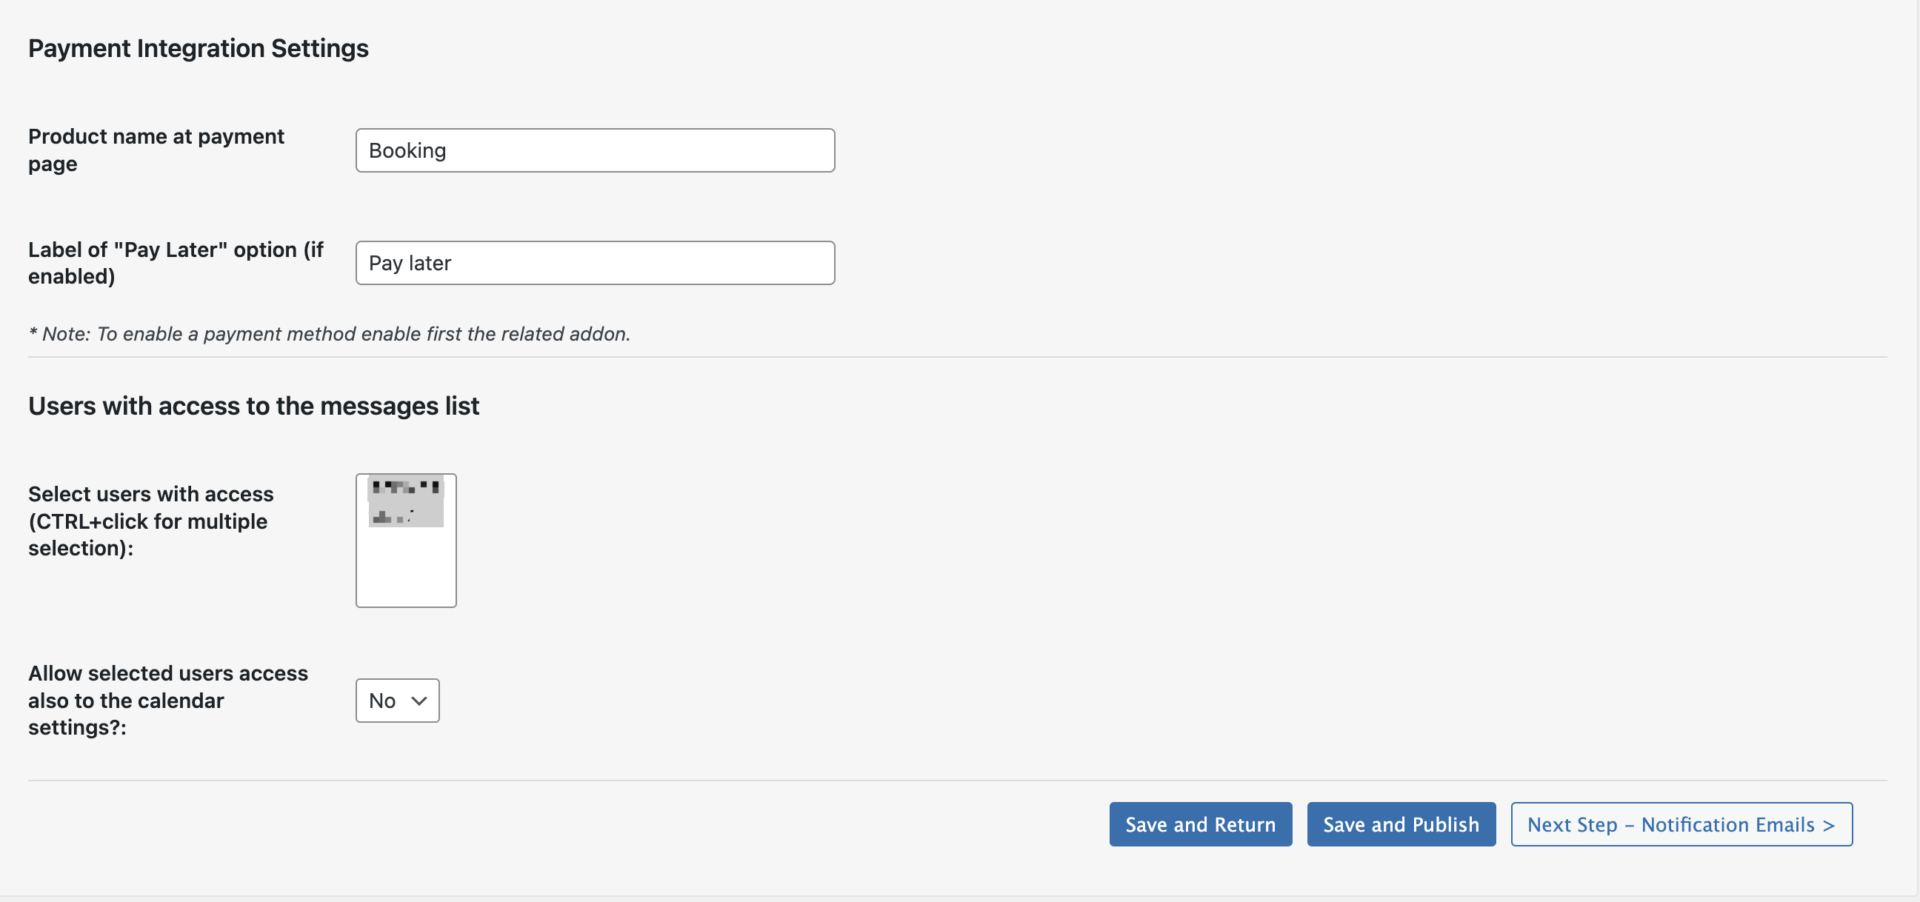
Email收件設定
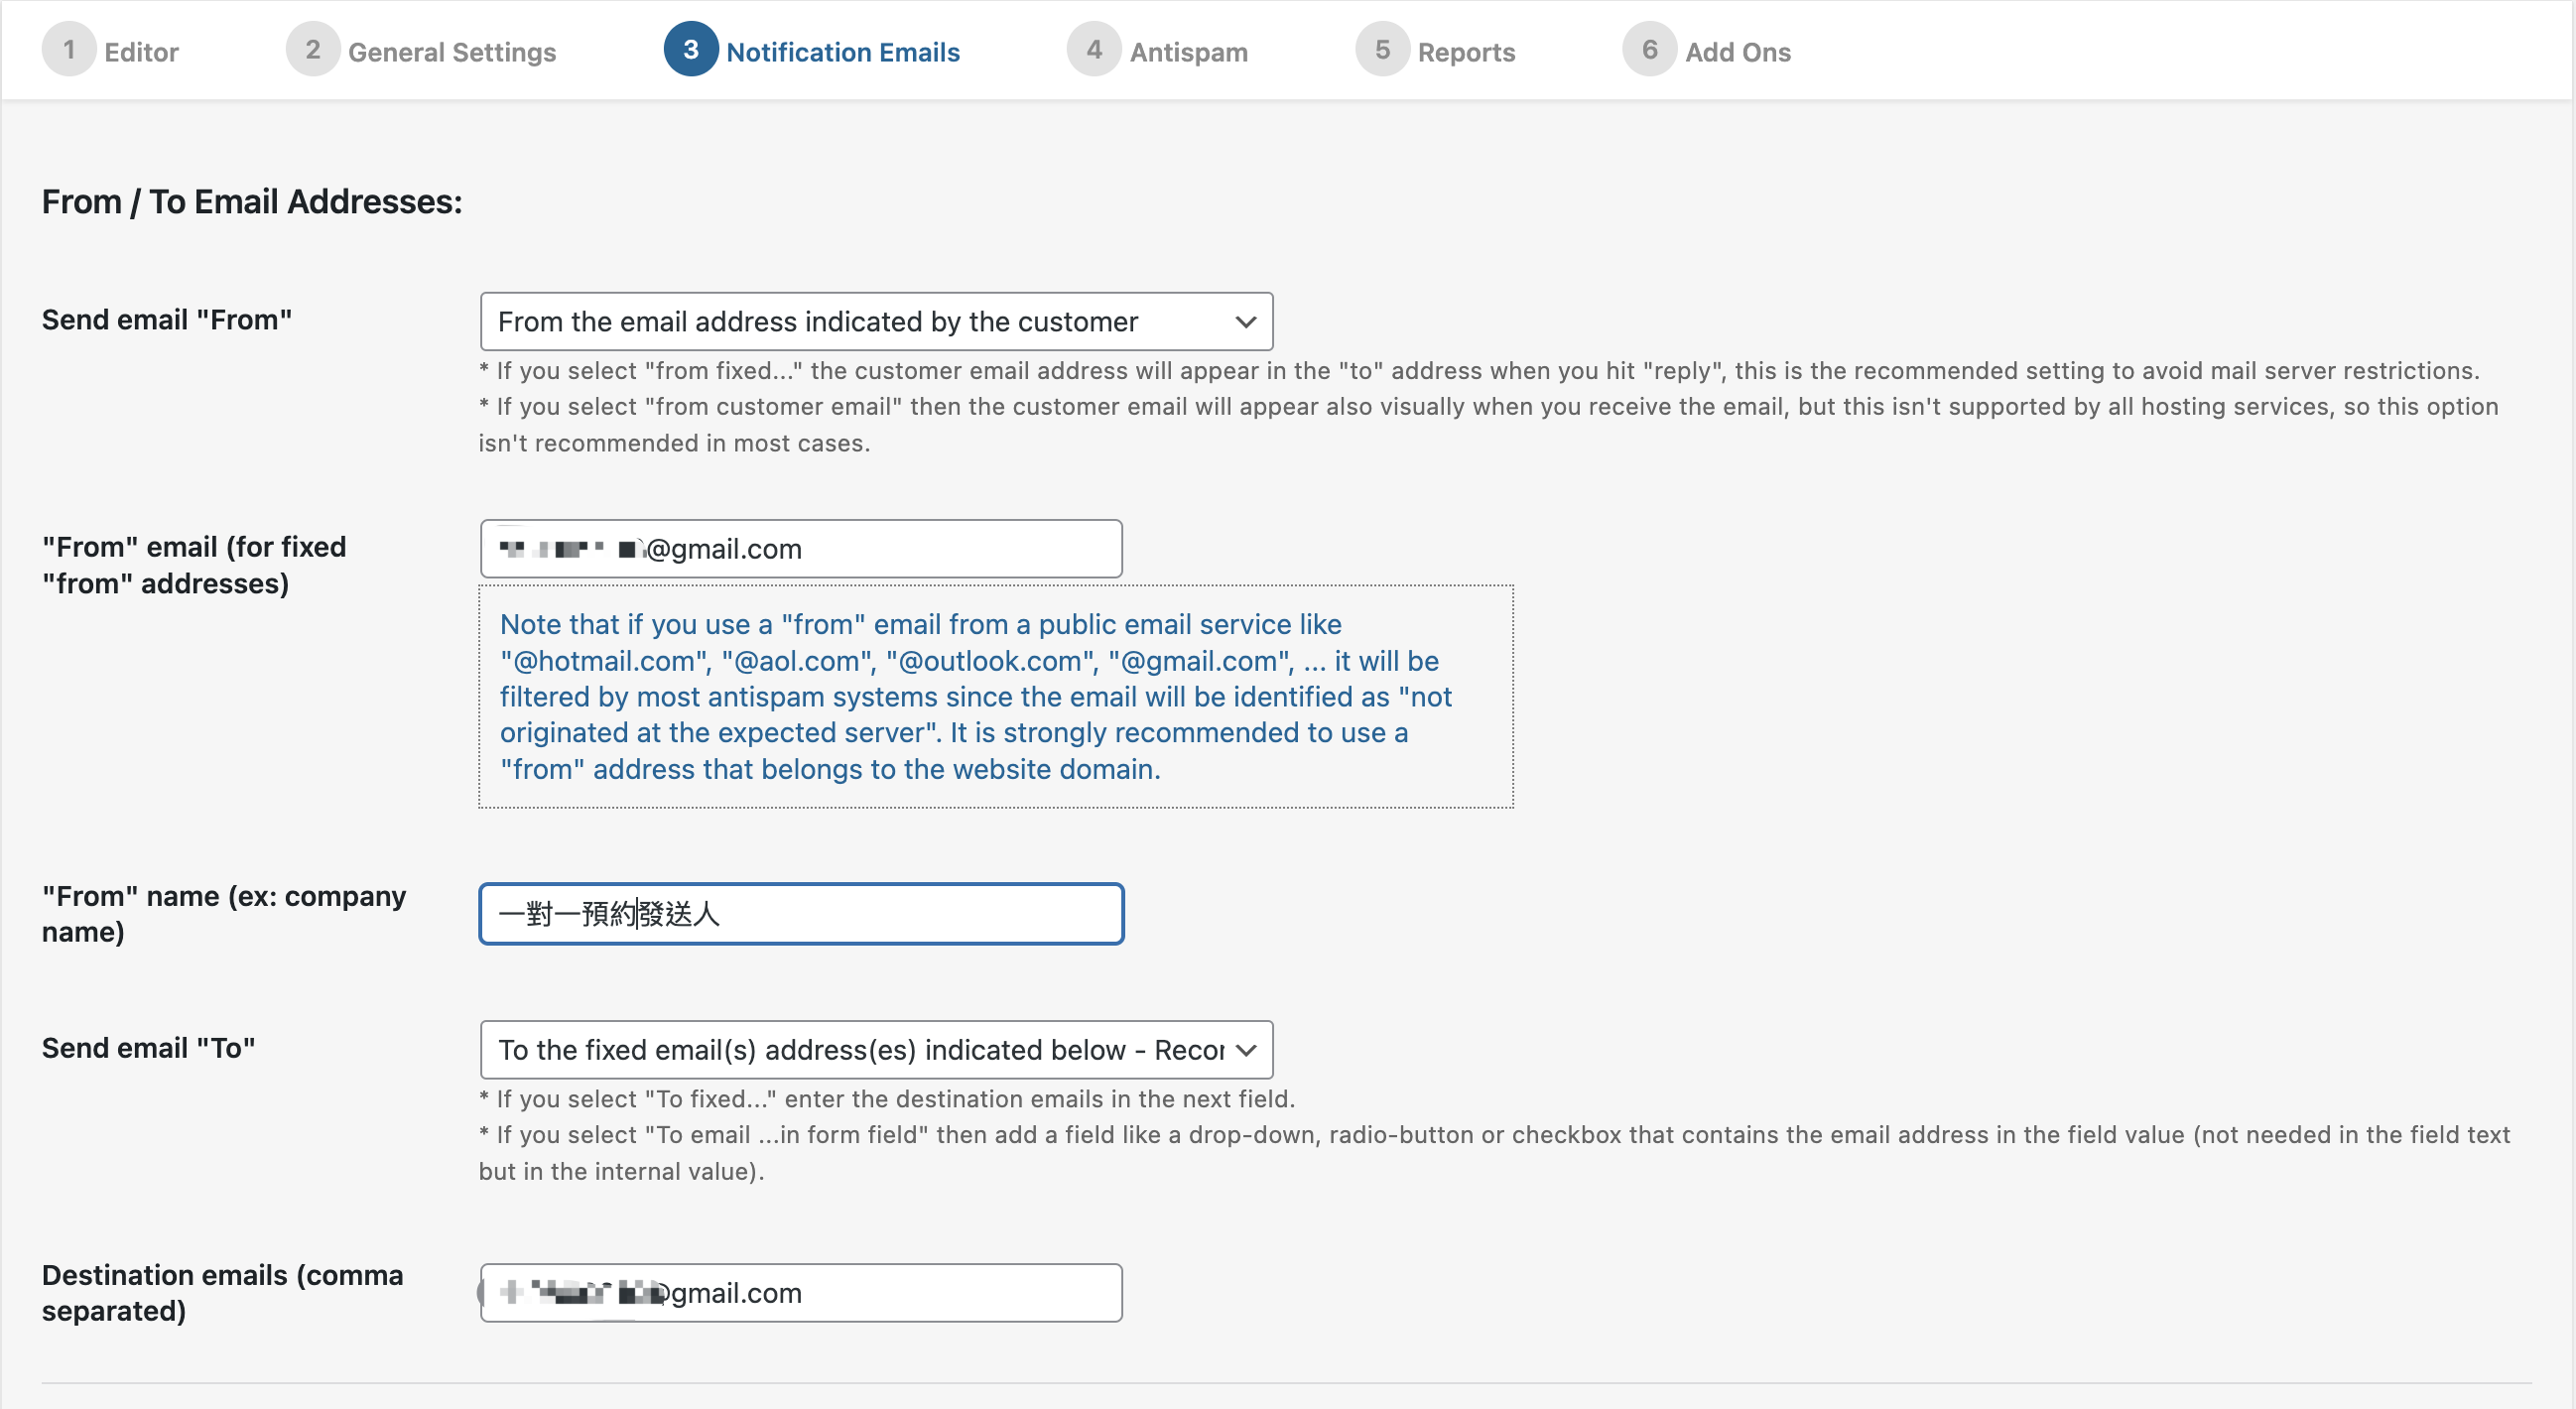
如果單純要使用網站後台查看預約狀況,這個功能就可以直接跳過
如果要使用建議安裝WP Mail SMTP外掛,避免收不到信
Send email “From”:寄件人Email,這邊請選擇 “From fixed email address indicated below – Recommended option”
“From” email (for fixed “from” addresses):這邊填寫寄件的Email信箱
From” name (ex: company name):寄件人名稱
Send email “To”:寄件標題
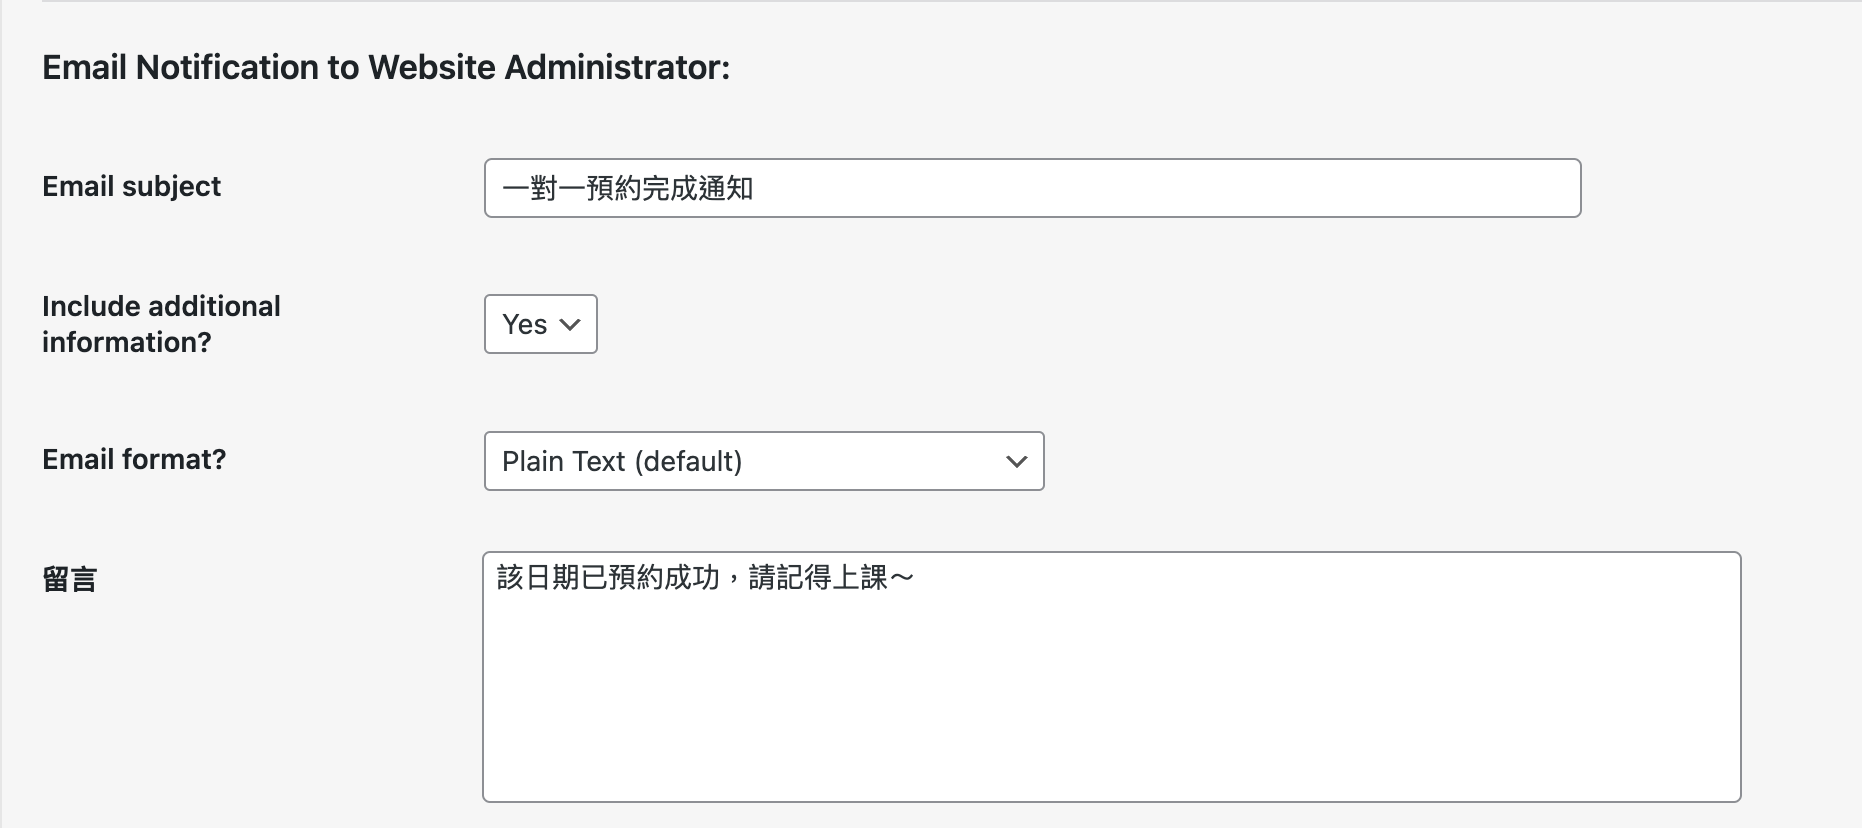
管理人員收到的通知信,內容可自由撰寫,如提醒該時段已預約
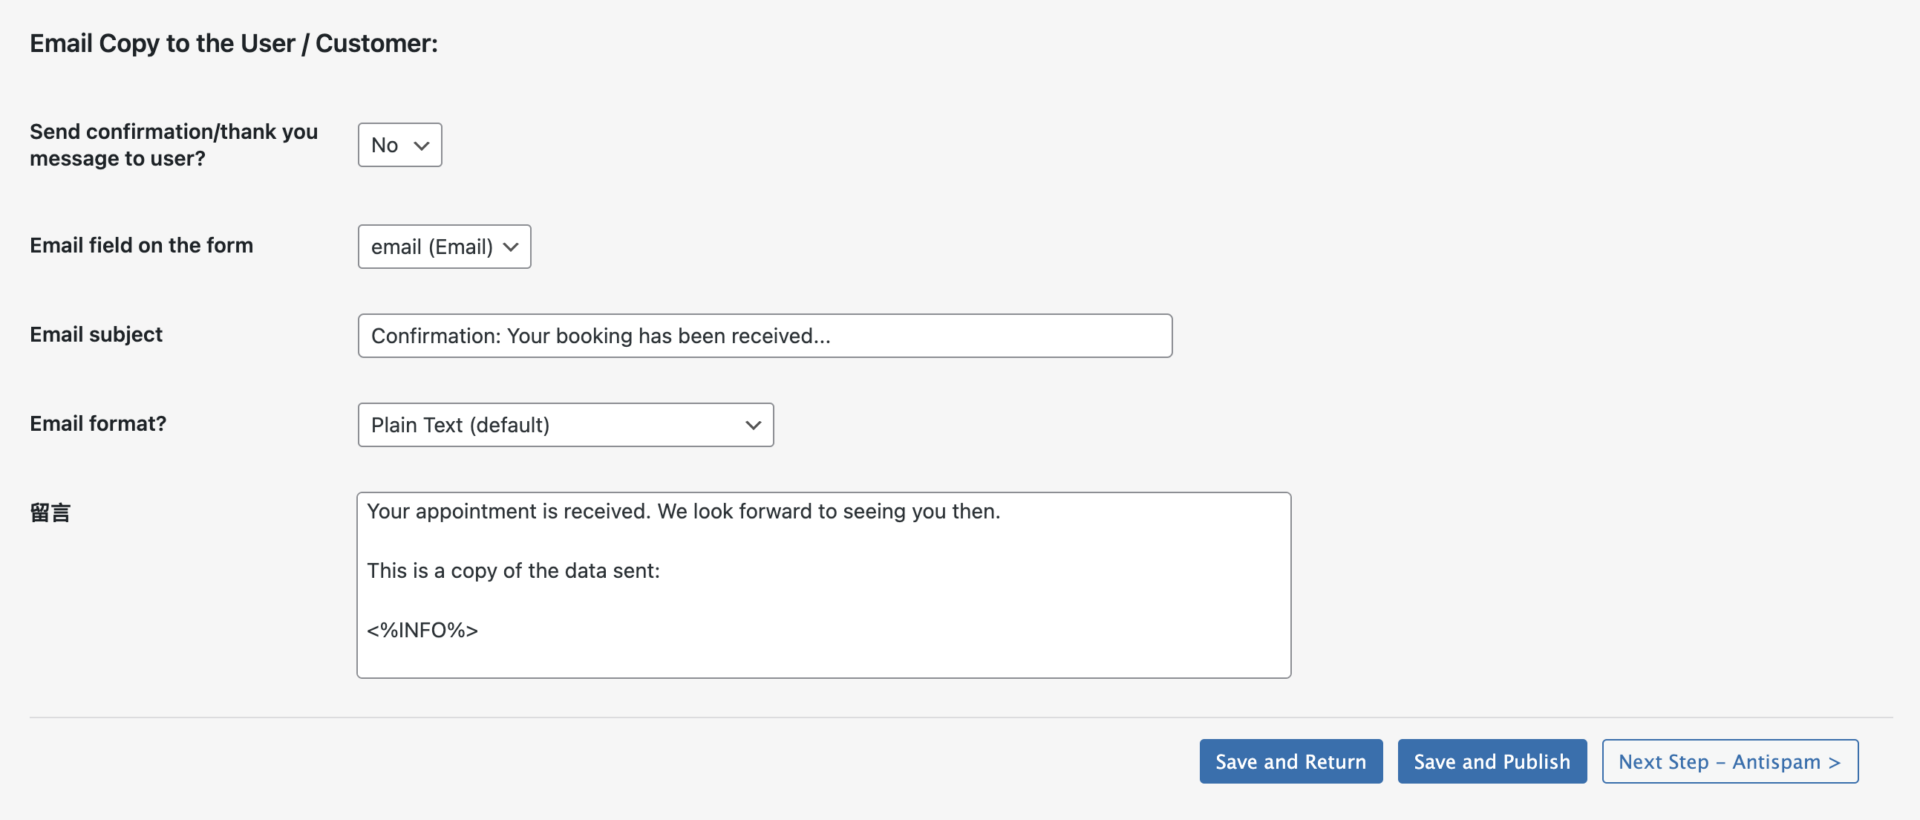
是否寄送Email通知客戶已預約成功,如果不需要第一個選No即可
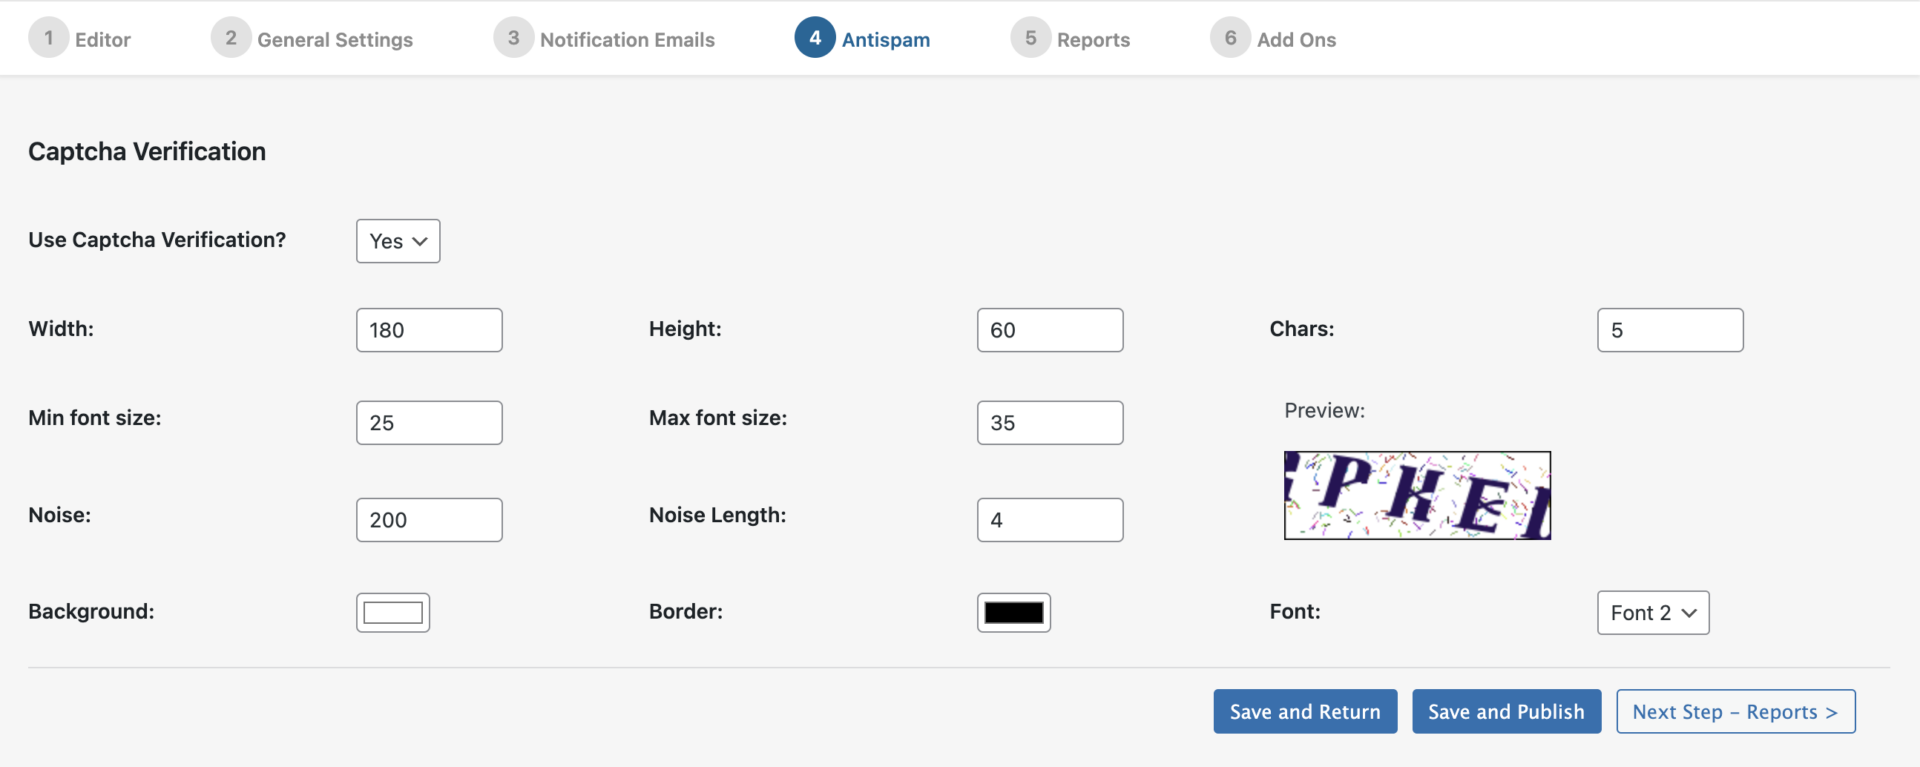
垃圾郵件設定
這個設定很重要,避免被機器人干擾影響正常用戶的權益。
驗證碼的難易度和外觀樣式都是從這邊做設定的
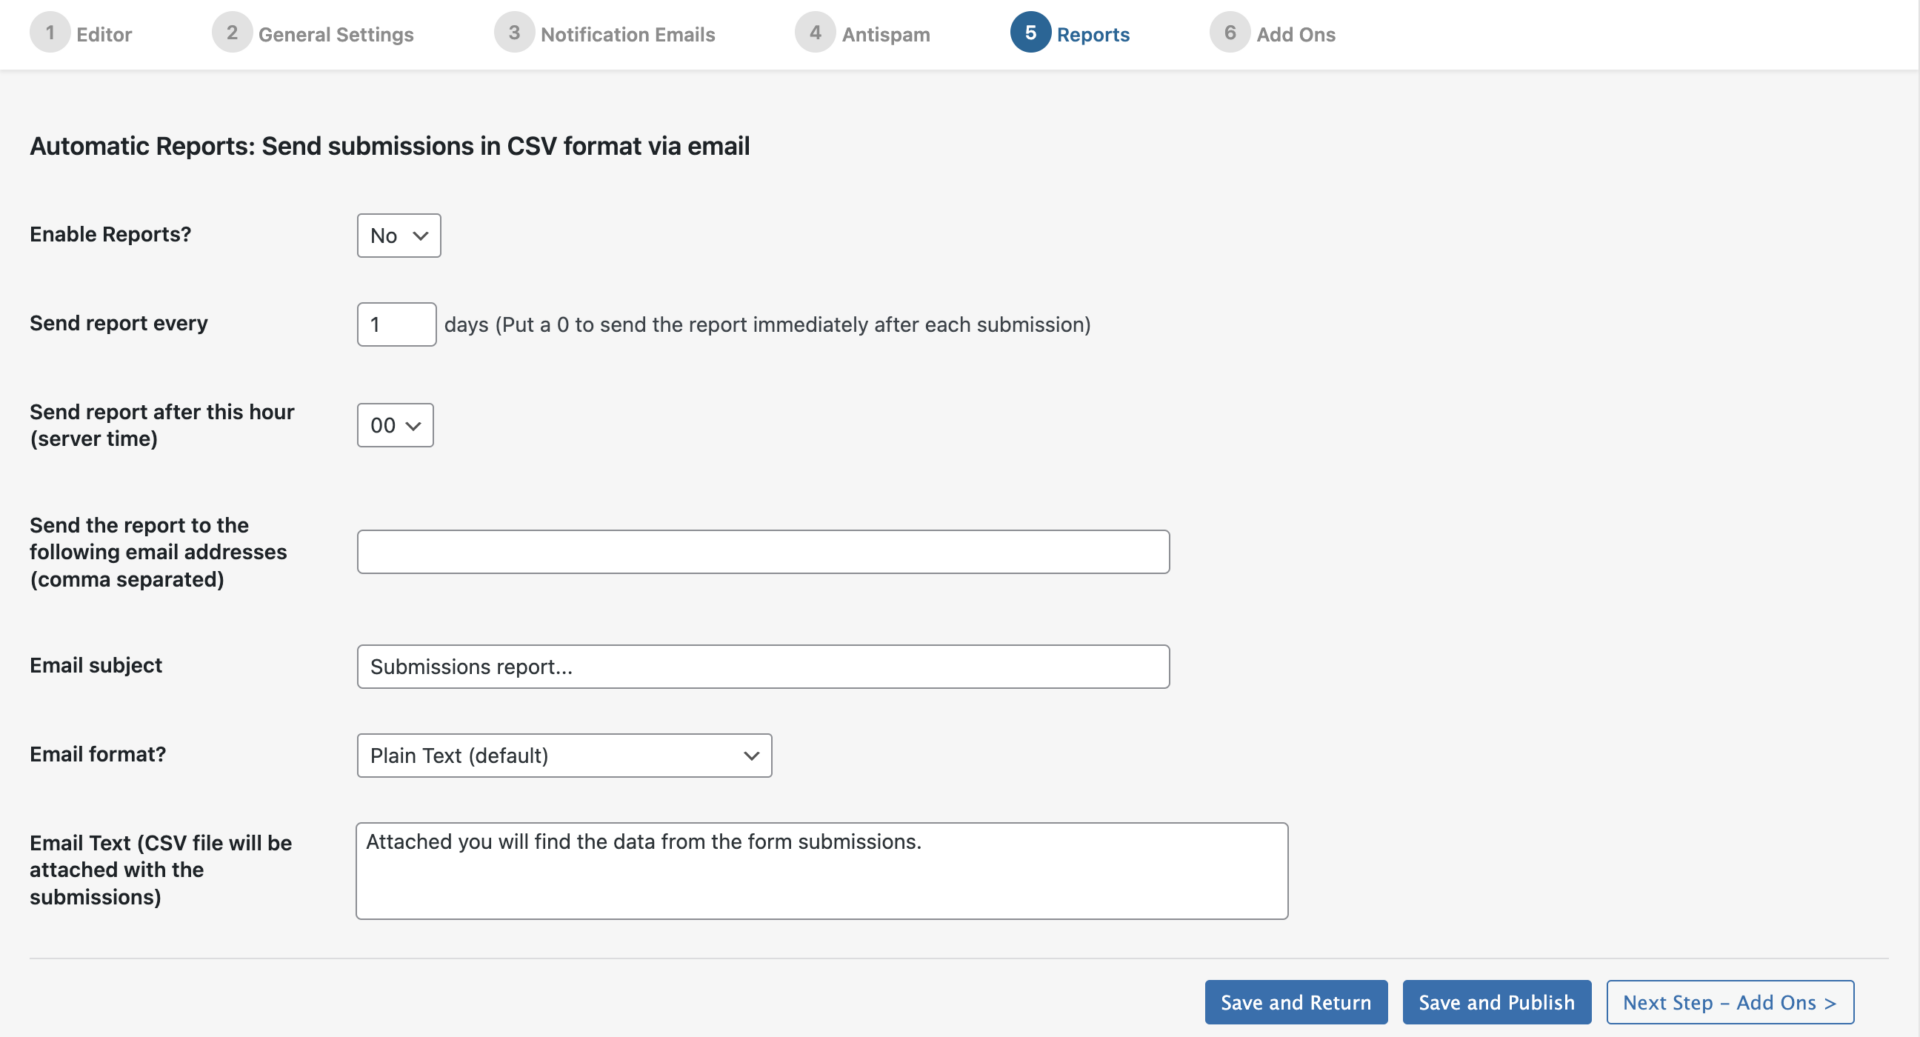
報表設定
可以檢視預約情況,如果用不到可以直接點下一步即可
附加功能設定
如果有付費使用商用功能都會出現在這邊,不過我們是使用免費的所以直接點選Save and Return完成設定

預約查詢
Booking Orders
點選Booking Orders 可以查看已預約的用戶資料,如果要取消可以透過Update Status進行取消,這時其他用戶就會看到該時段可以預約
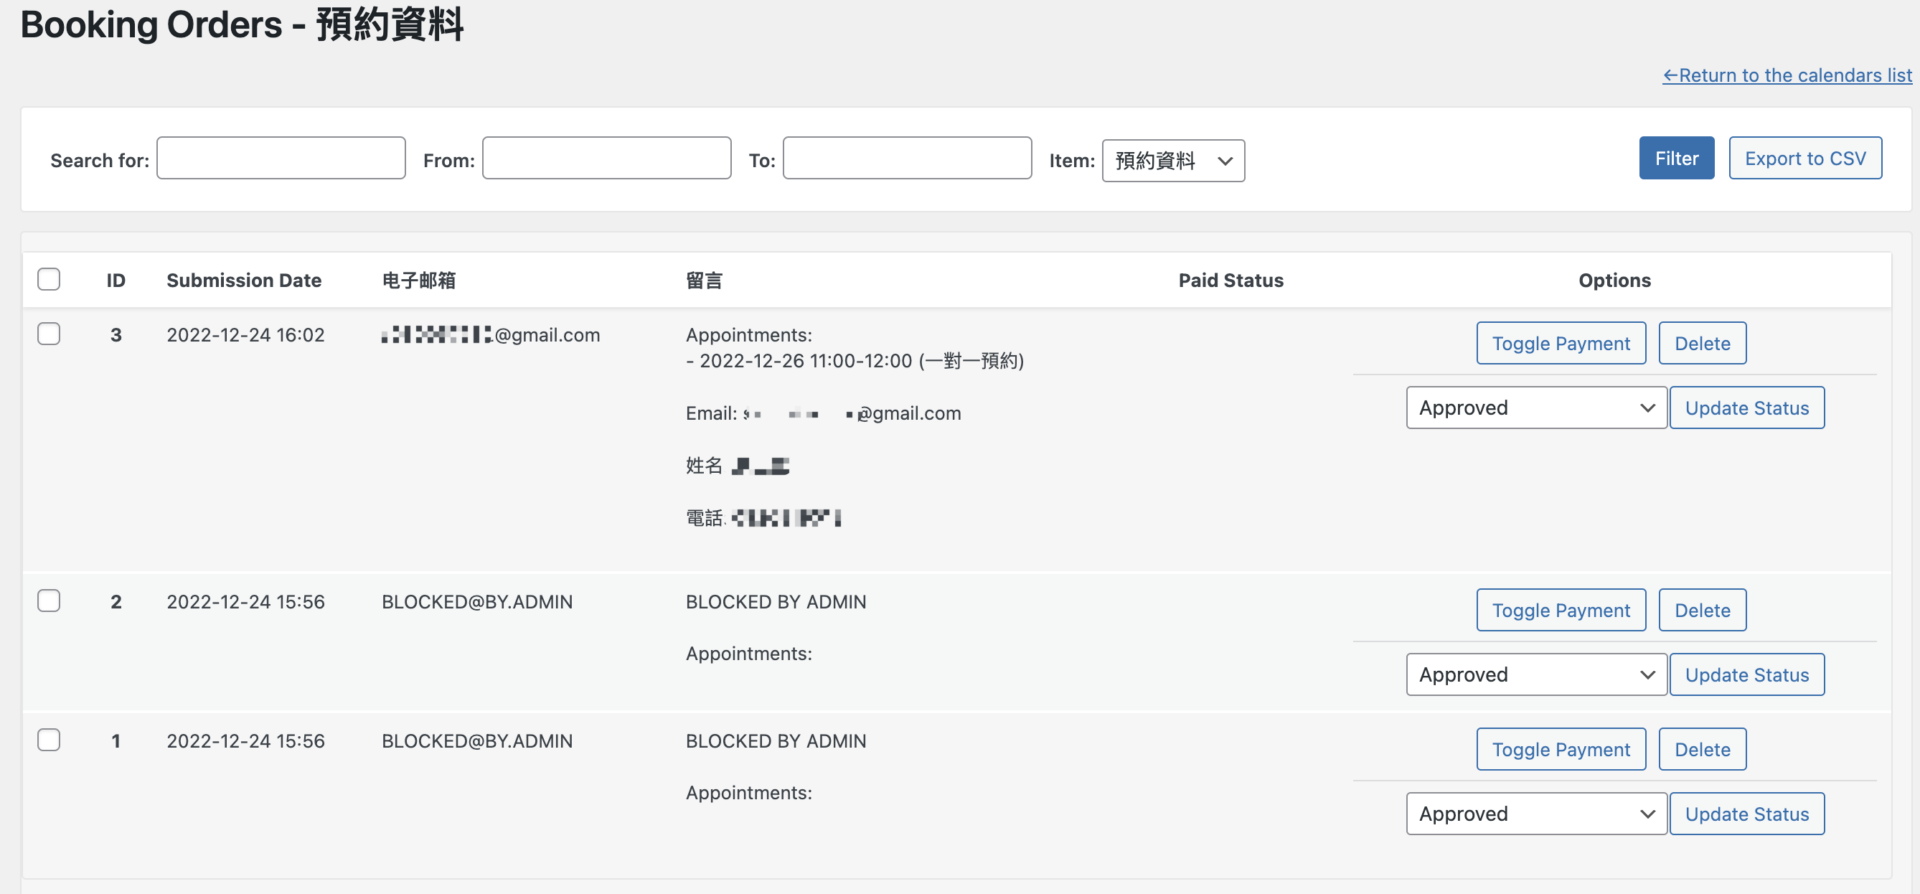
已預約時間表
Schedule
點選 Schedule ,接著點擊左上角的Change to Schedule Calendar View 可以切換成如下圖
方便查看特定日期和時段預約狀況
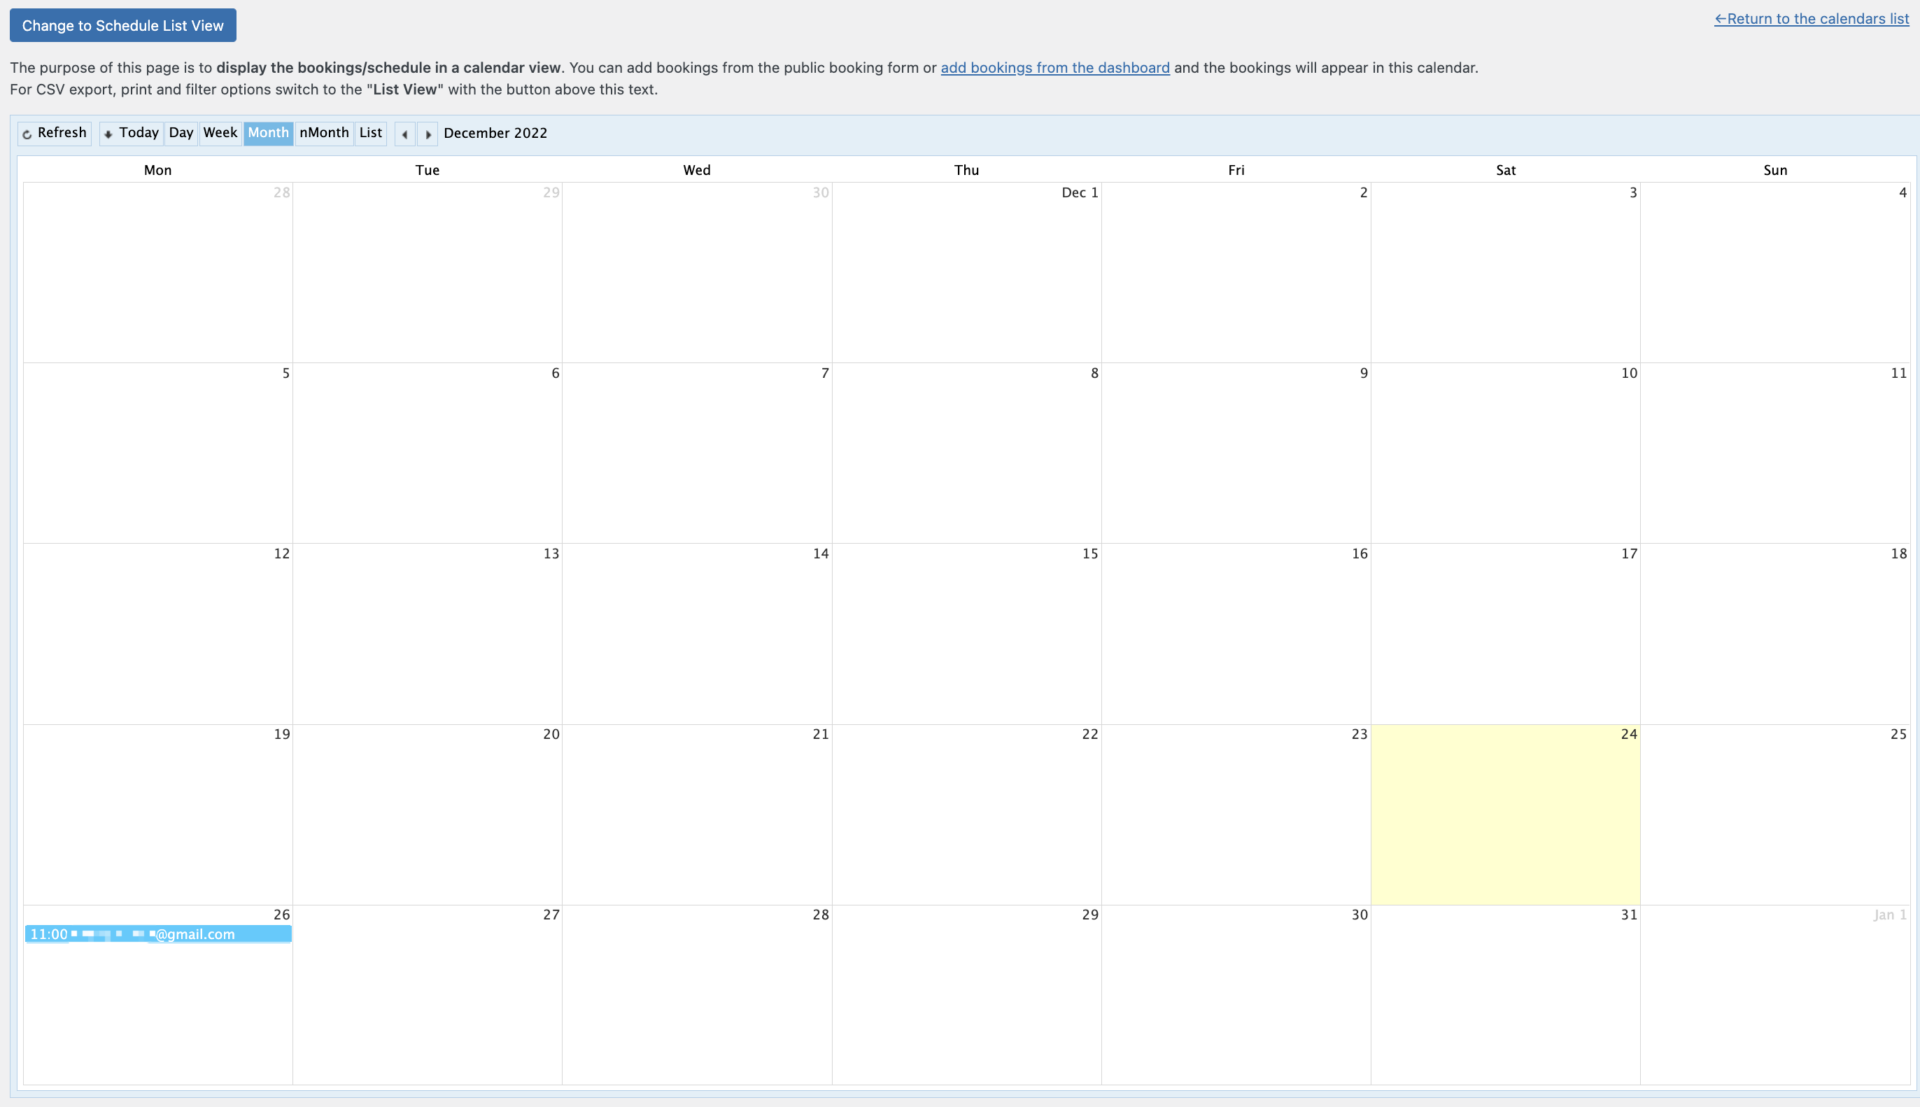
後臺預約時段
Add Booking
如果客戶是透過電話等其他方式預約,我們可以從Add Booking由管理員做預約
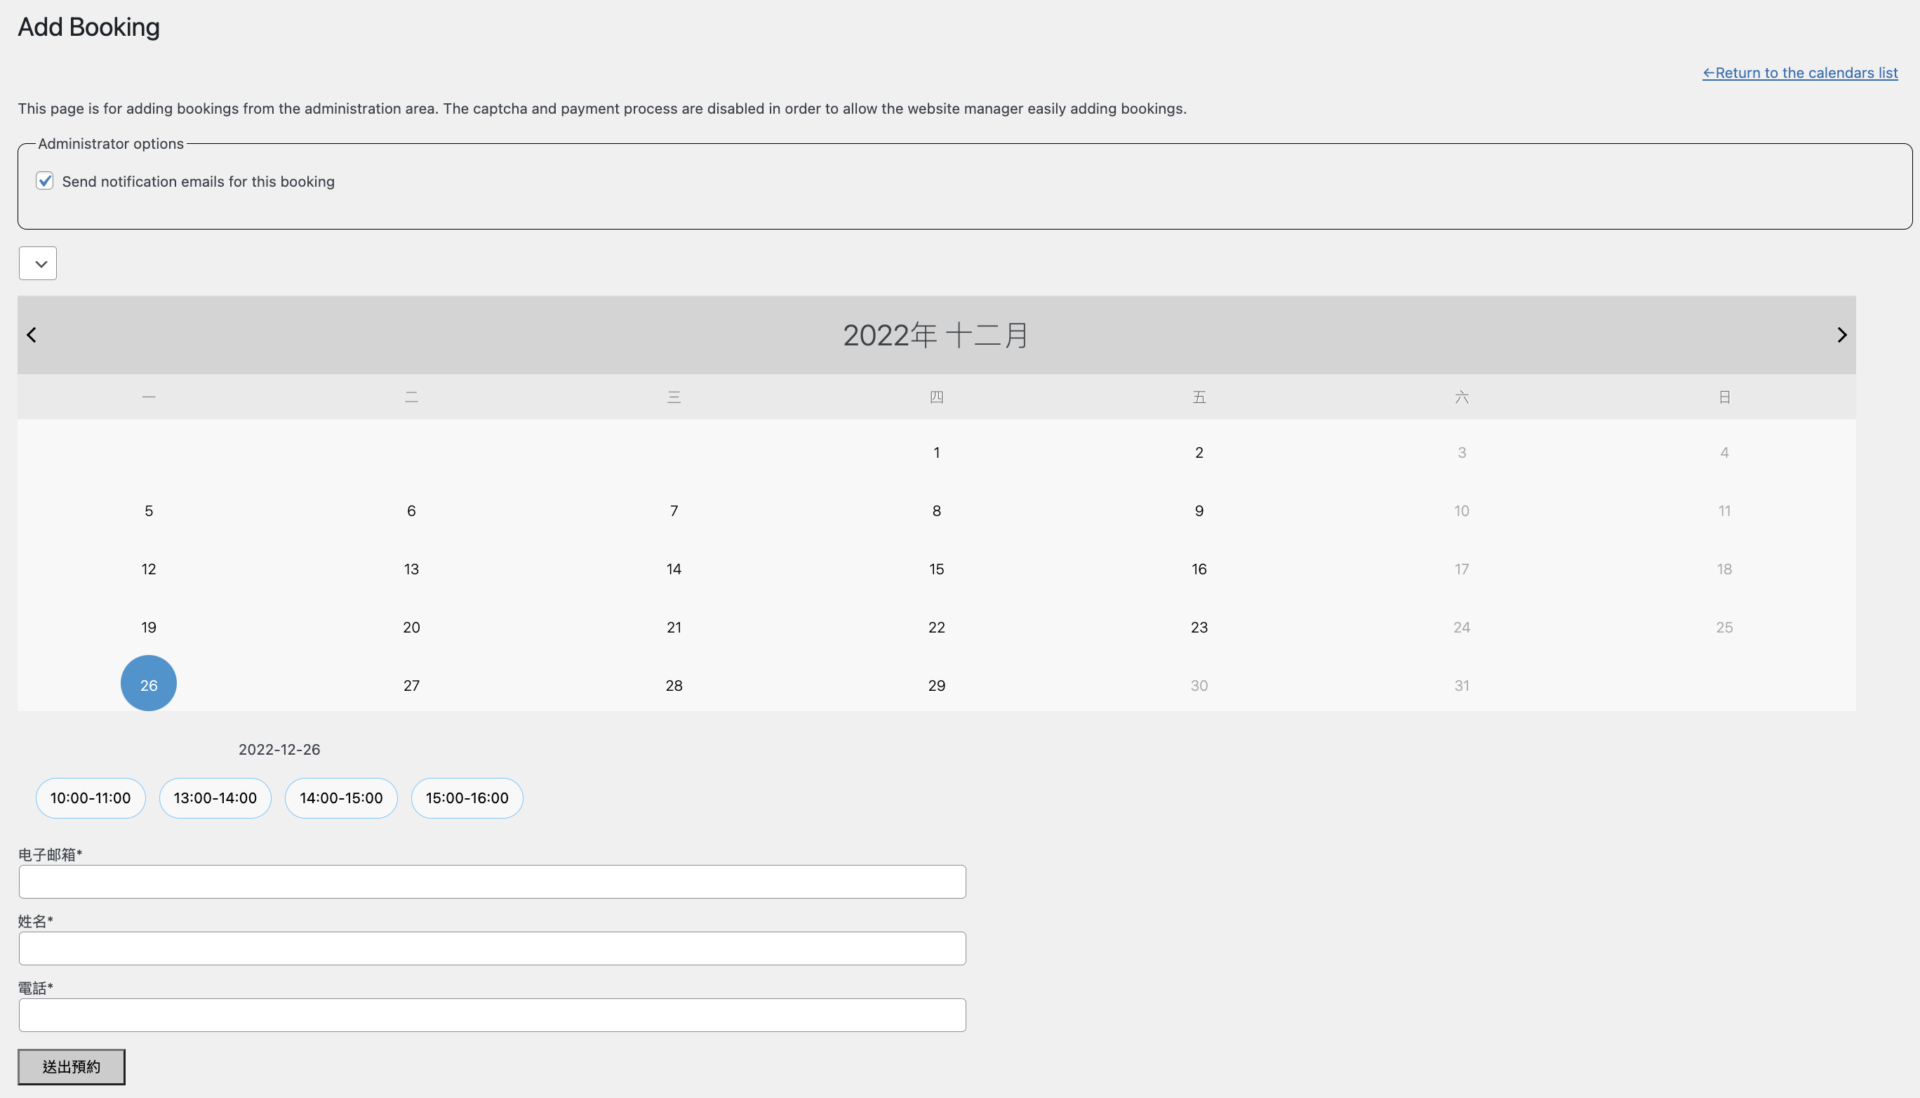
禁止特定時段
Block selected dates
如果我們在某個時段可能有事情,這時只要點擊指定時段後點擊Block selected dates阻止時段預約
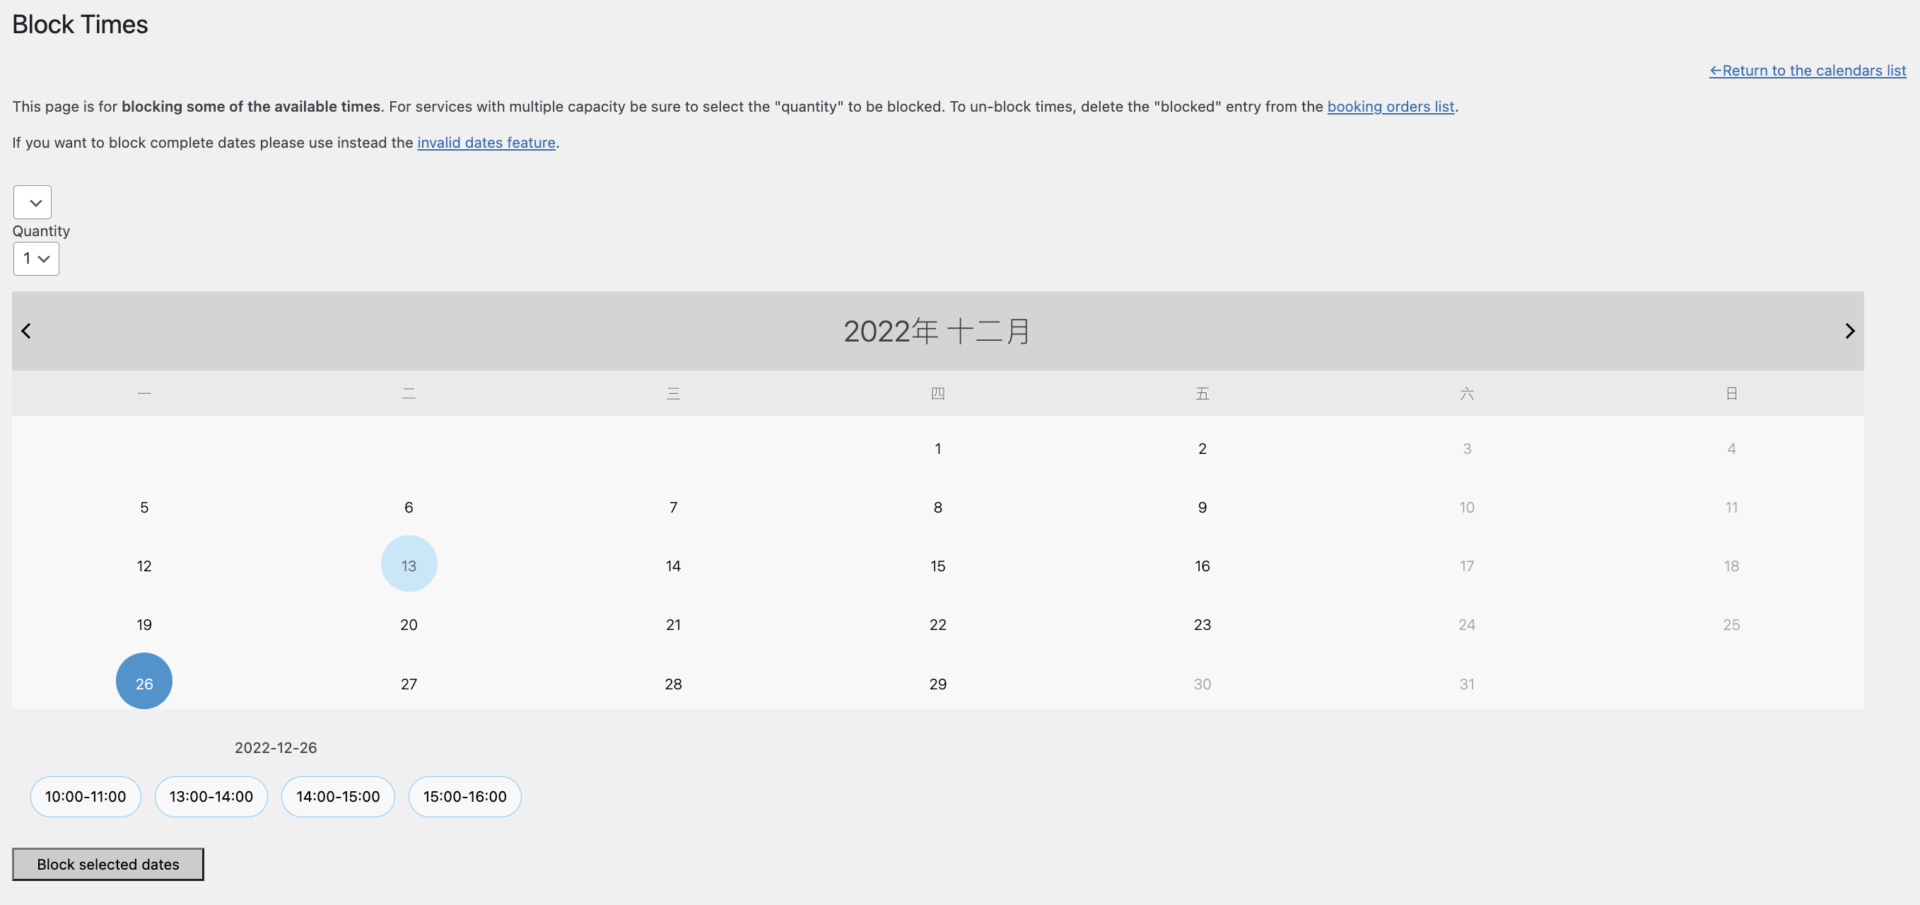
用戶畫面排版
Shortcode for Pages and Posts
接著我們要將短代碼放到我們要呈現的頁面中,然後點選發布

用戶畫面成果
當用戶進入預約頁面後,畫面中的時段是尚未有人預約的,
這時我們就可以選擇時段並將資料填寫完後送出
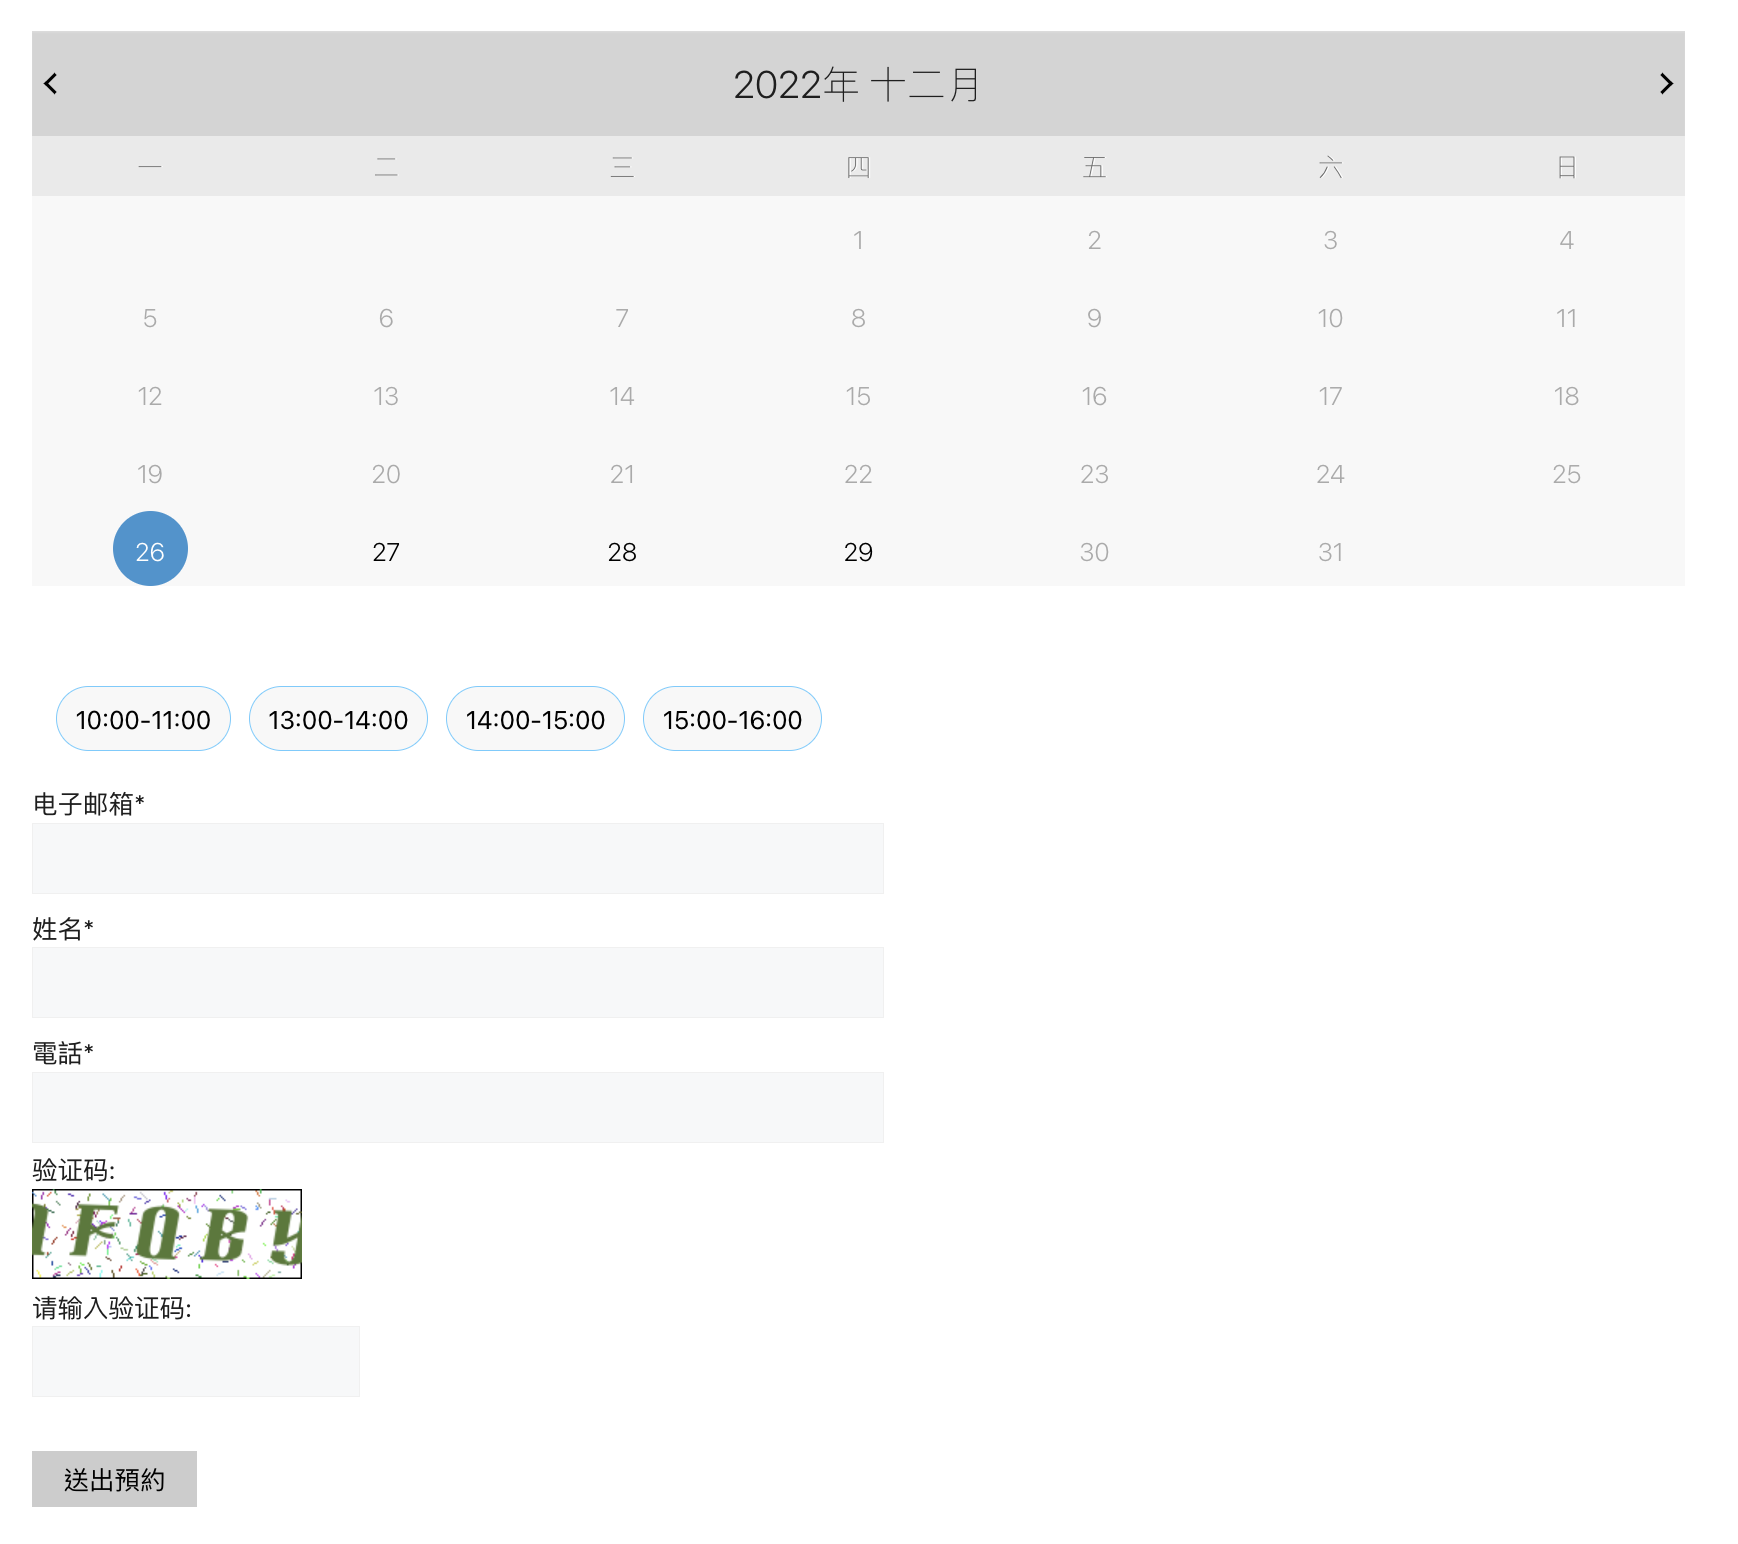
最後當表單填寫完成後,就會跳到我們指定的頁面
