市面上有許多網站快取的外掛例如WP Super Cache、WP Rocket、LiteSpeed Cache等等,今天要介紹的是這一款號稱WP Rocket窮人版的 W3 Total Cache外掛。
這款外掛對新手來說可以依照下面教學進行快速設定,如果是對進階用戶也能參考進階設定的細項做單獨設定。

外掛資訊
作者: BoldGrid
網址: https://wordpress.org/plugins/w3-total-cache/
版本: 2.2.0
Table of Contents
新手設定
當我們安裝好外掛之後,點擊Feature Showcase -> Setup Guide Wizard -> Launch
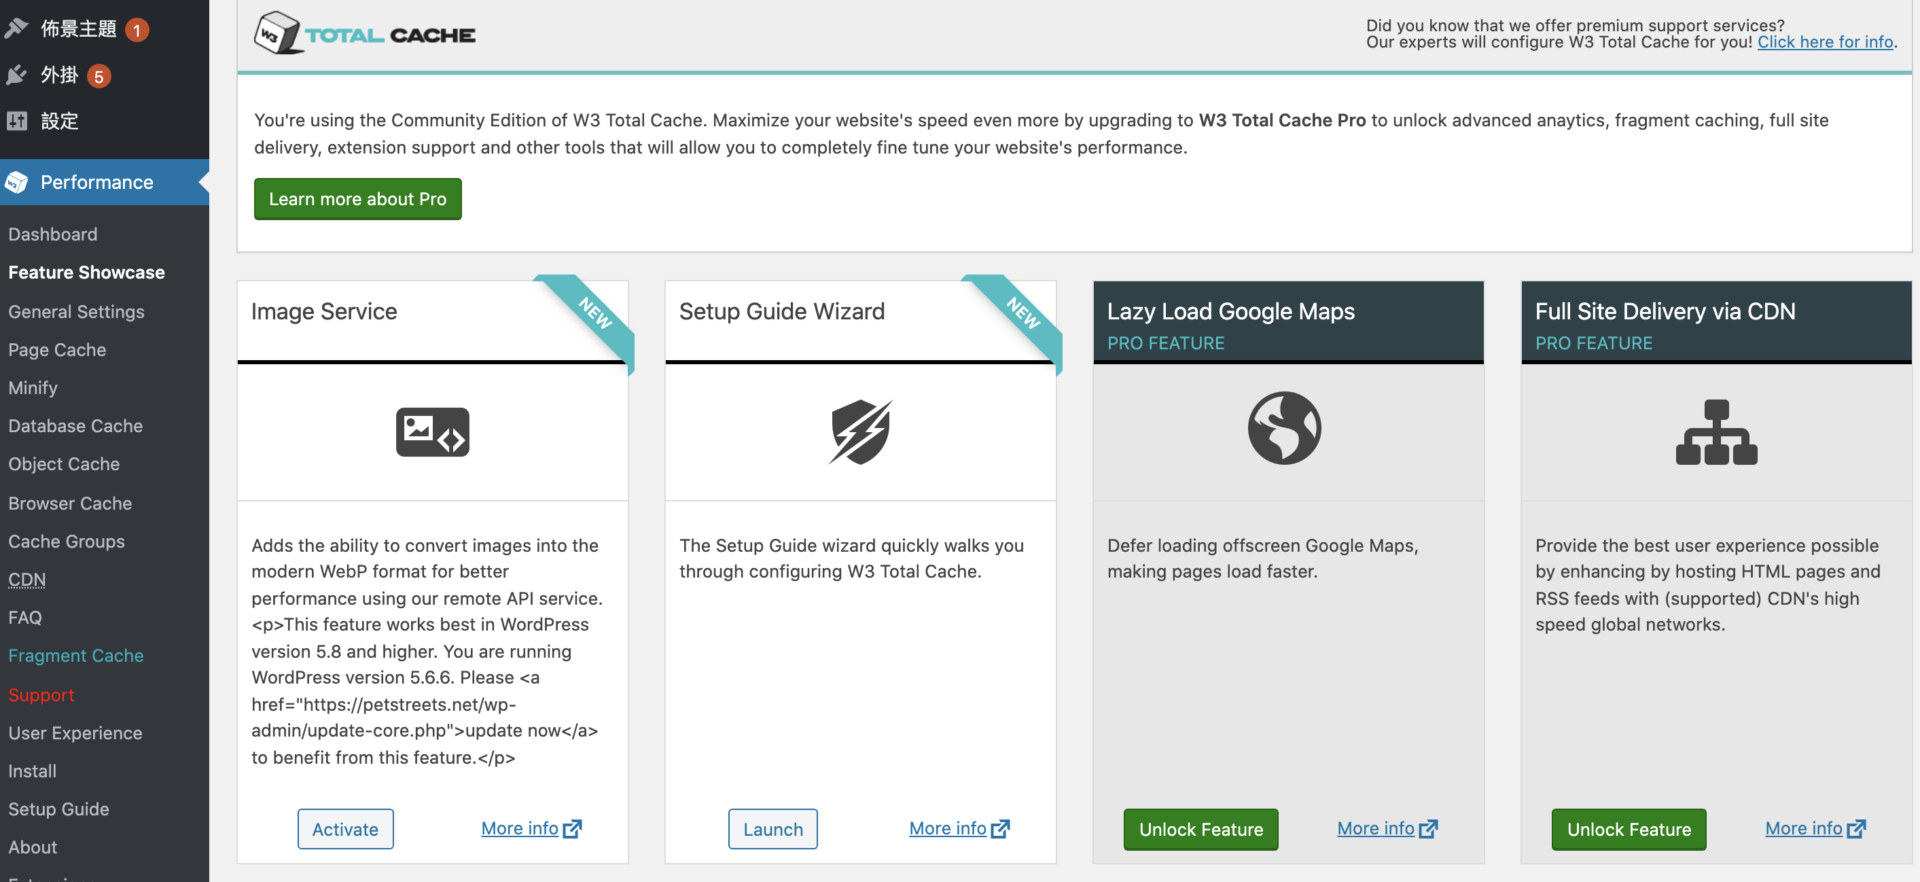
這邊是使用官方提供簡易的設定,透過外掛的自動分析讓我們選擇最適合的設定。
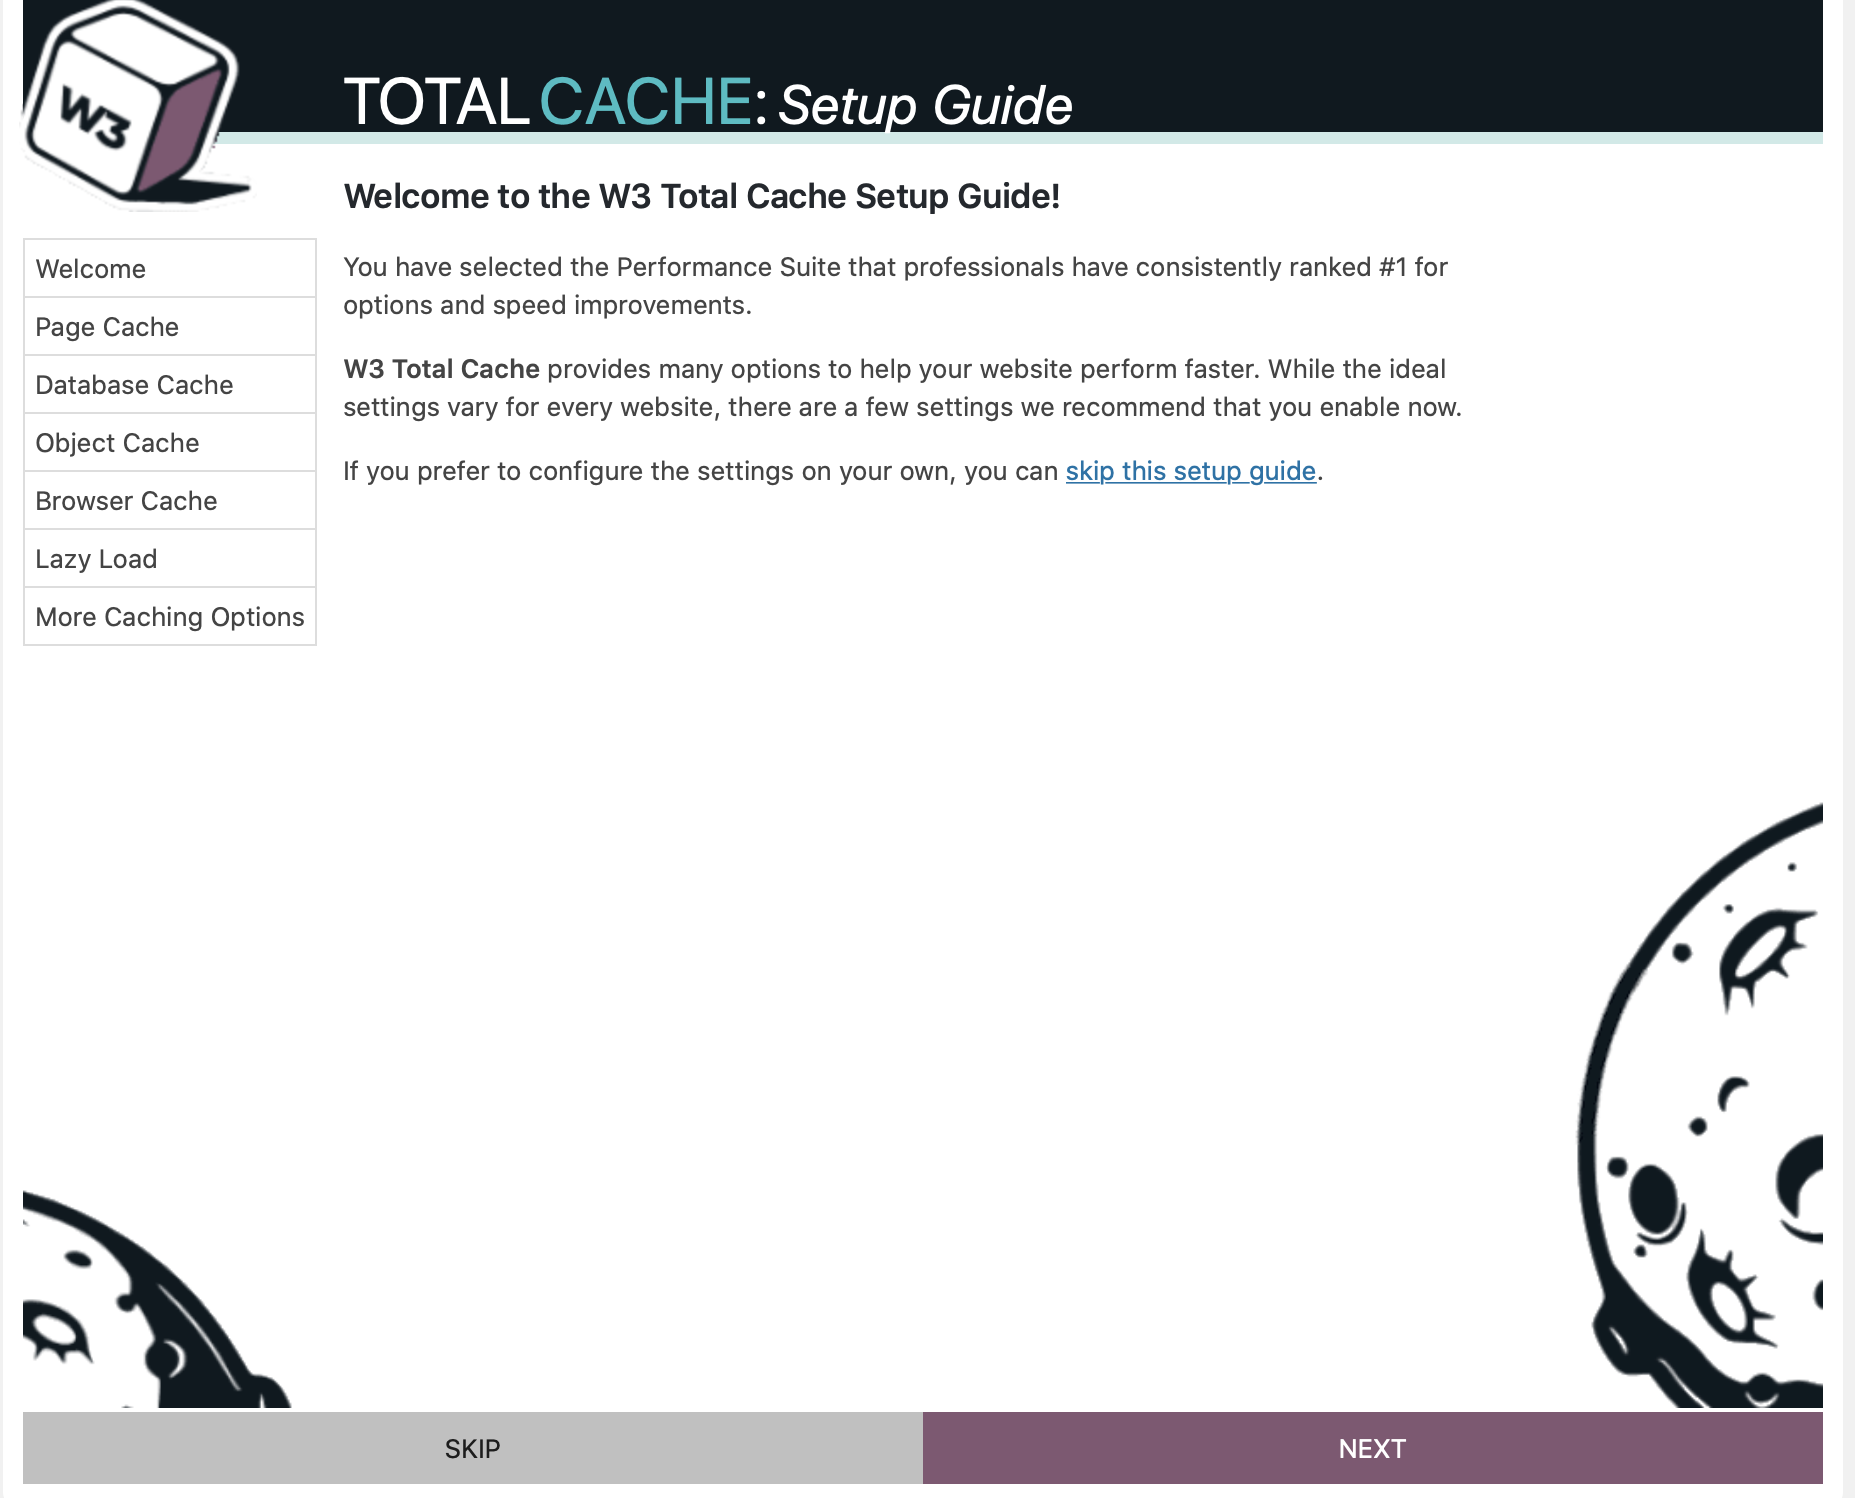
點擊NEXT開始設定
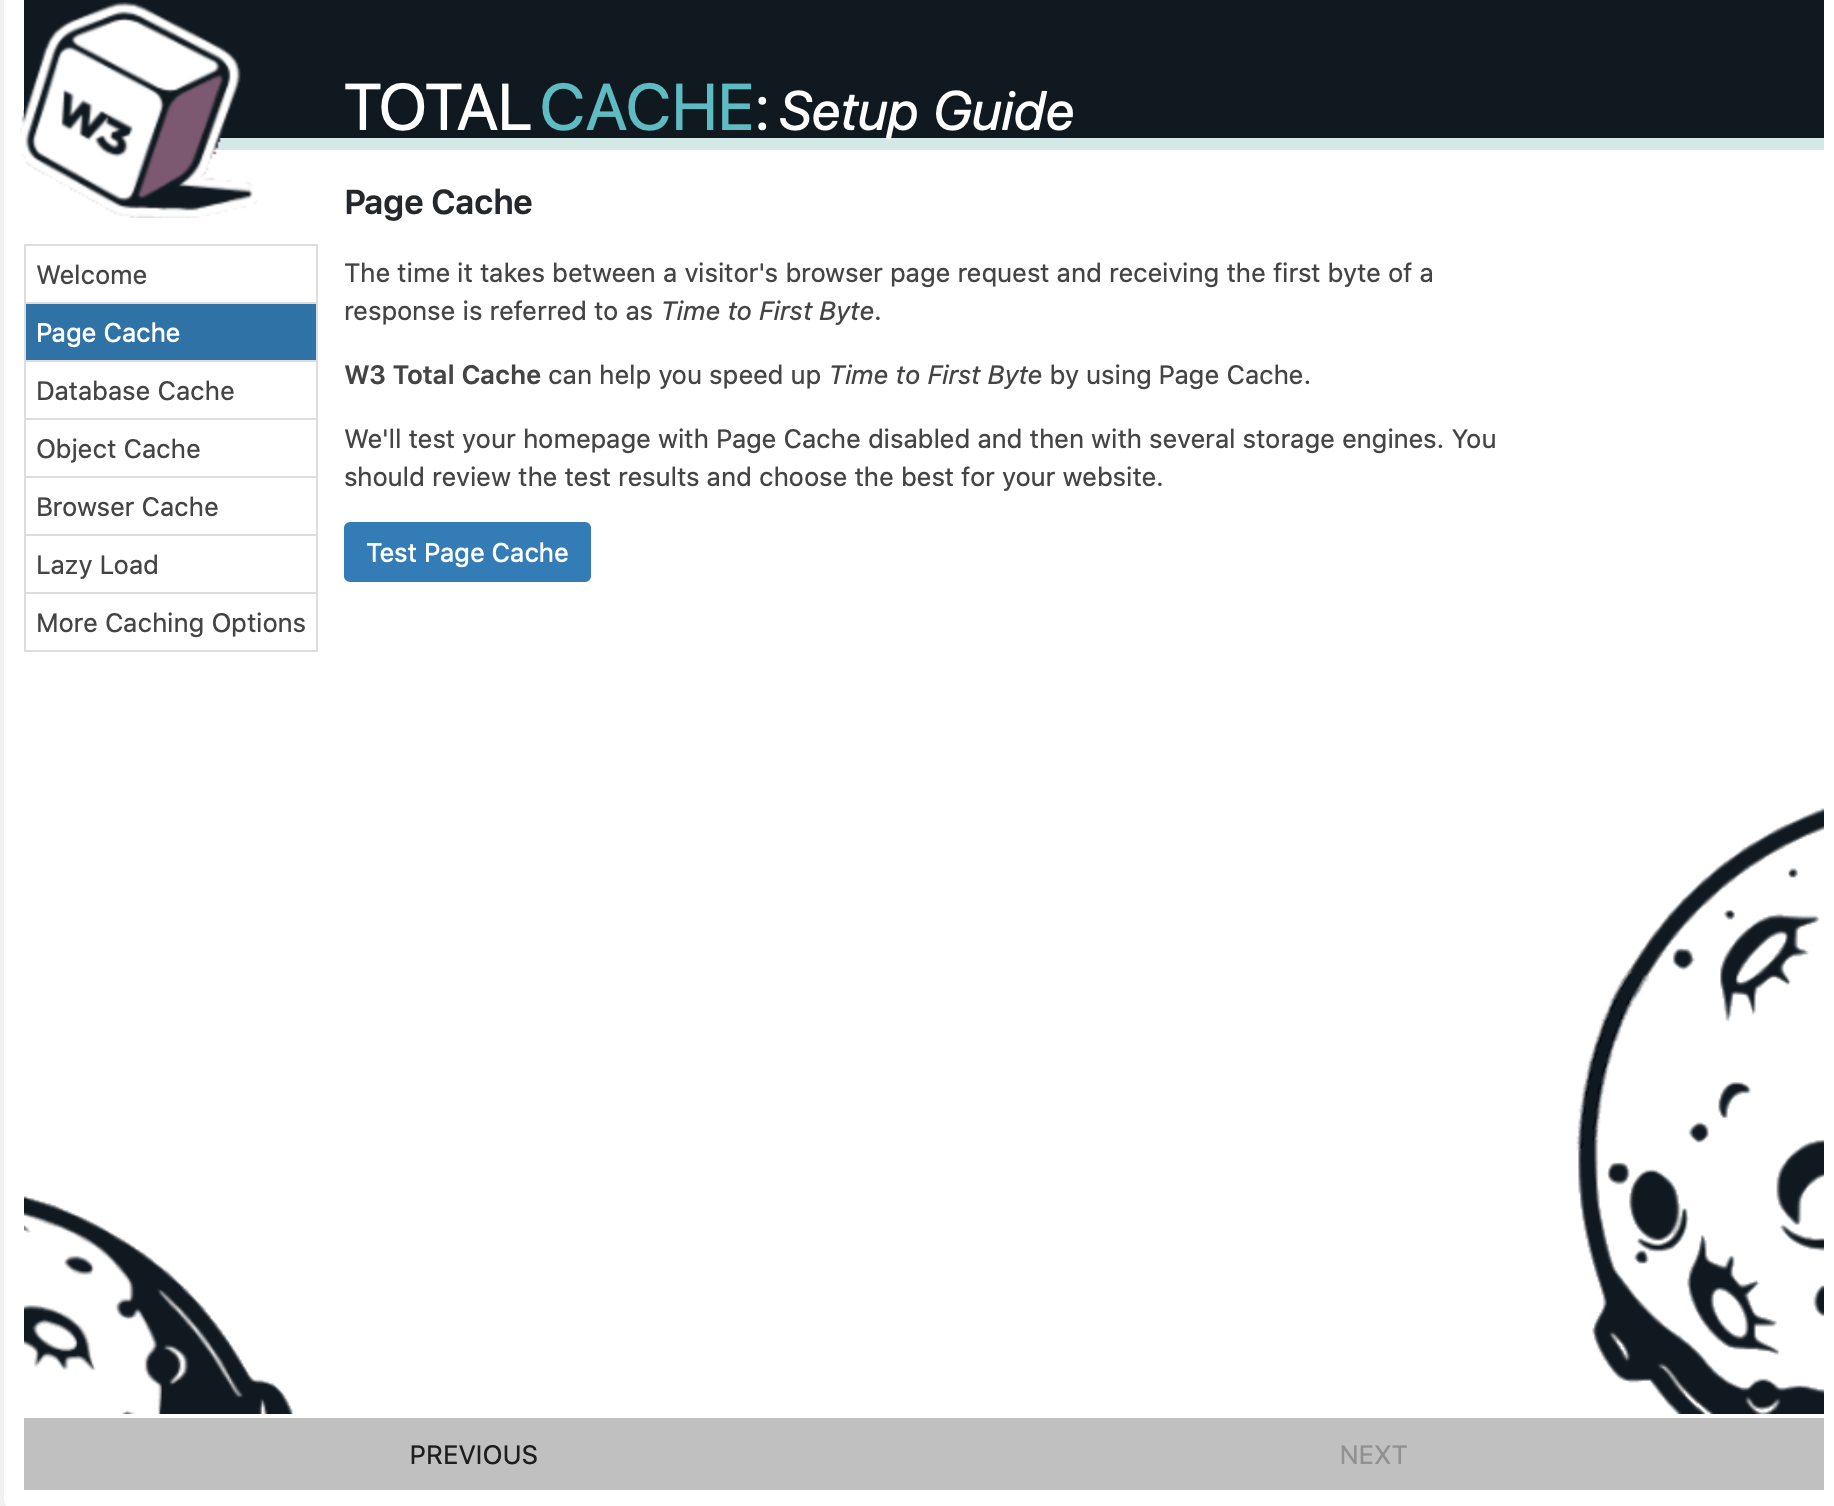
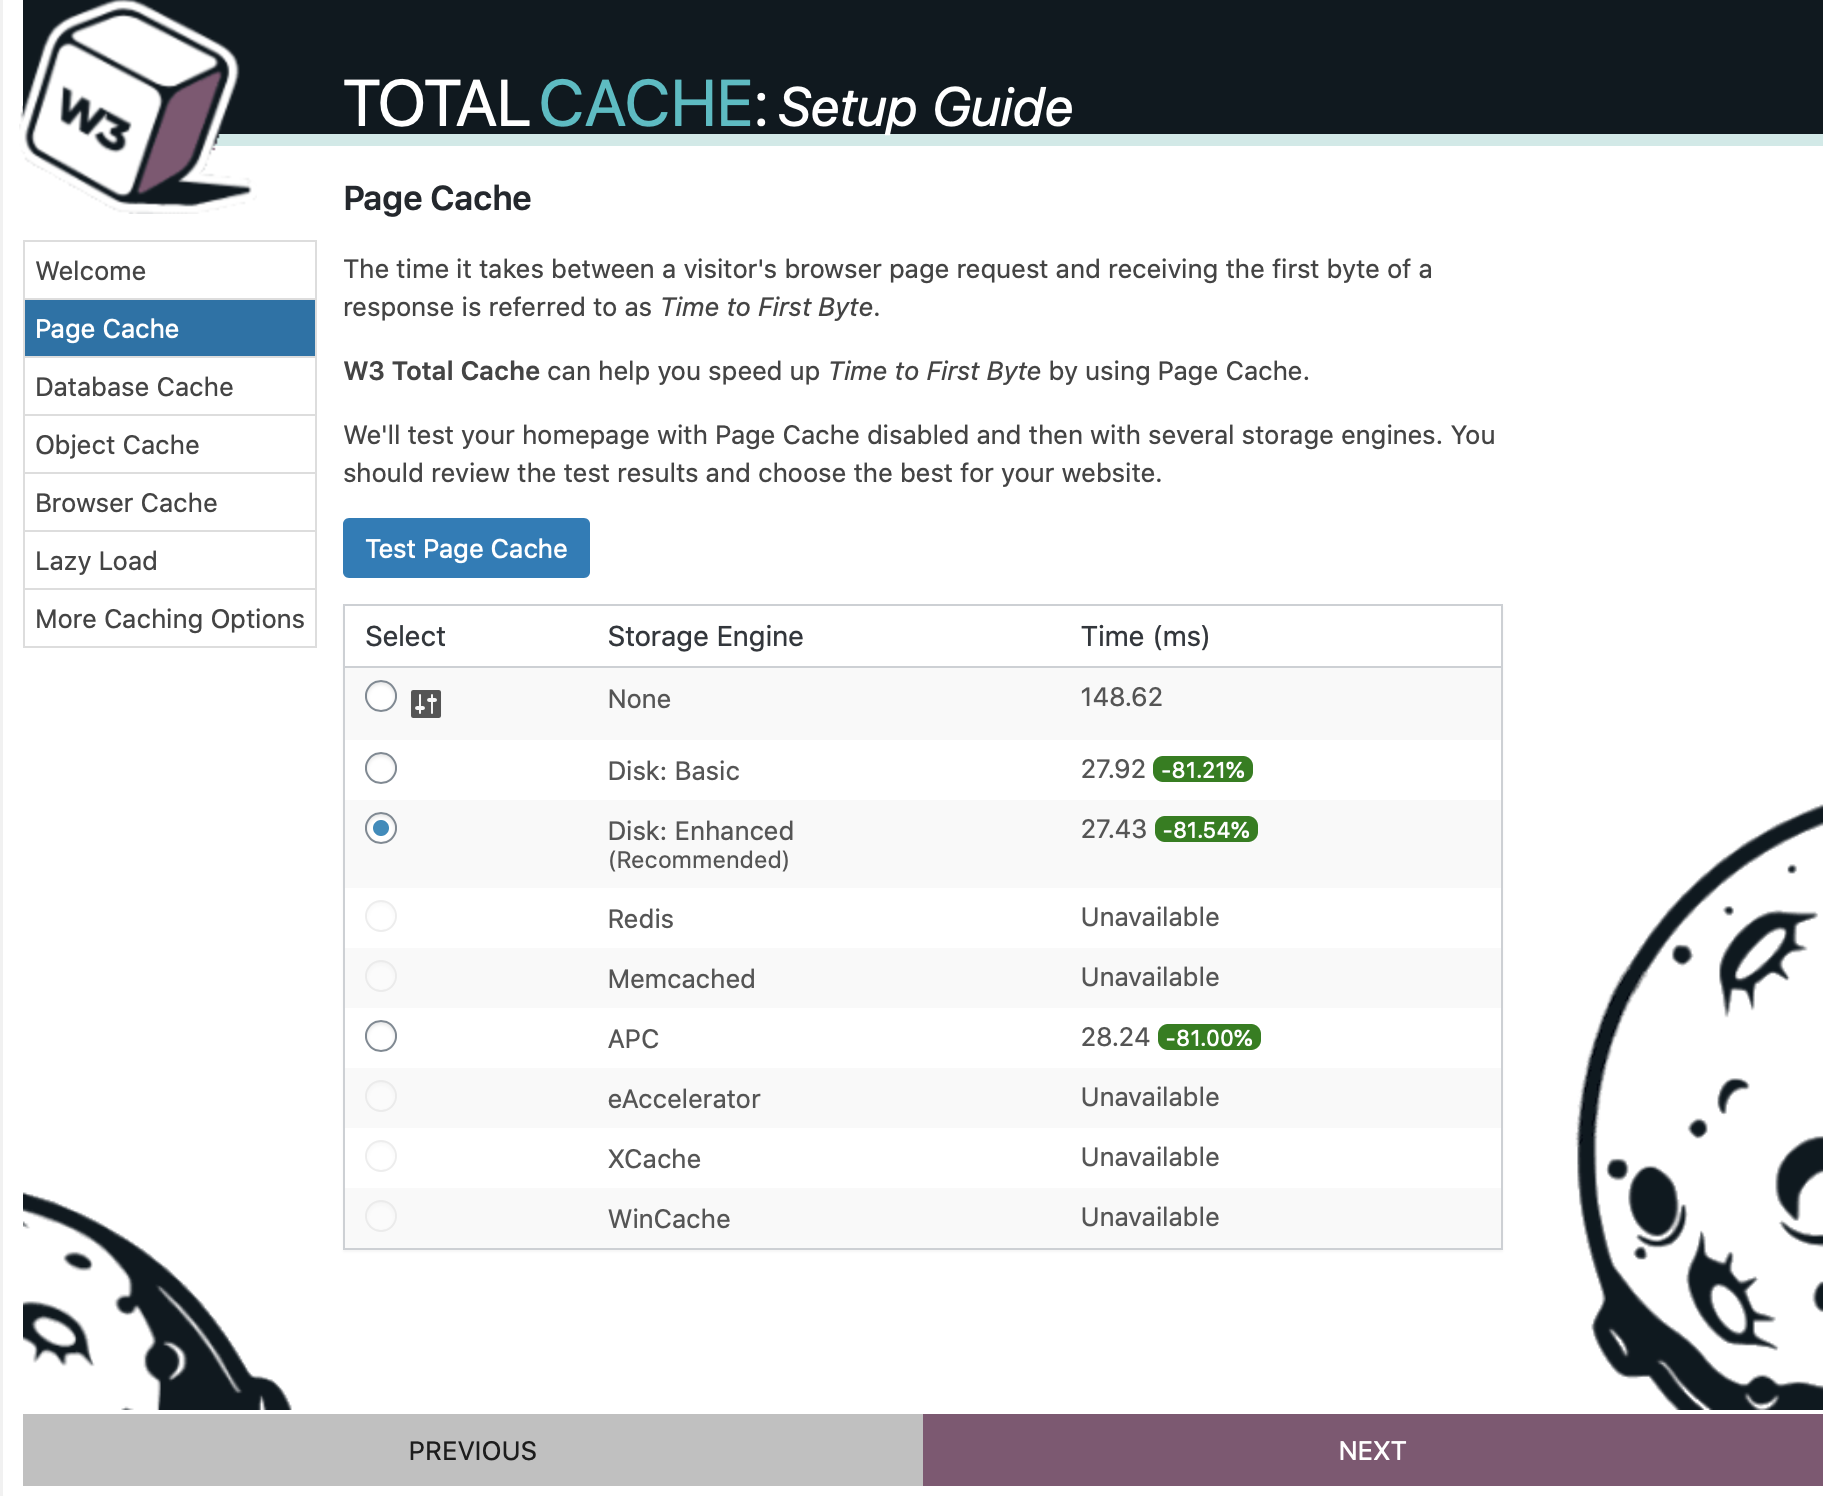
頁面快取(Page Cache):這邊點擊Test Page Cache進行分析
這邊分析的結果,選擇Disk:Basic、Disk:Enhanced、APC優化的效果差不多,那要如何選擇?
如果你使用的是虛擬主機,最好選擇Disk:Enhanced 。
如果你使用的是VPS或是專用主機因為CPU資源比較多,就可以選擇APC。
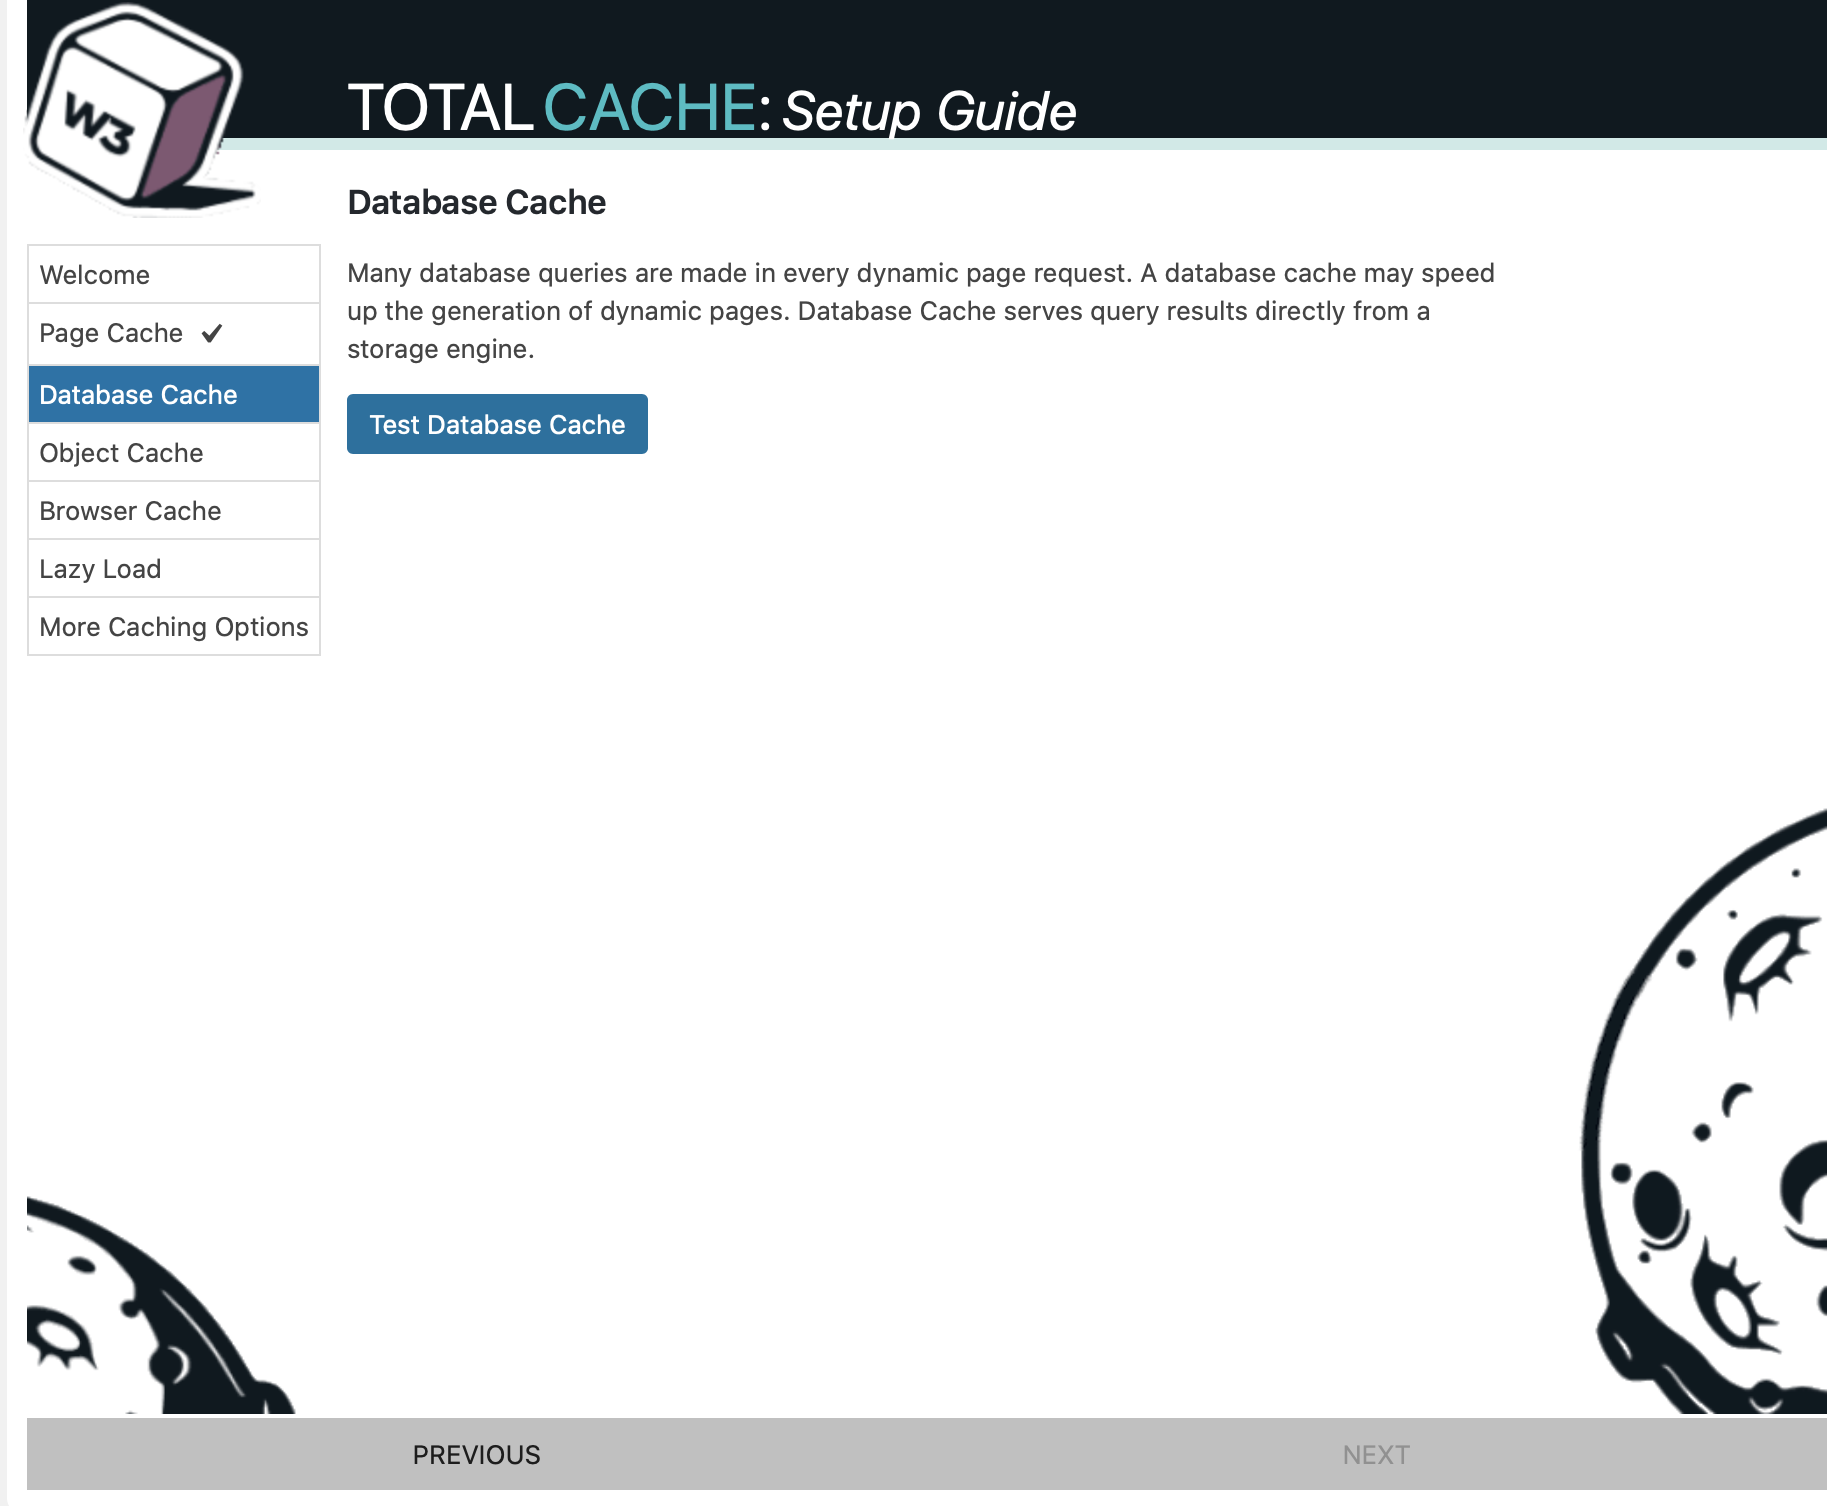
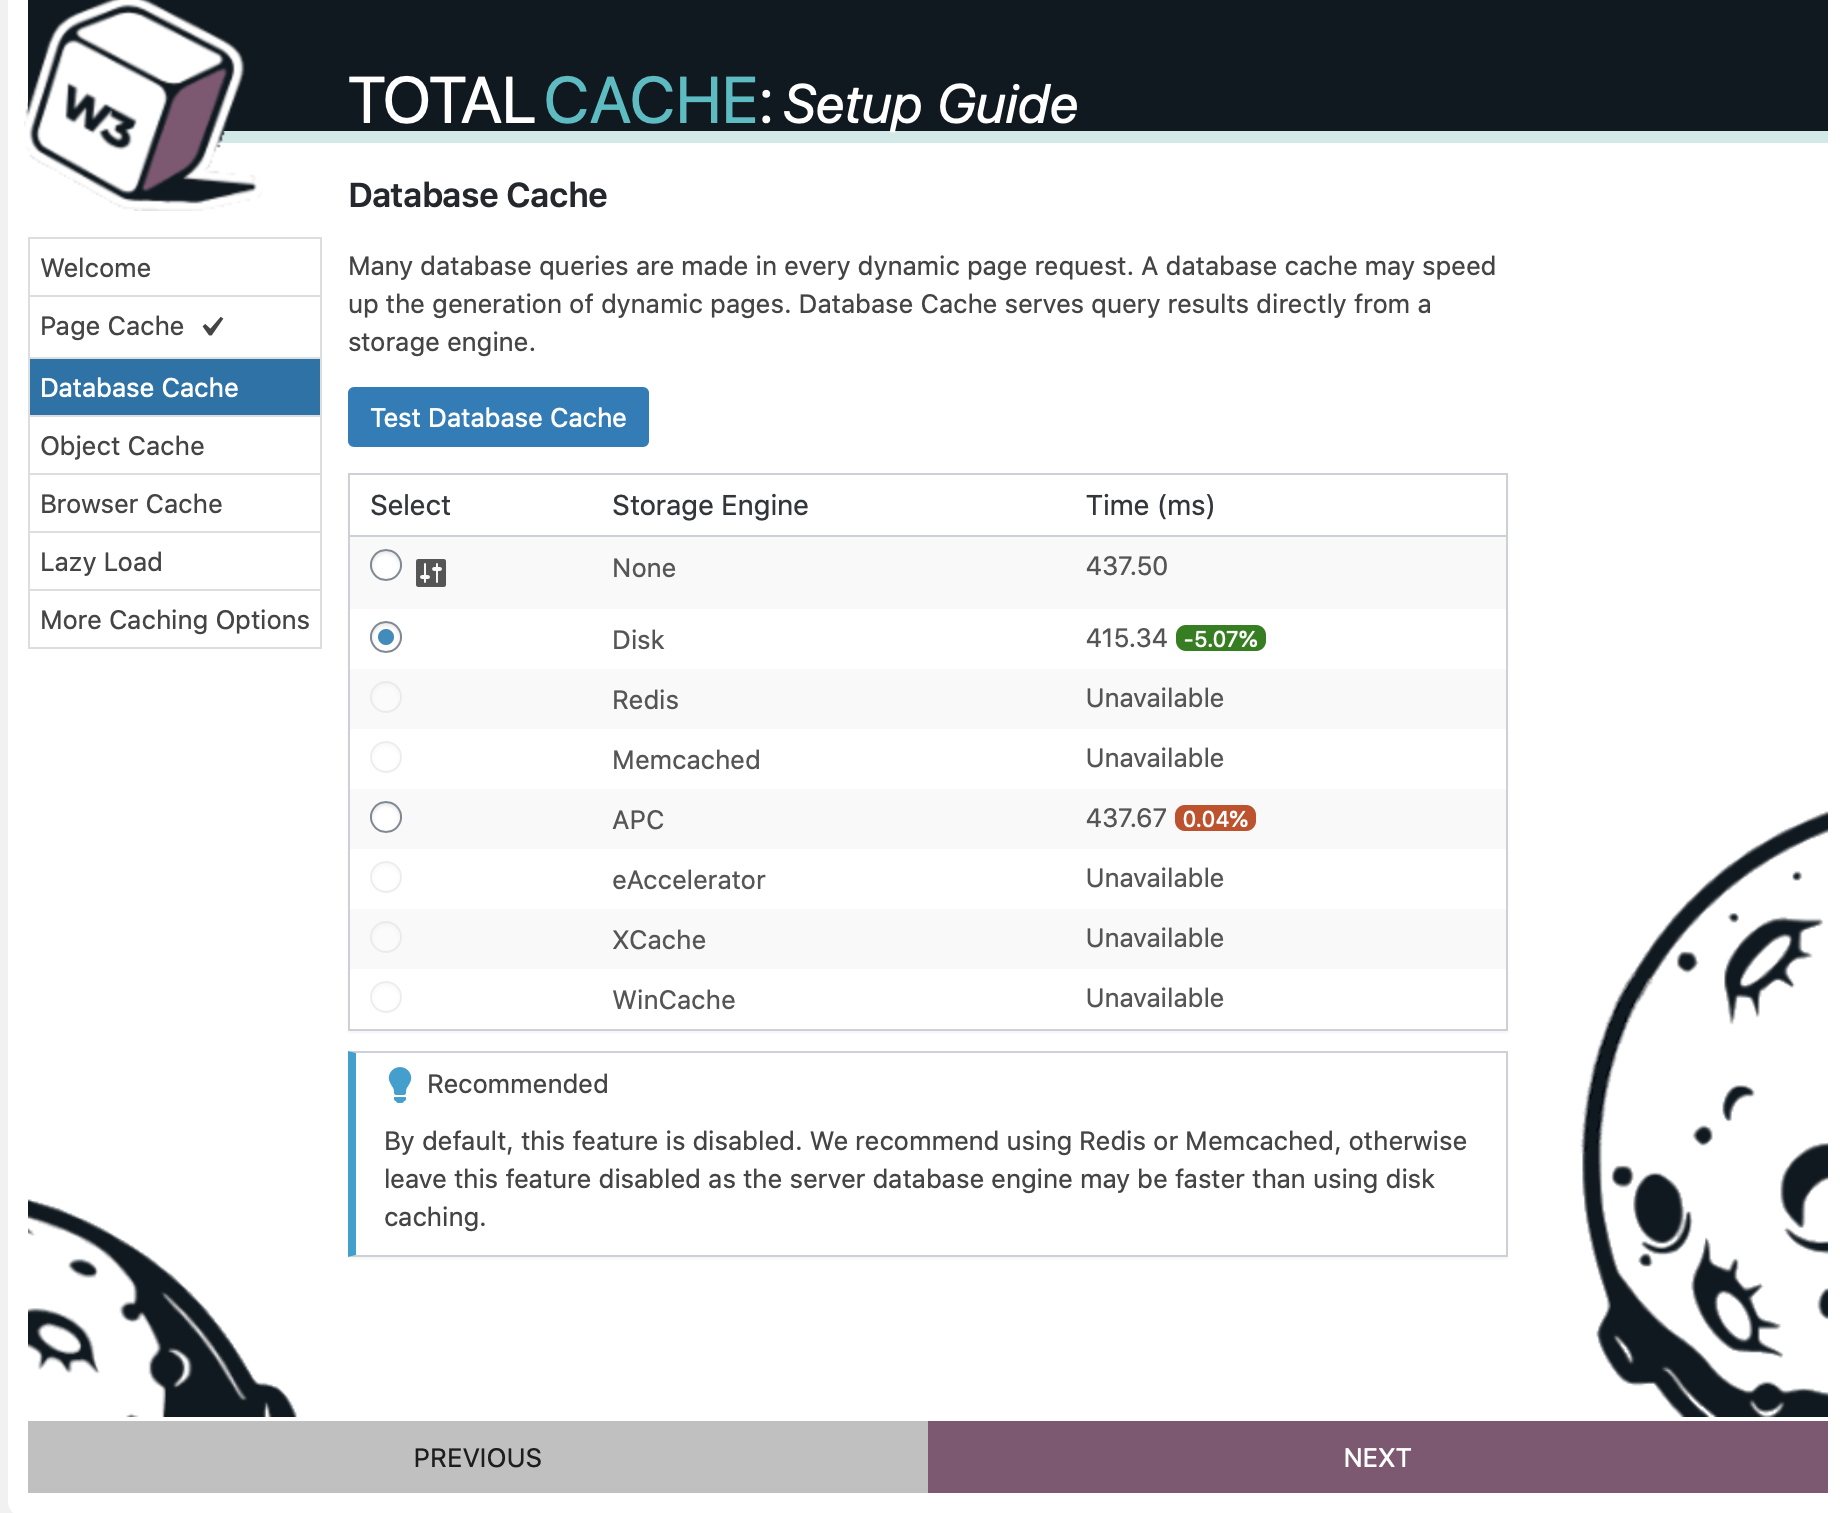
資料庫快取(Database Cache):這邊點擊Test Database Cache進行分析
這邊分析的結果,這台主機只能選擇Disk、APC進行優化其中Disk效果比較好,所以選擇Disk。
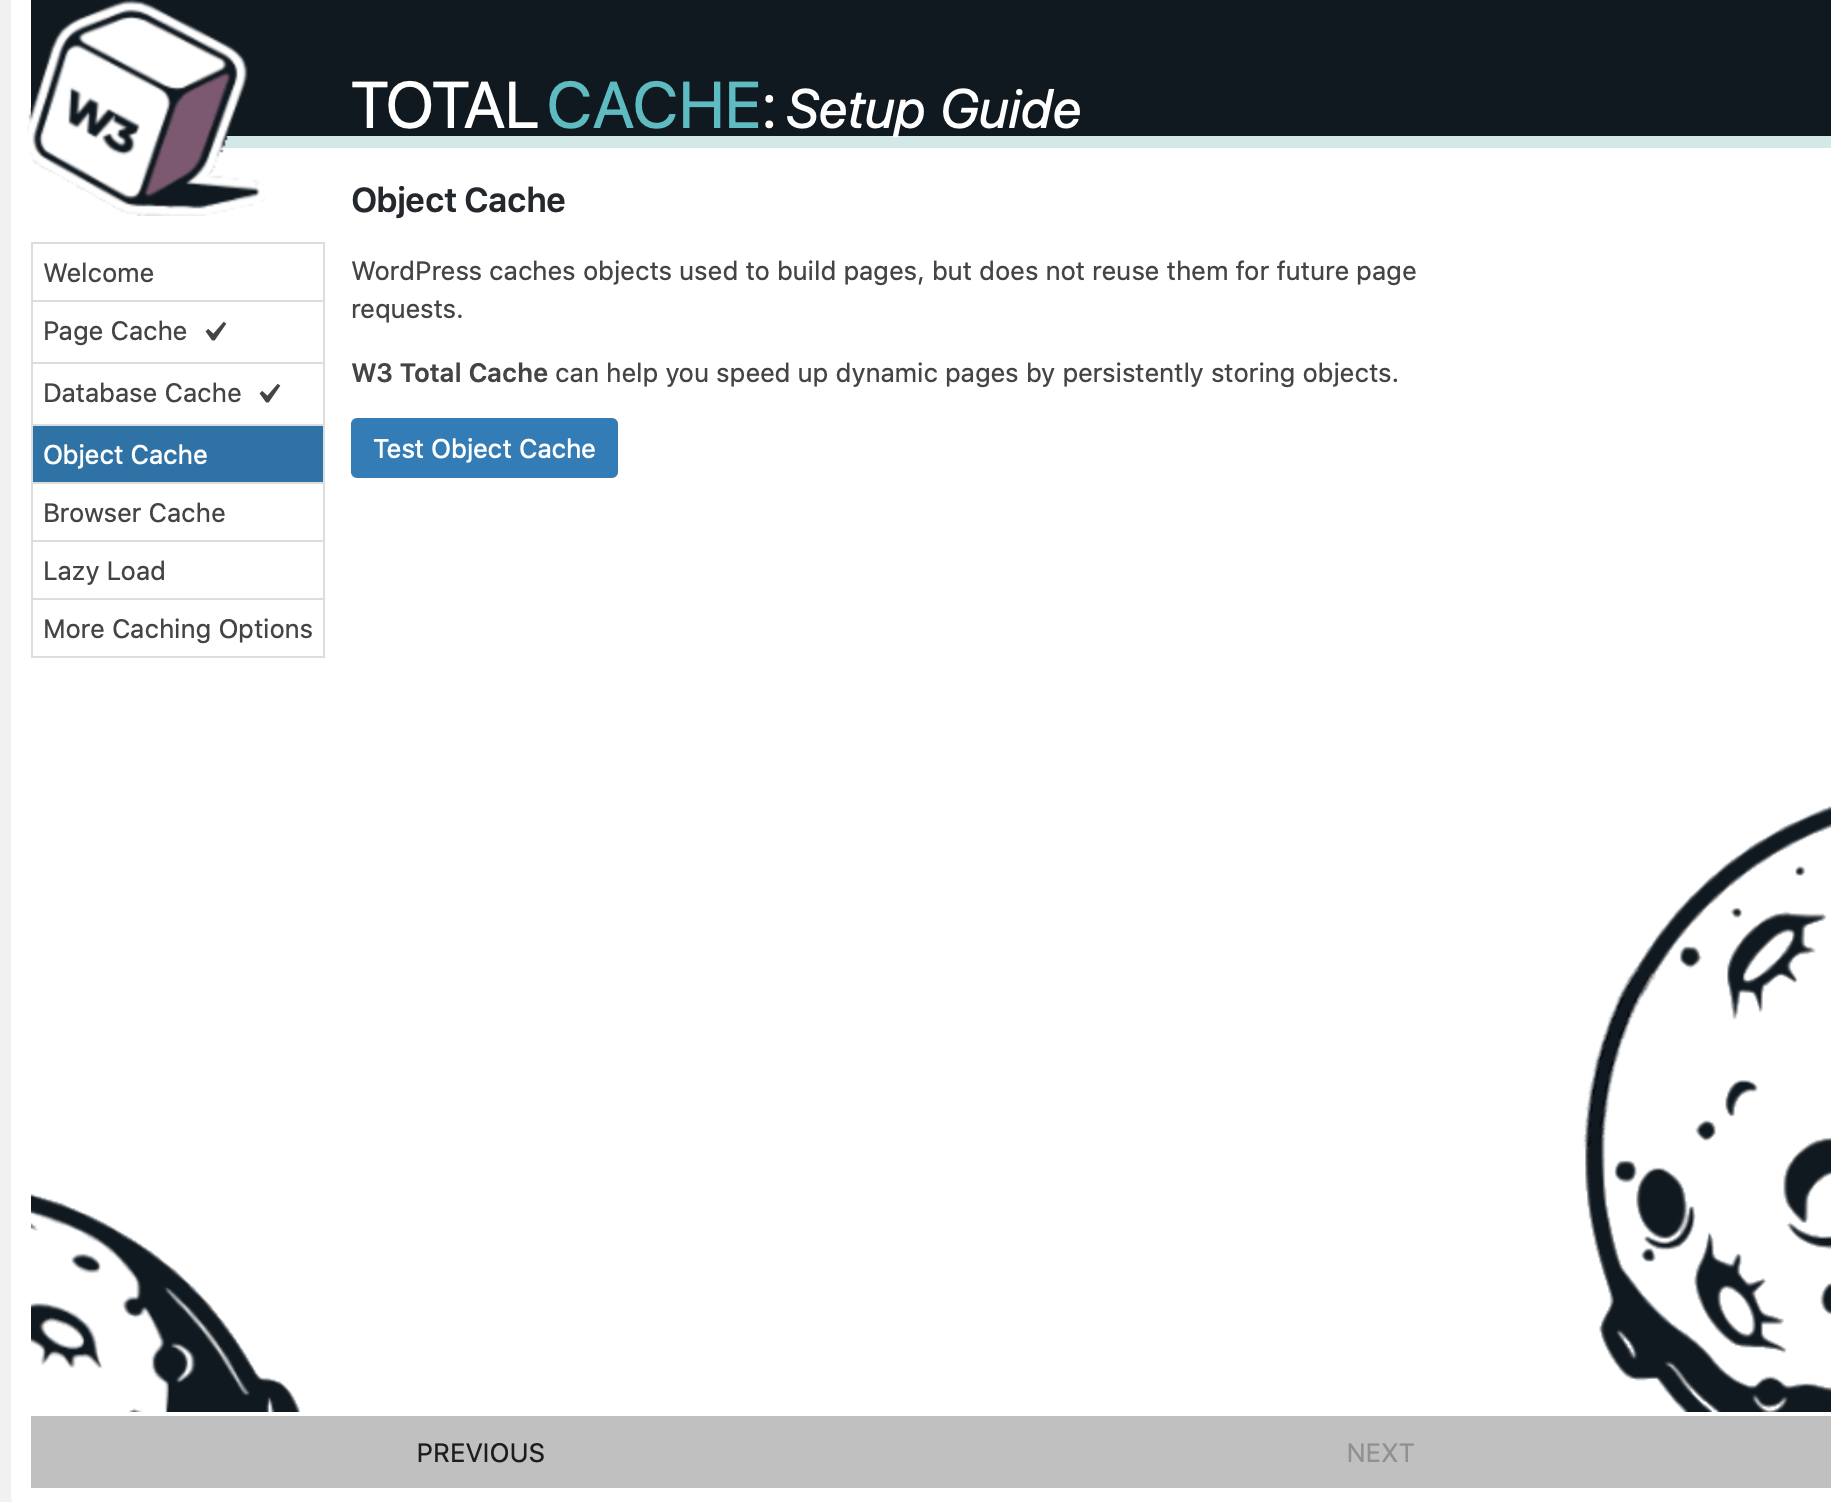
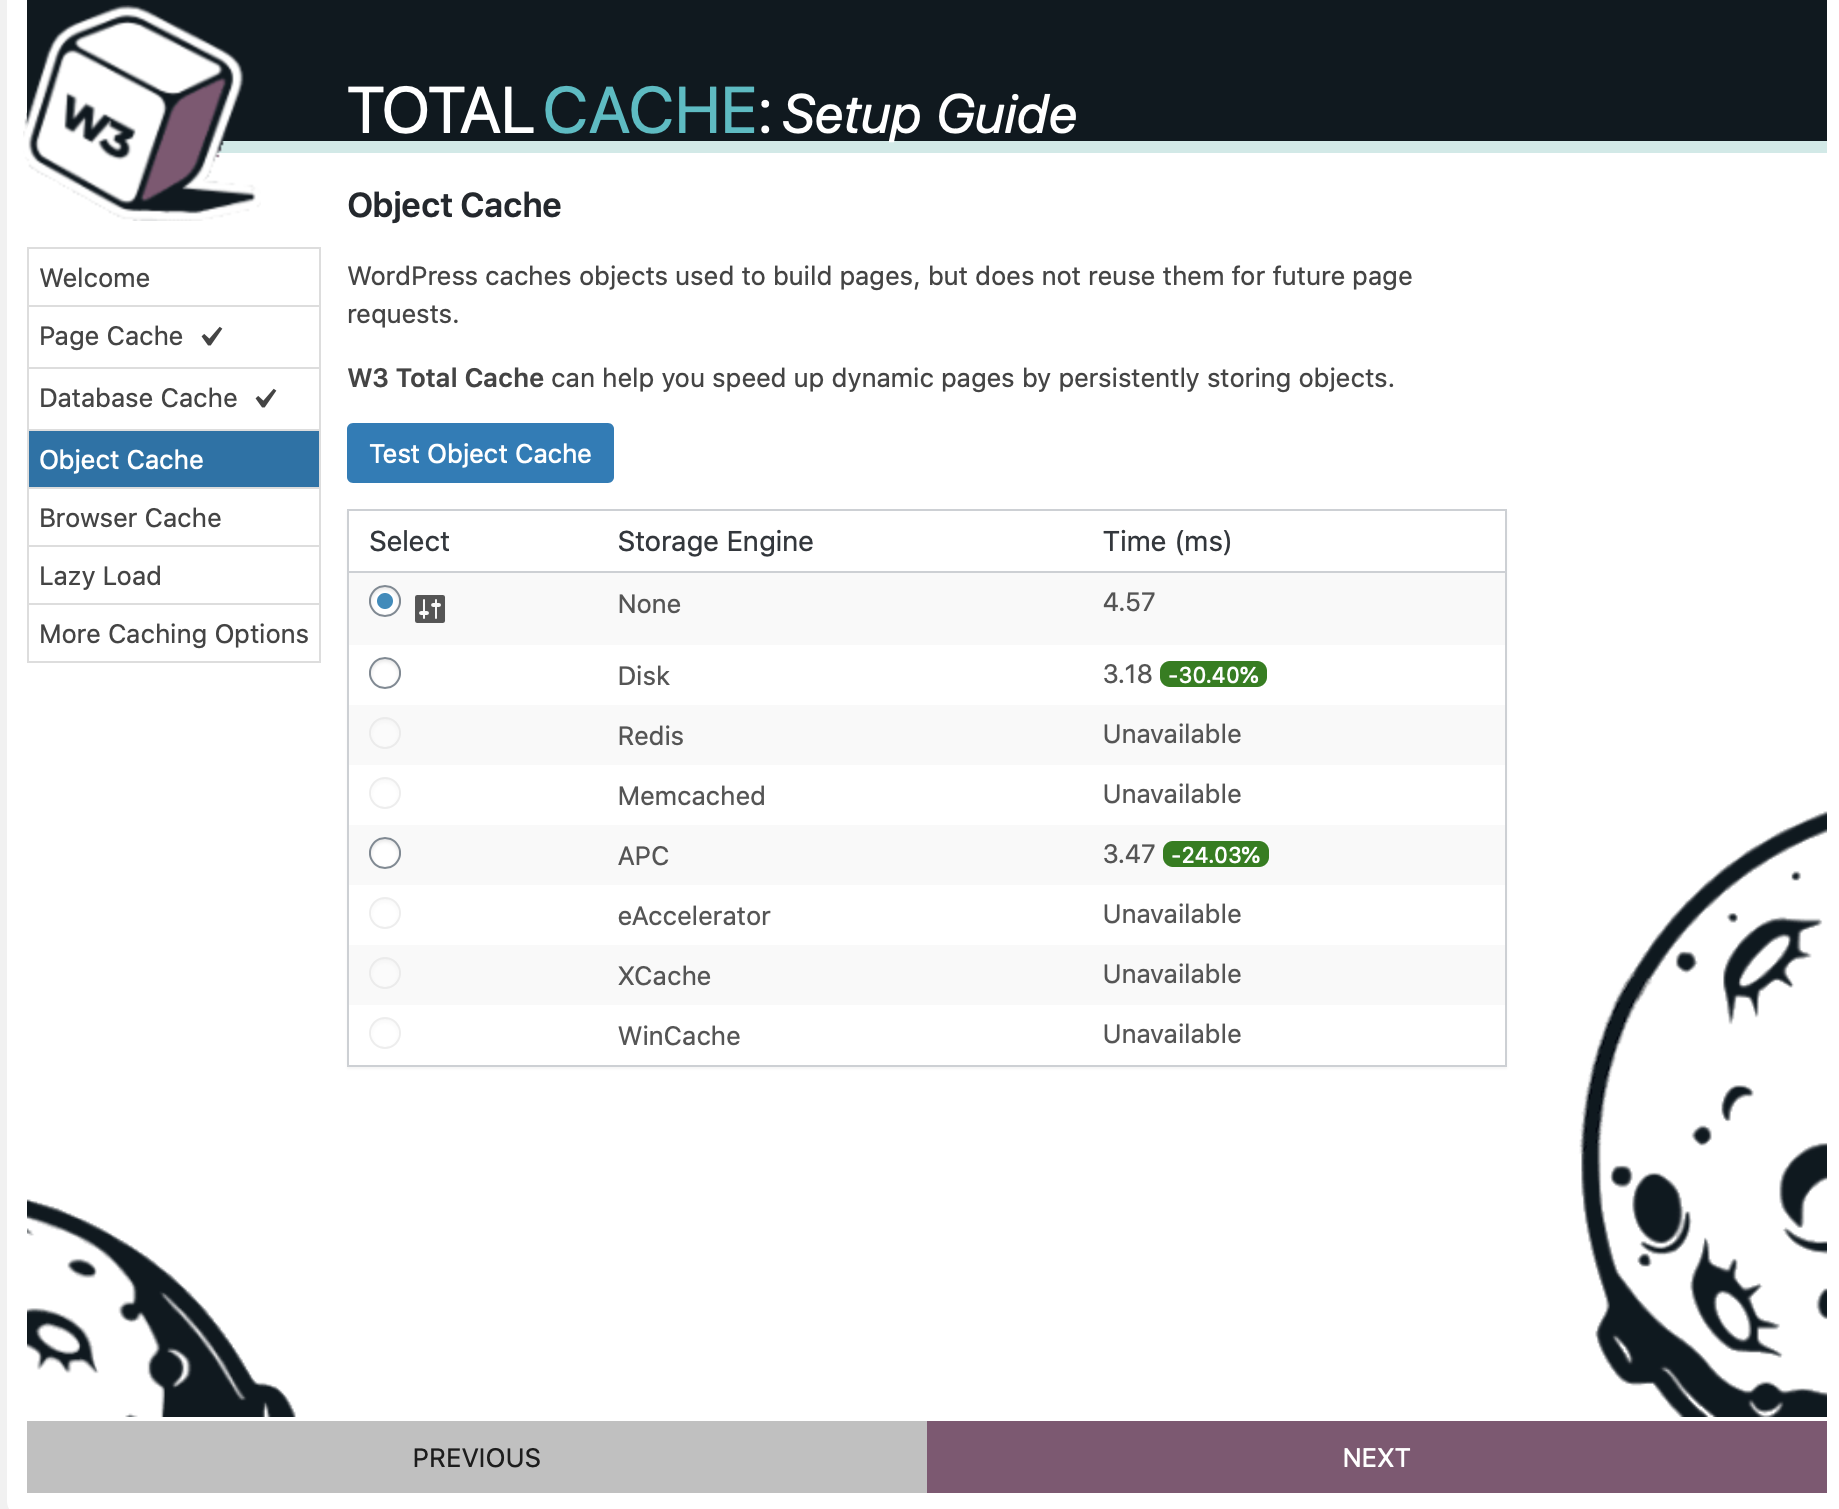
物件快取(Object Cache):這邊點擊Test Object Cache進行分析
這邊分析的結果,這台主機只能選擇Disk、APC進行優化其中Disk效果比較好,所以選擇Disk。
瀏覽器快取(Browser Cache):這邊點擊Test Browser Cache進行分析
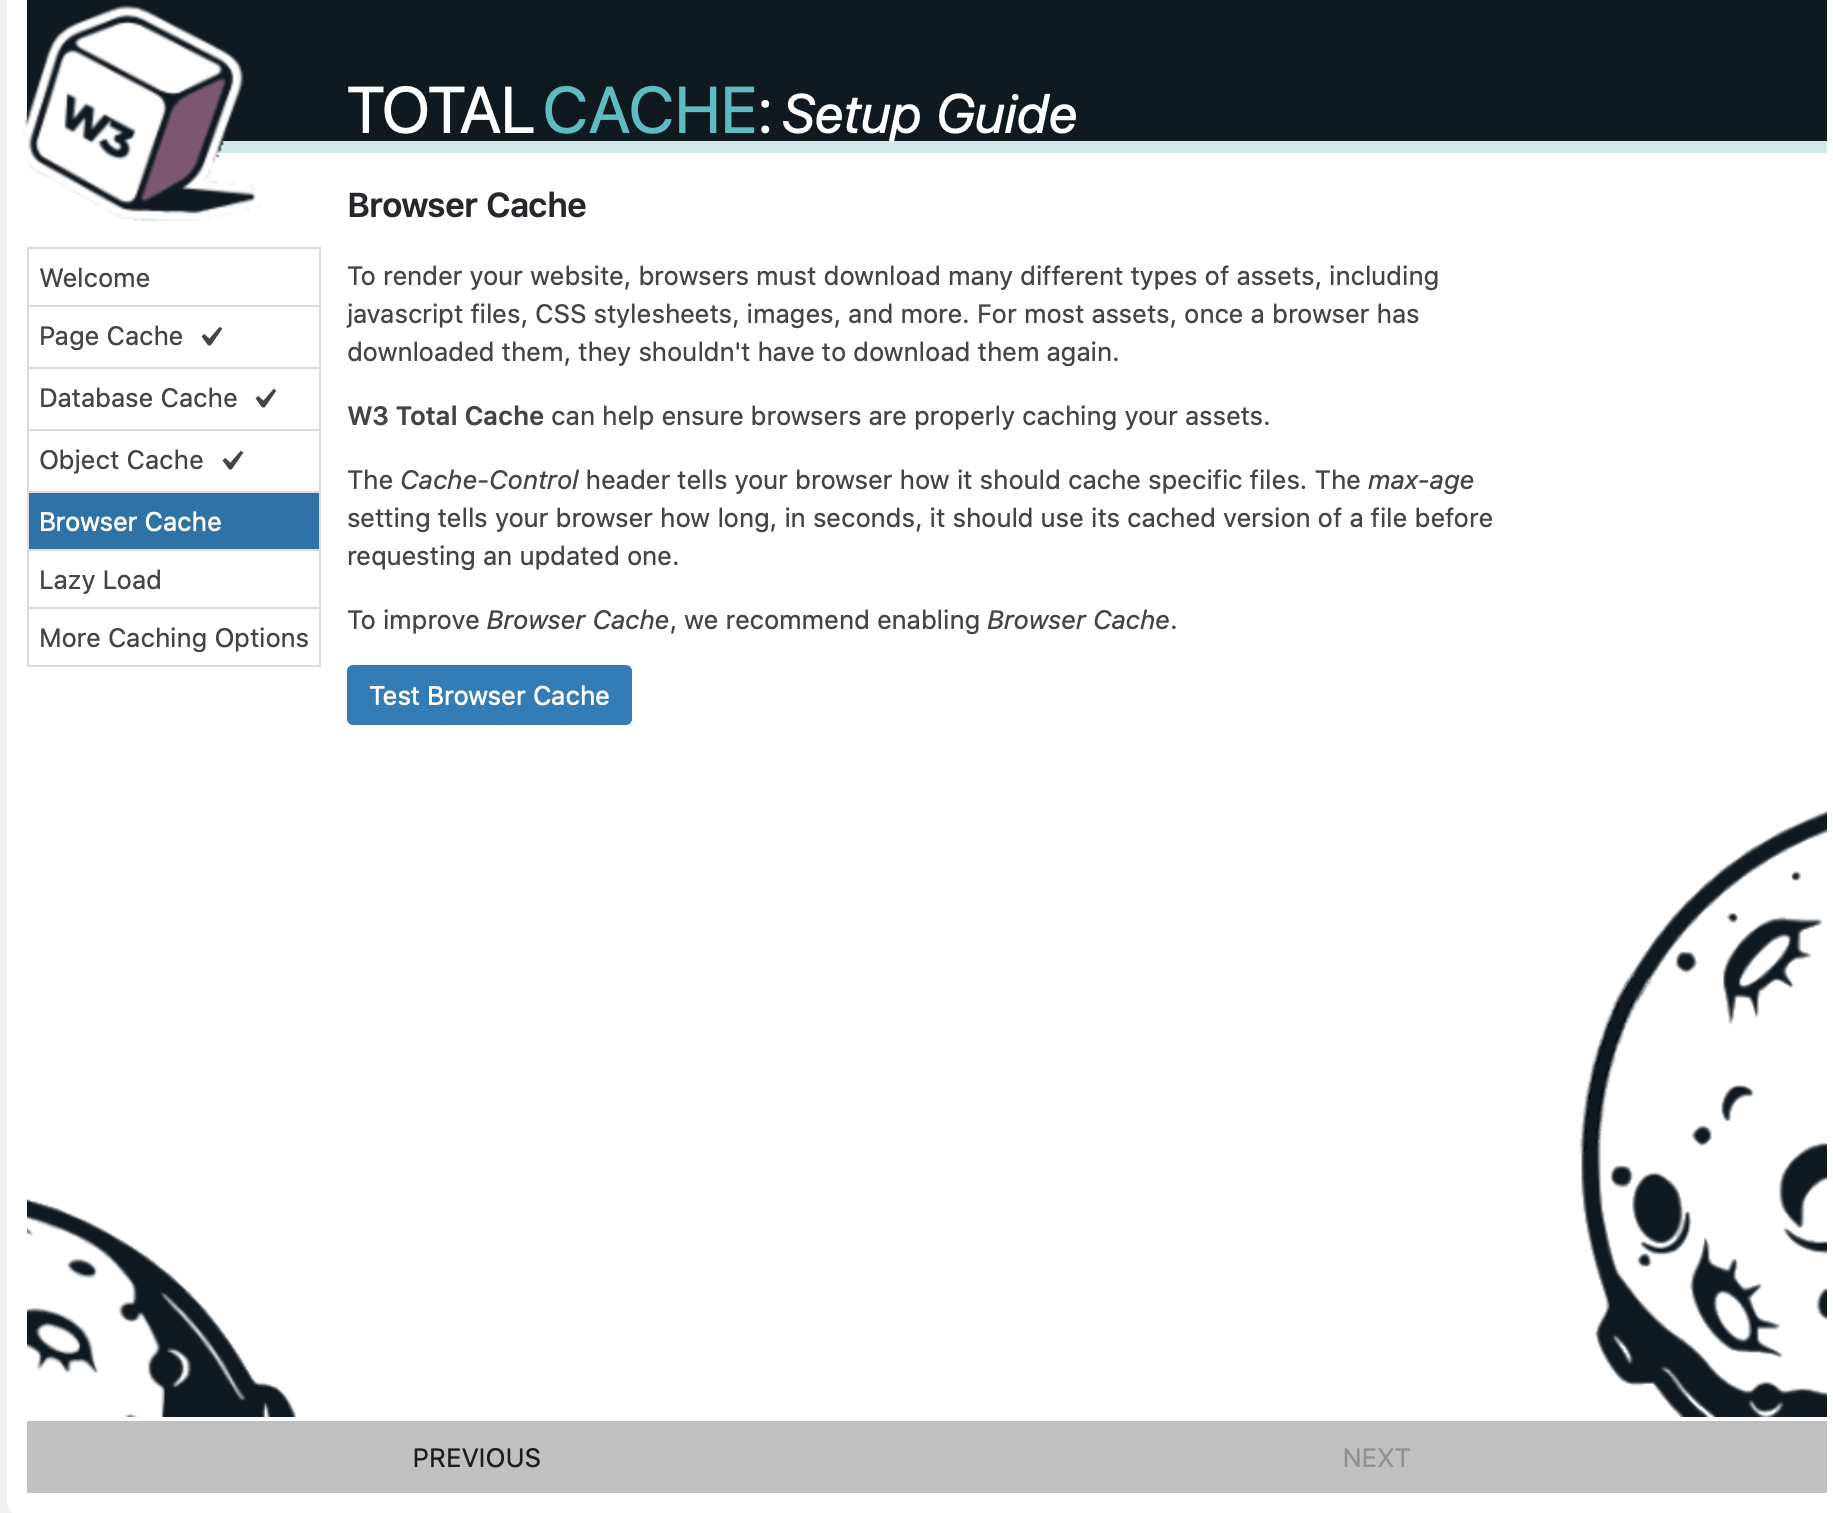
這邊分析結果,建議直接選擇Enabled即可
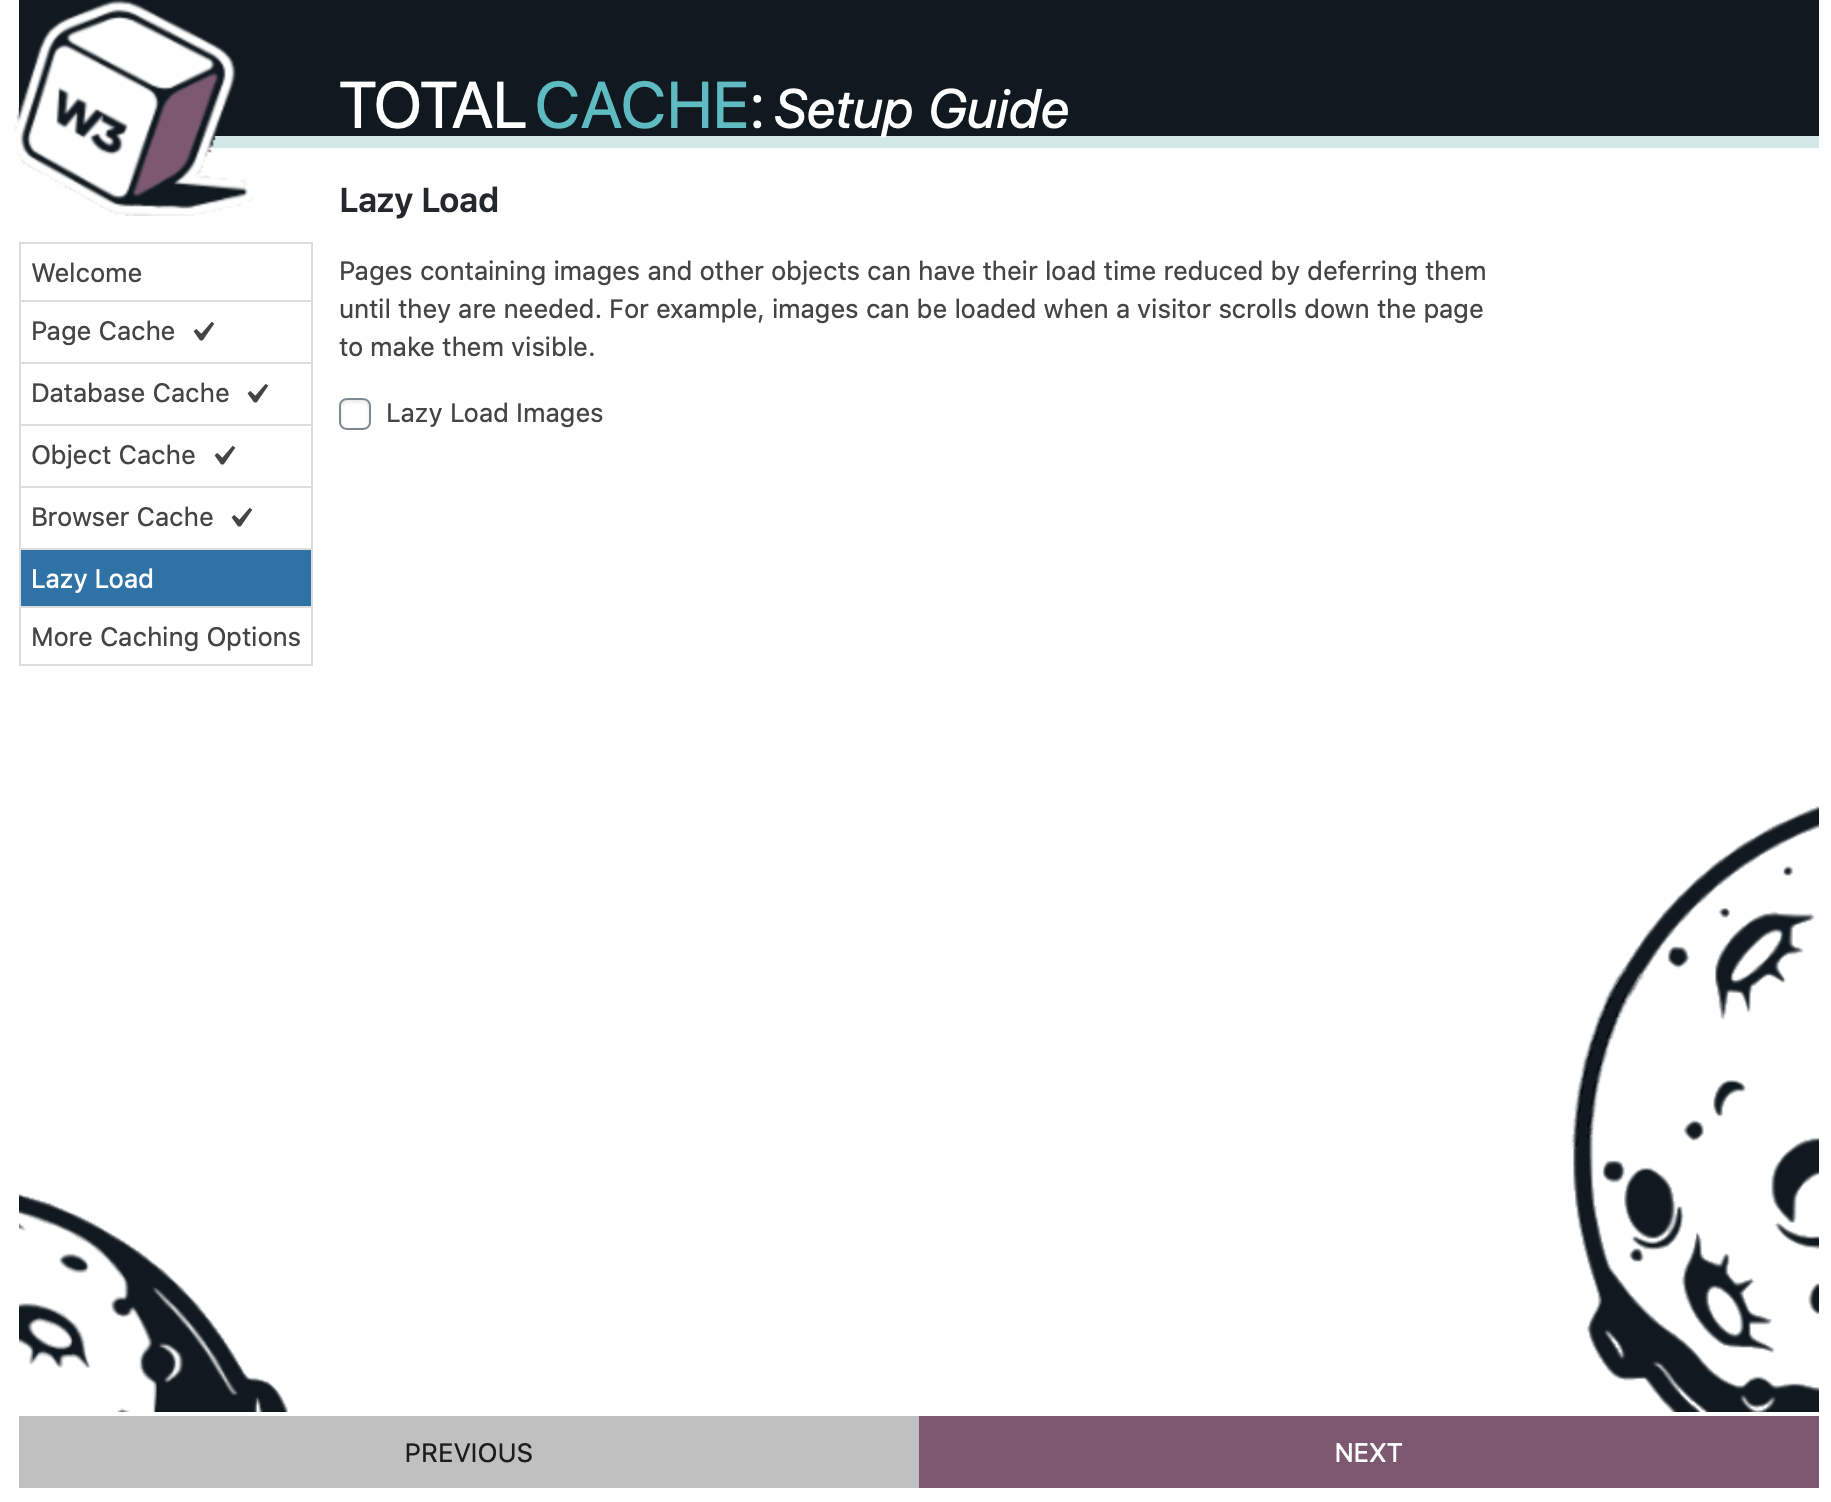
延遲載入(Lazy Load):如果你有使用 Jetpack、BJ Lazy Load 等延遲外掛這邊就可以不用開啟,如果沒有使用最好要開啟
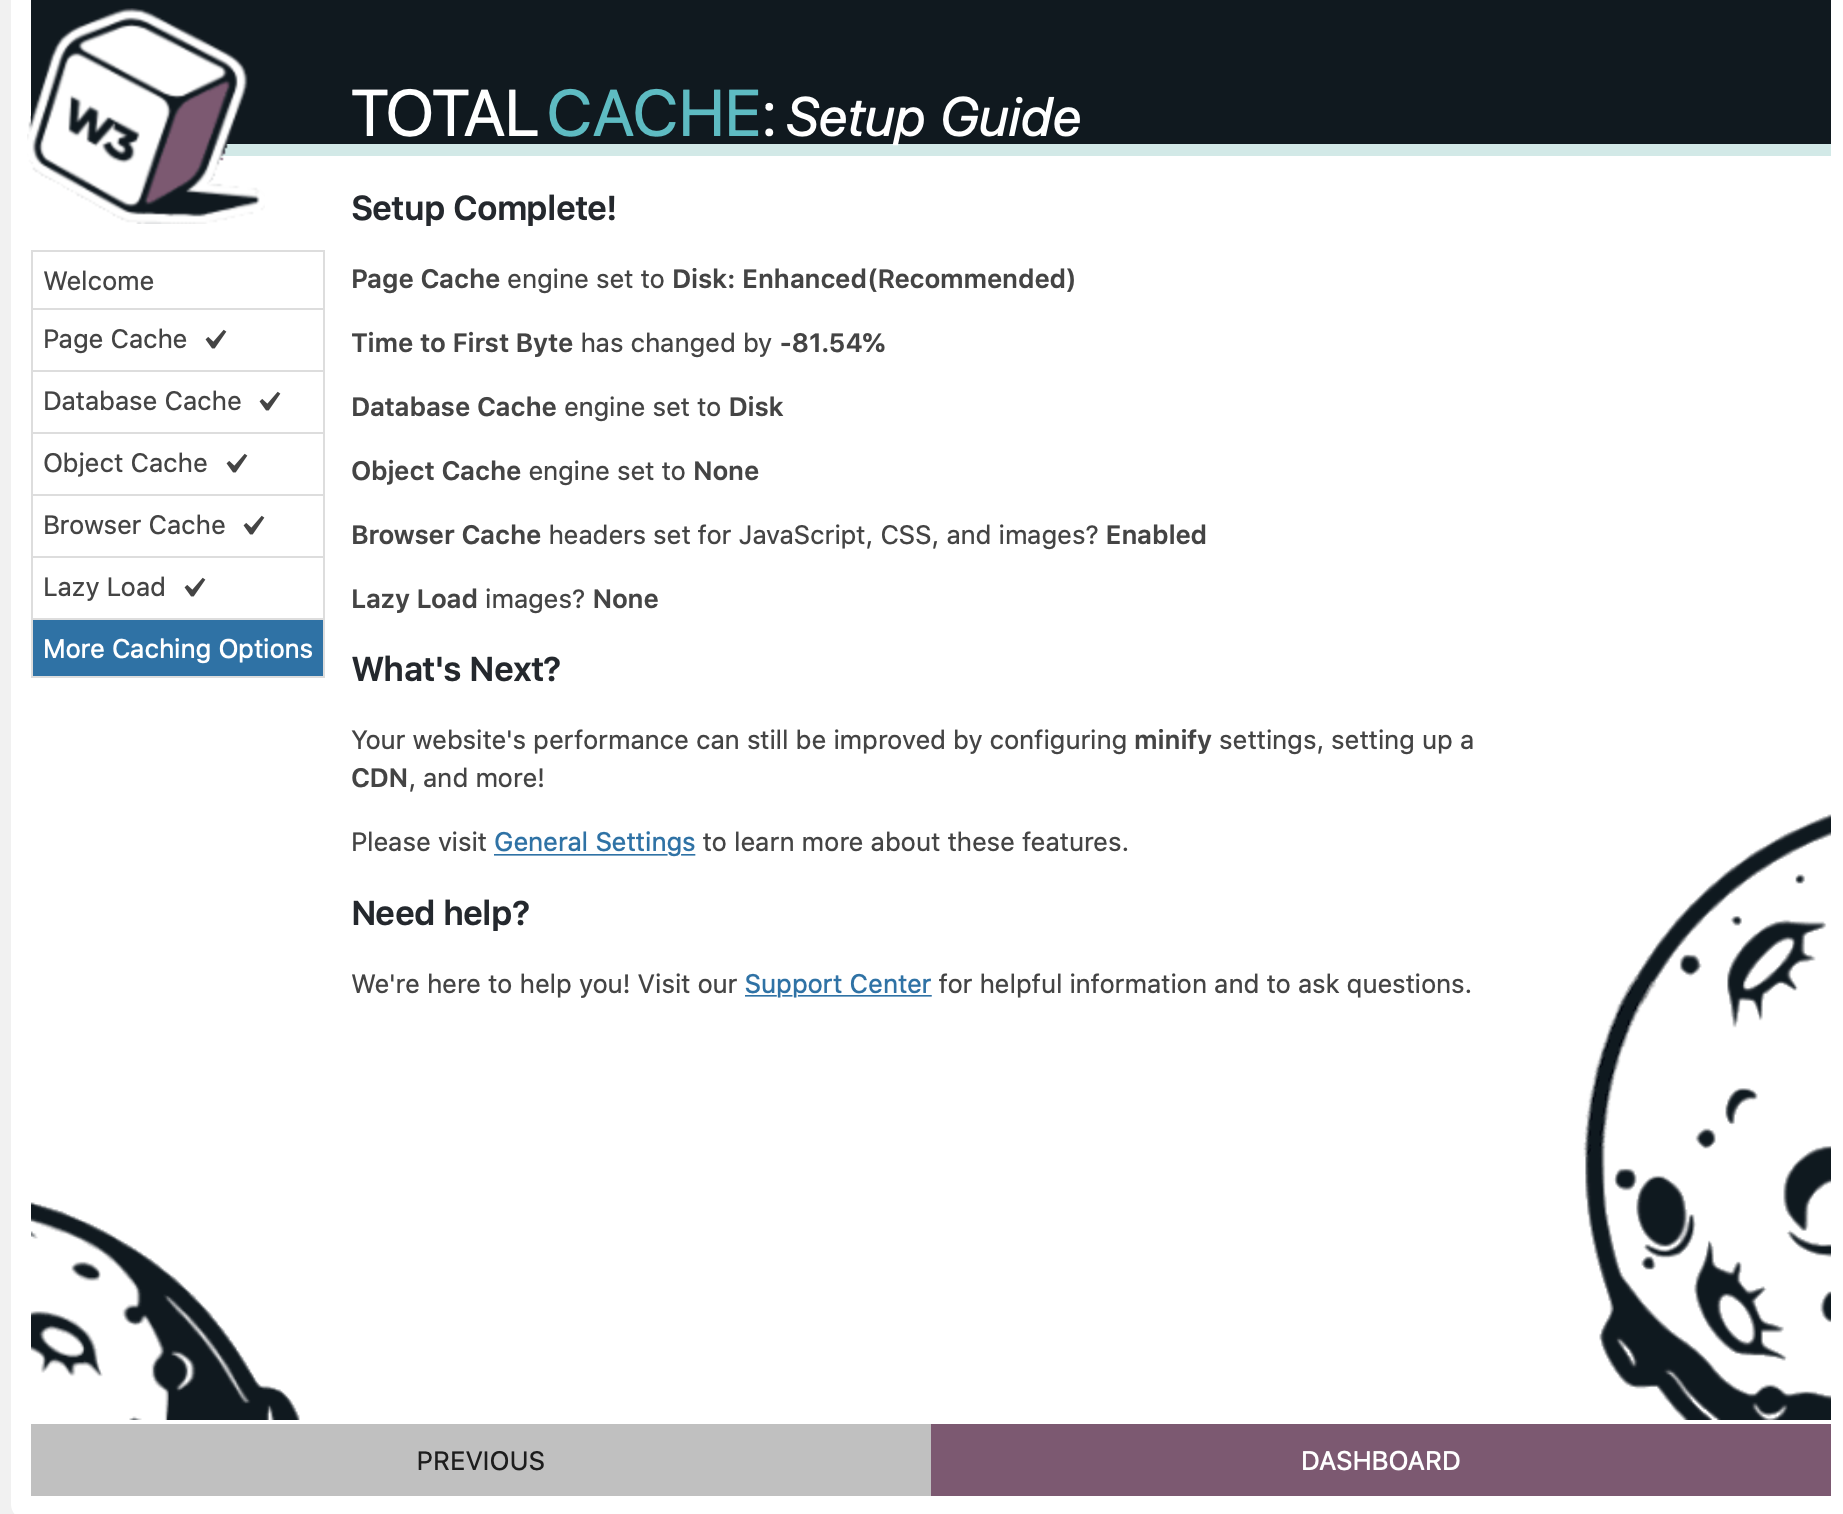
當出現這個畫面就大功告成了。
進階設定
這邊是針對網站的細節進行設定,所以對網站開發不熟悉的請斟酌設定以避免造成反效果。
Minify
這個是將HTML、CSS和Javascript進行最小化壓縮節省檔案大小。
有使用Elementor外掛用戶不要設定會造成跑版,Elementor需要到設定單獨去優化。
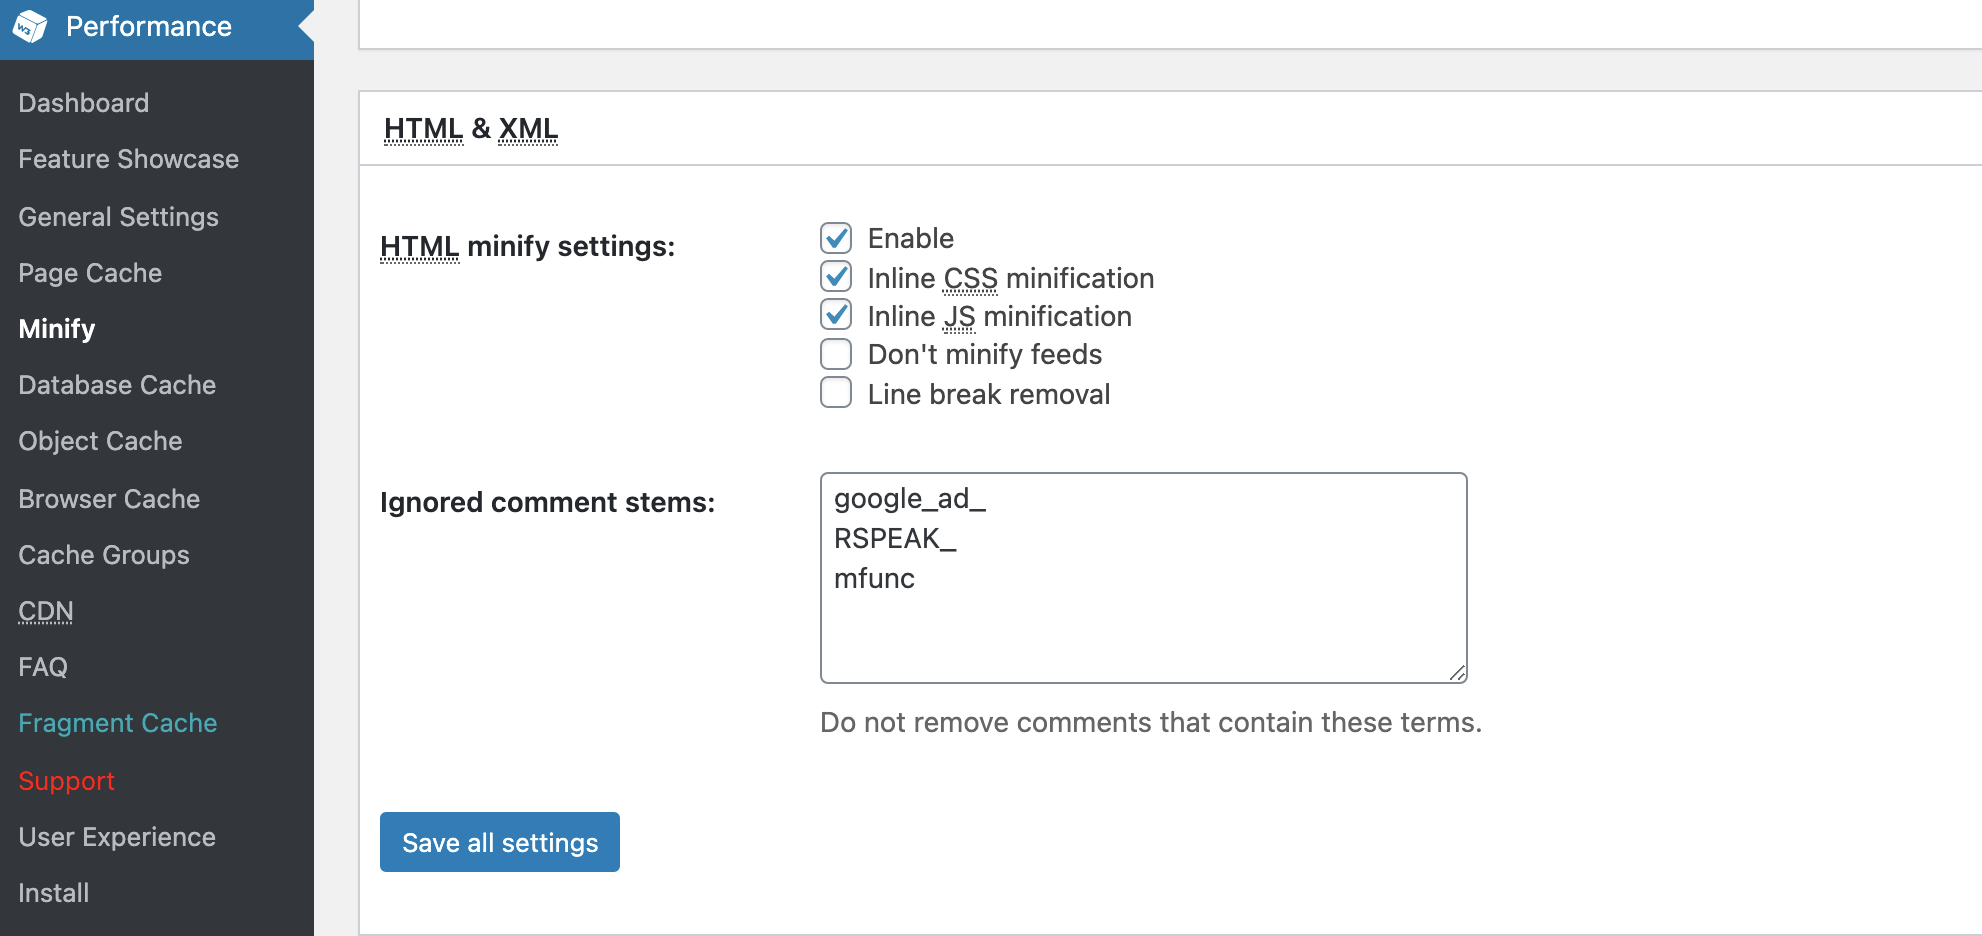
首先將HTML minify Settings中的「Enable」、「Inline CSS minification」、「Inline JS minification」這三個勾選起來
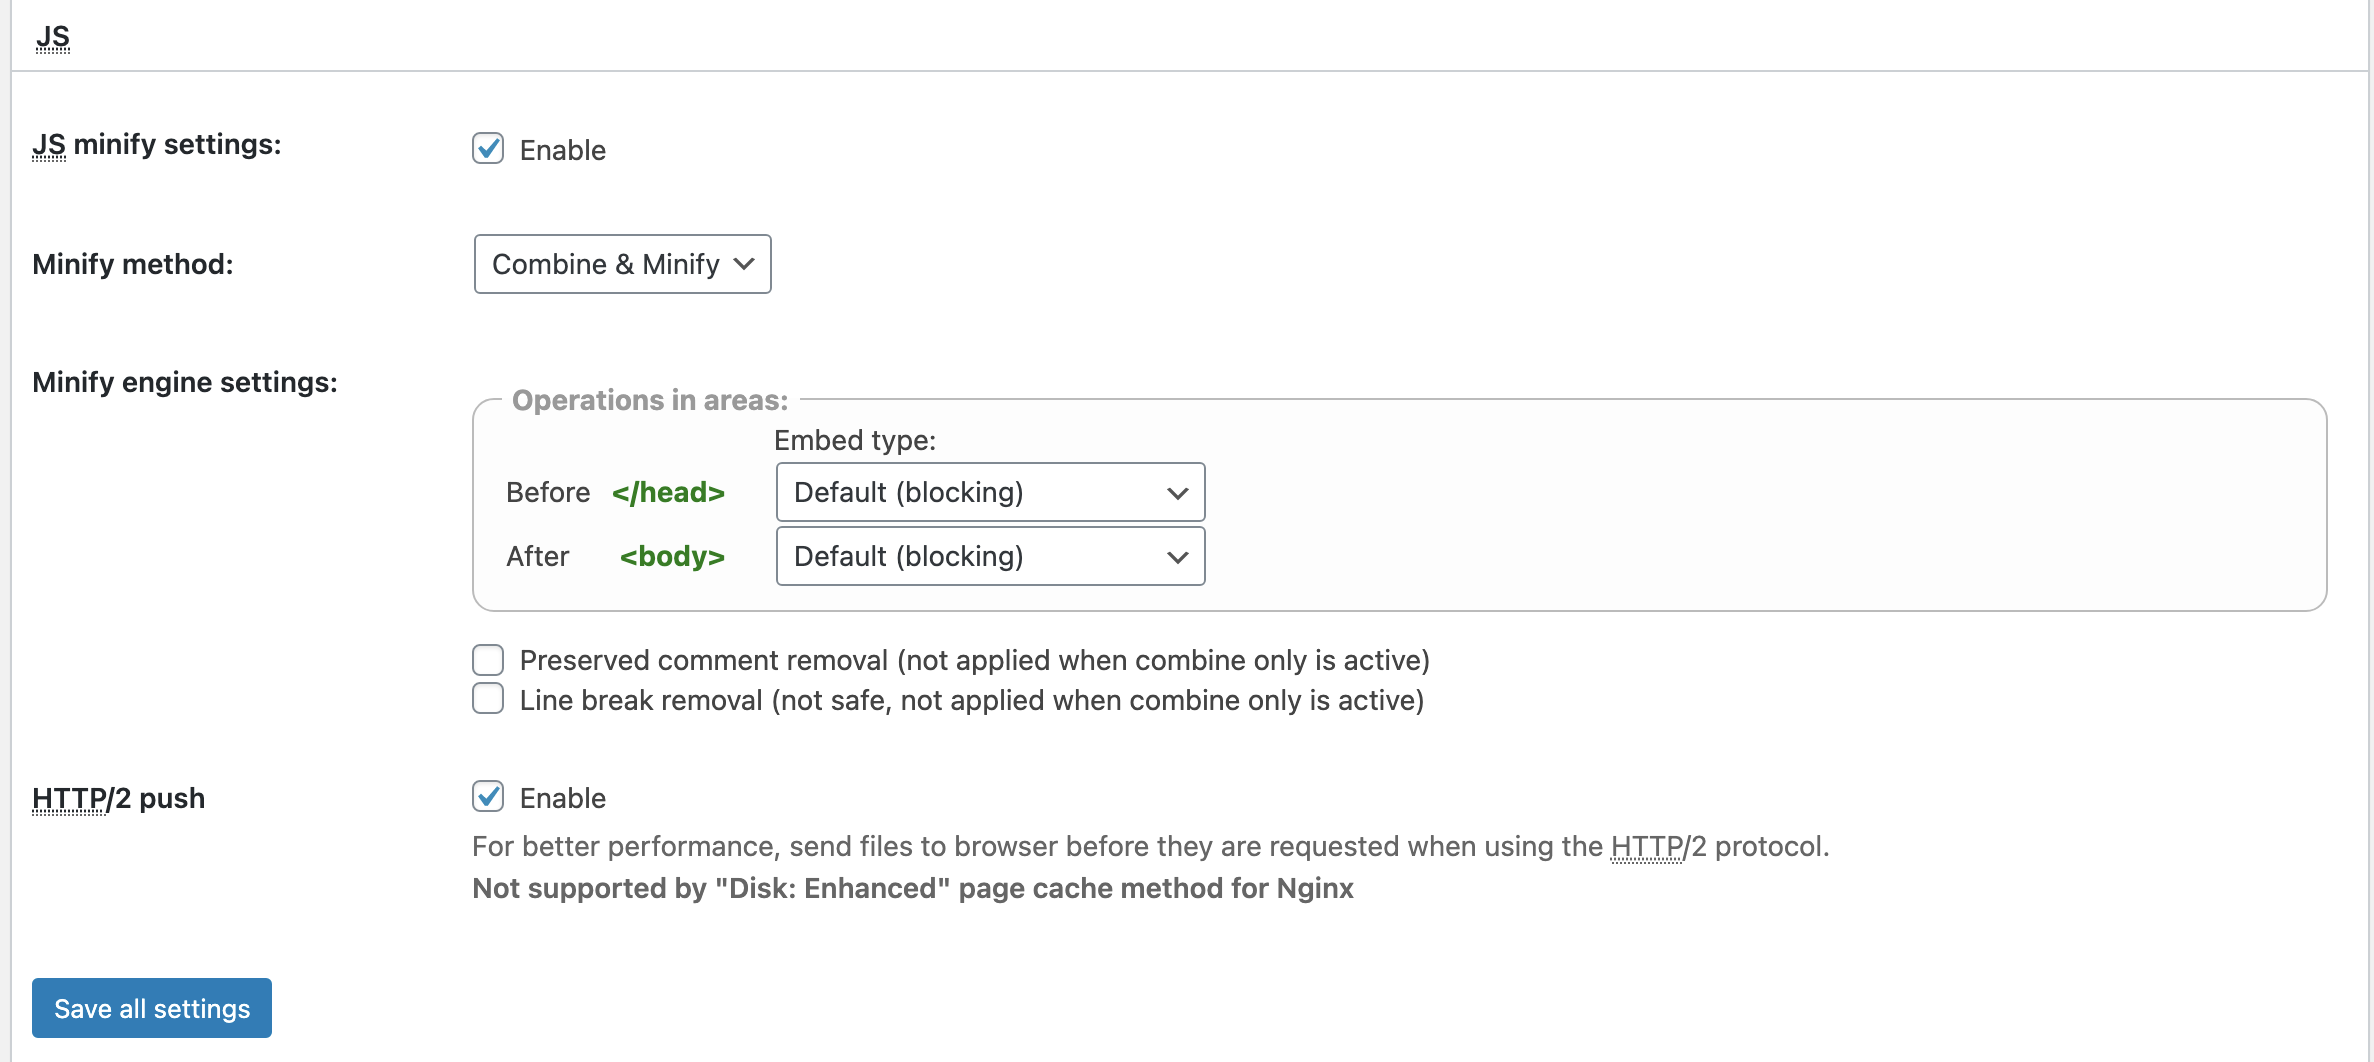
「JS minify settings」 一樣將它勾選起來,Minify engine settings 可以依需求進行調整,我這邊是使用預設的
如果你的主機是使用非Nginx做為服務的可以將HTTP/2 push勾選起來,因為Nginx和Disk:Enhanced無法一起使用
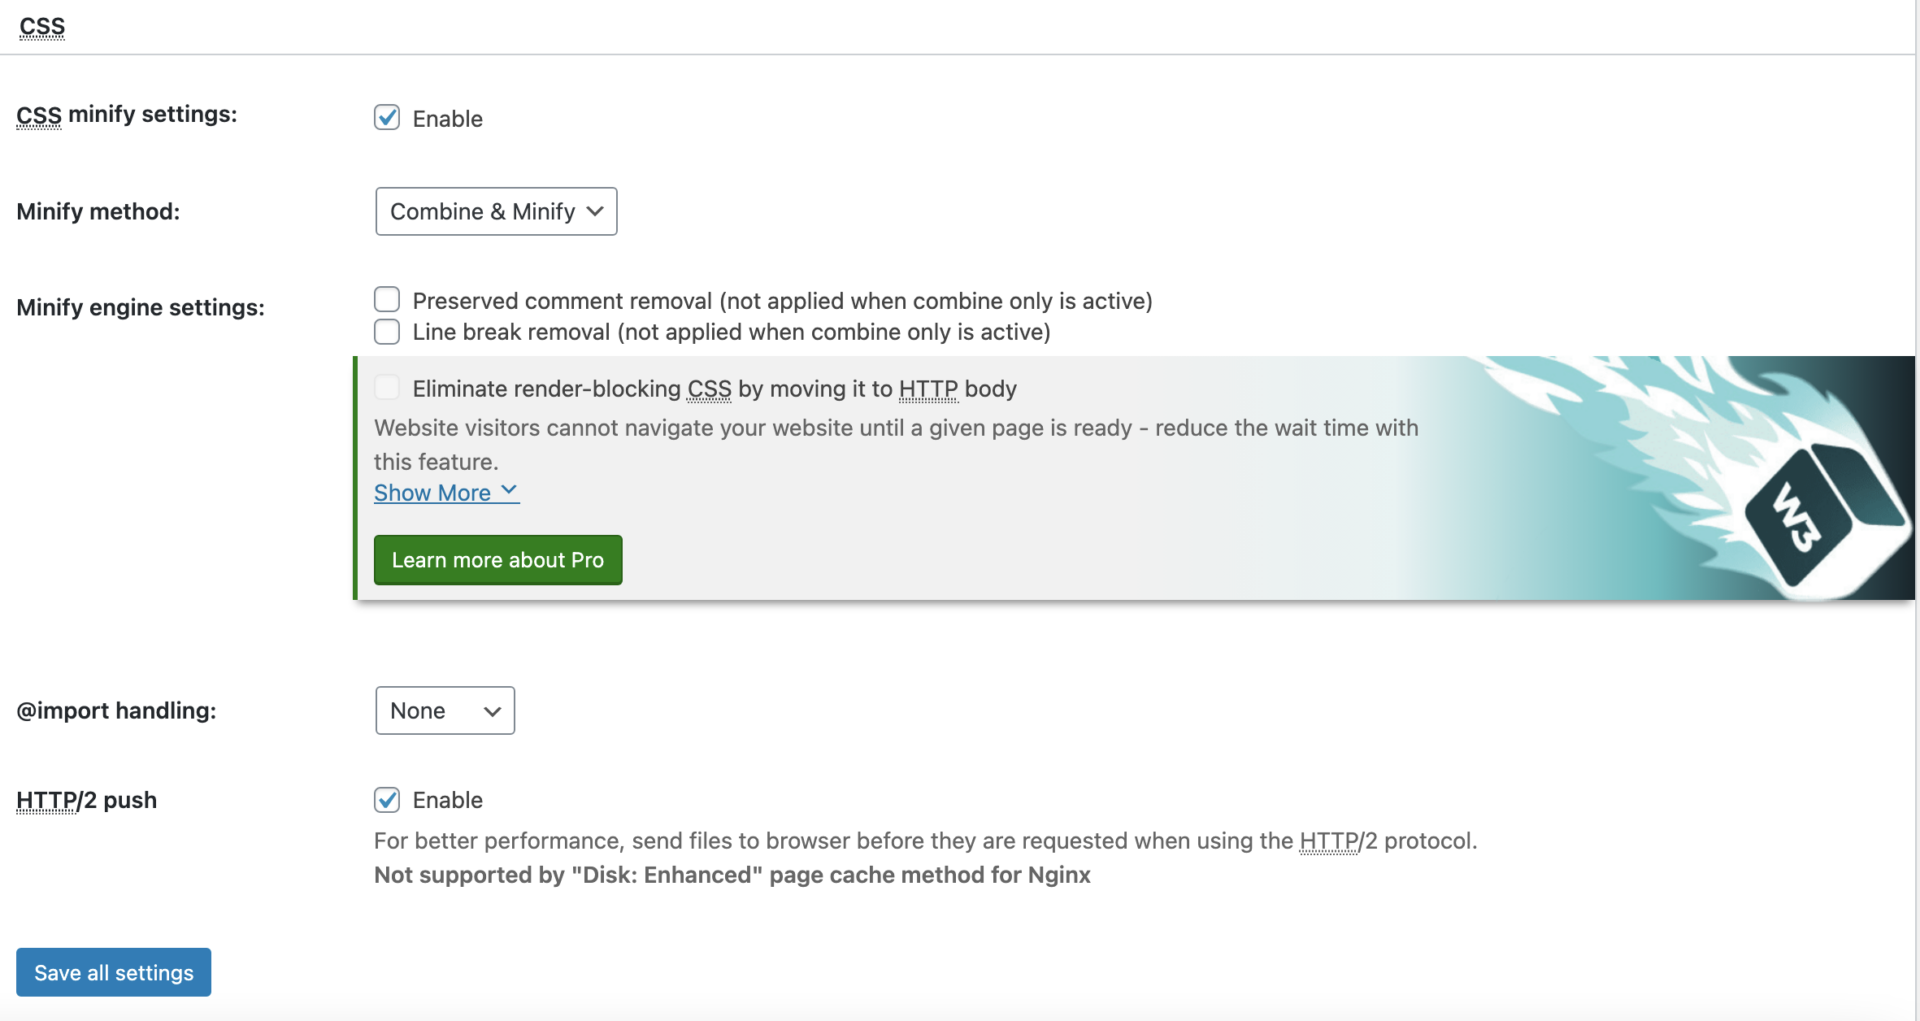
「CSS minify settings」 一樣將它勾選起來,
如果你的主機是使用非Nginx做為服務的可以將HTTP/2 push勾選起來,因為Nginx和Disk:Enhanced無法一起使用
Browser Cache
最後將「Set expires header」和「Set W3 Total Cache header」全部都勾選起來,然後到Expires header lifetime設定過期時間以避免用戶抓到舊的檔案,預設是31536000秒
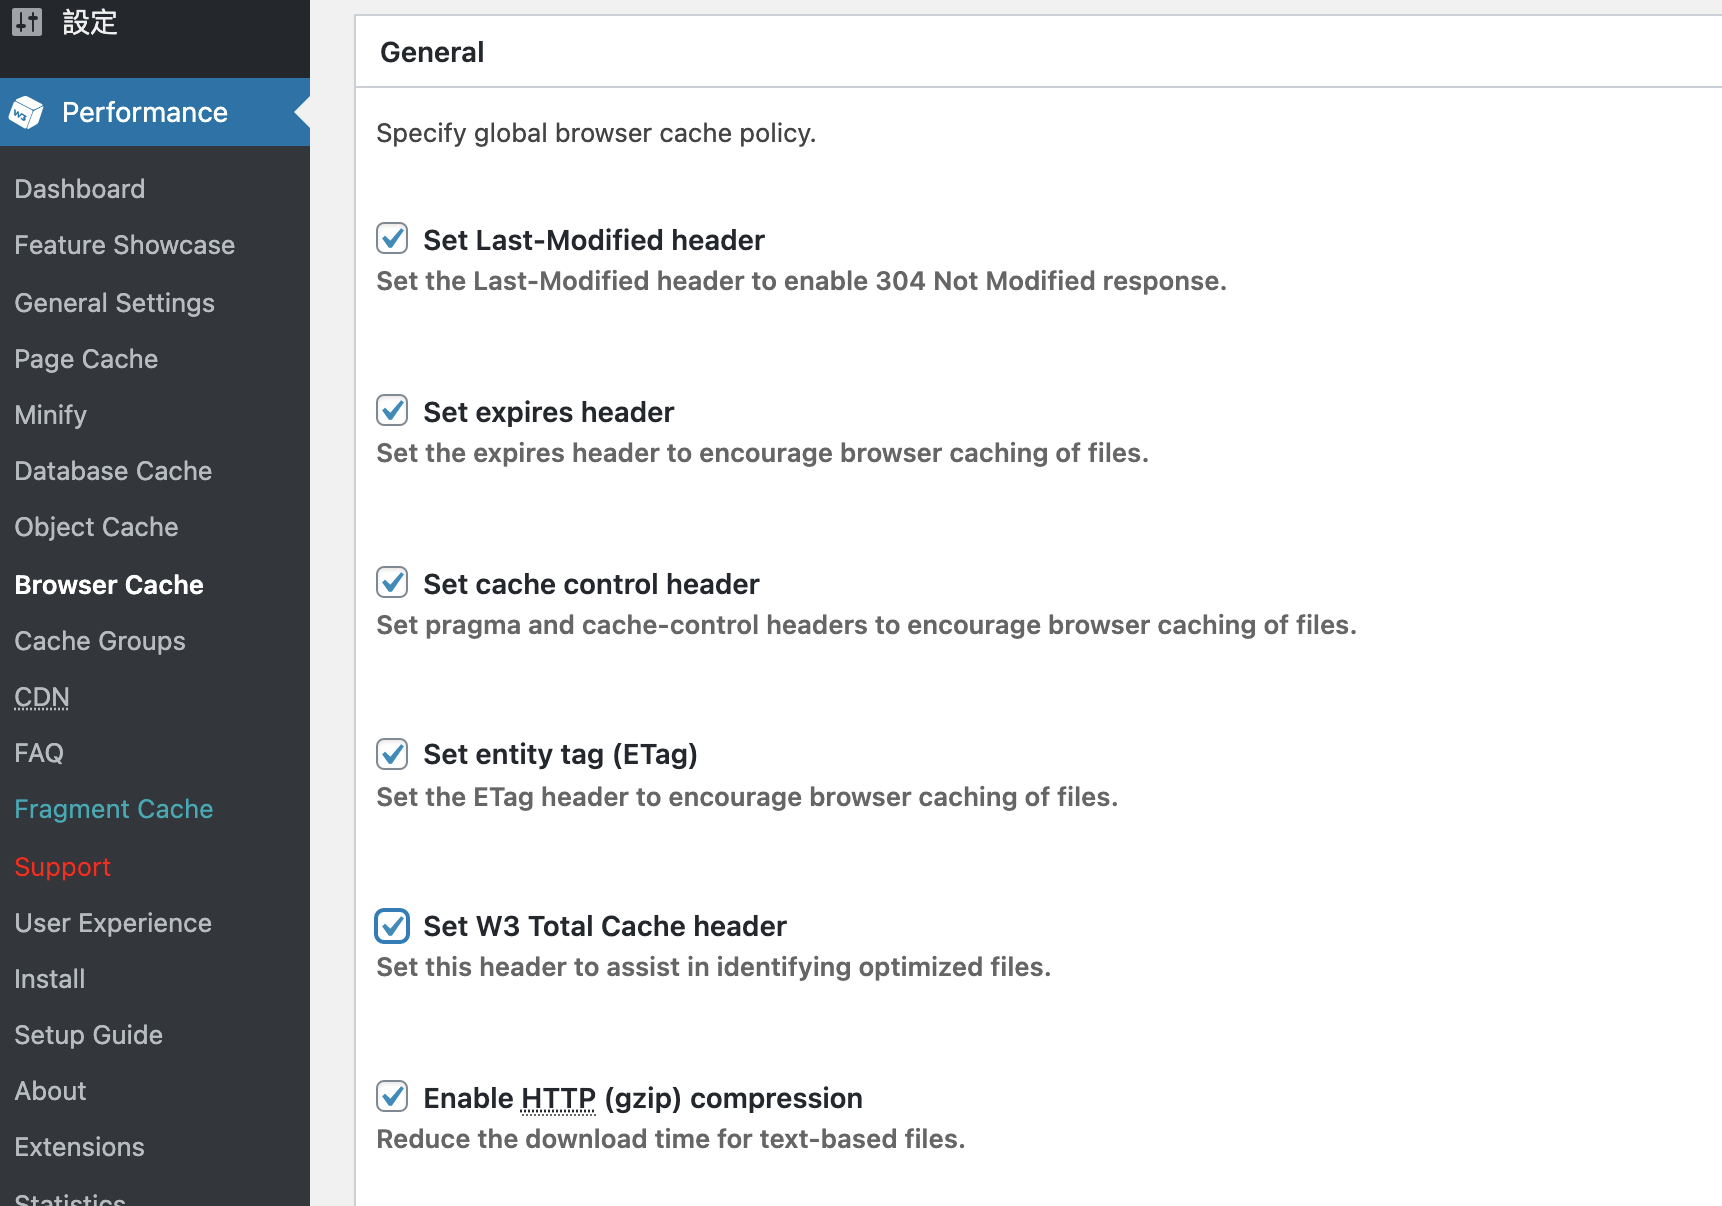
Security Headers中的「X-XSS-Protection」、「X-Frame-Options」這兩個最好也能勾選,除非有使用到跨瀏覽器的開發才不要設定
