很早以前有分享過這款輕量外掛【【WP Cerber Security】WordPress外掛,輕量資安防護外掛】,不過似乎出現一些爭議被下架後舊遲遲未重新上架,很多新功能也變成要付費才能使用。
Wordfence Security 雖然有很多功能需要付費才能使用,但在操作上跟防護能力我認為個適合一般用戶使用,唯一缺點就是沒中文化。
外掛資訊
作者: Wordfence Security
網址: https://tw.wordpress.org/plugins/wordfence
版本: 8.0.3
Table of Contents
Dashboard
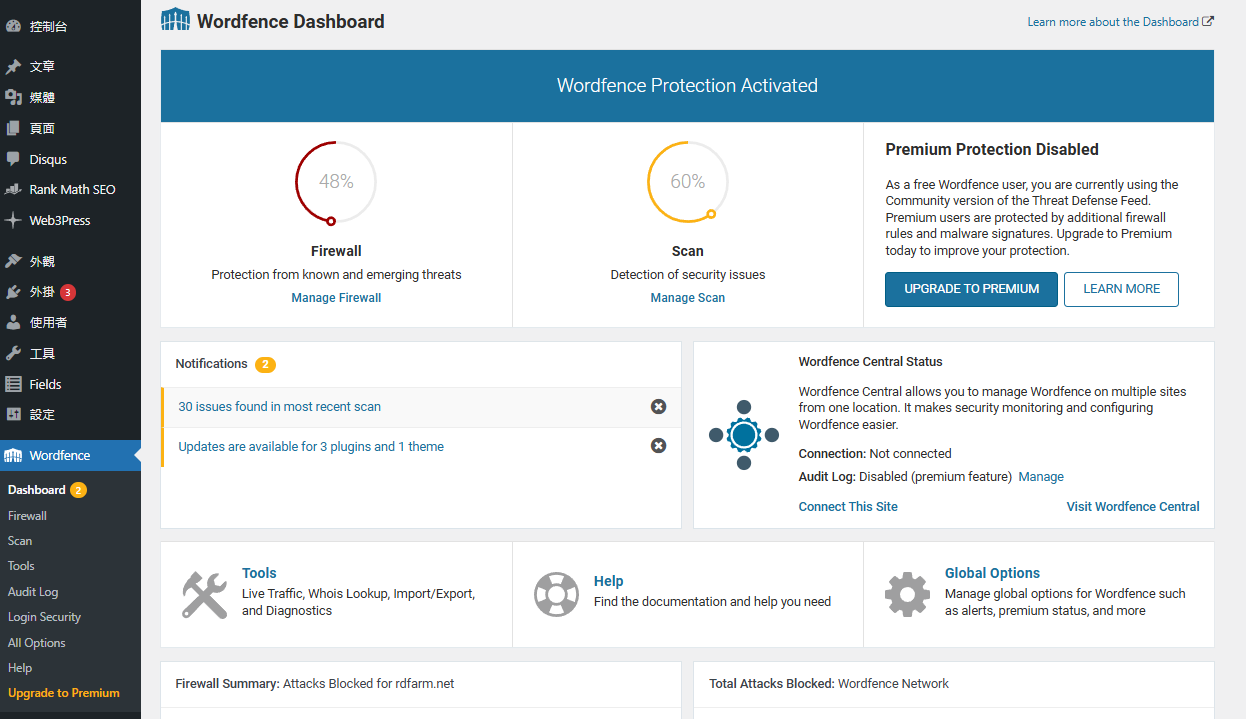
當安裝完成後先來到 Dashboard,這邊可以看到防護已啟動和防護/掃描完成程度以及通知。
點擊「Manage WAF」開始調整防火牆
Firewall 防火牆
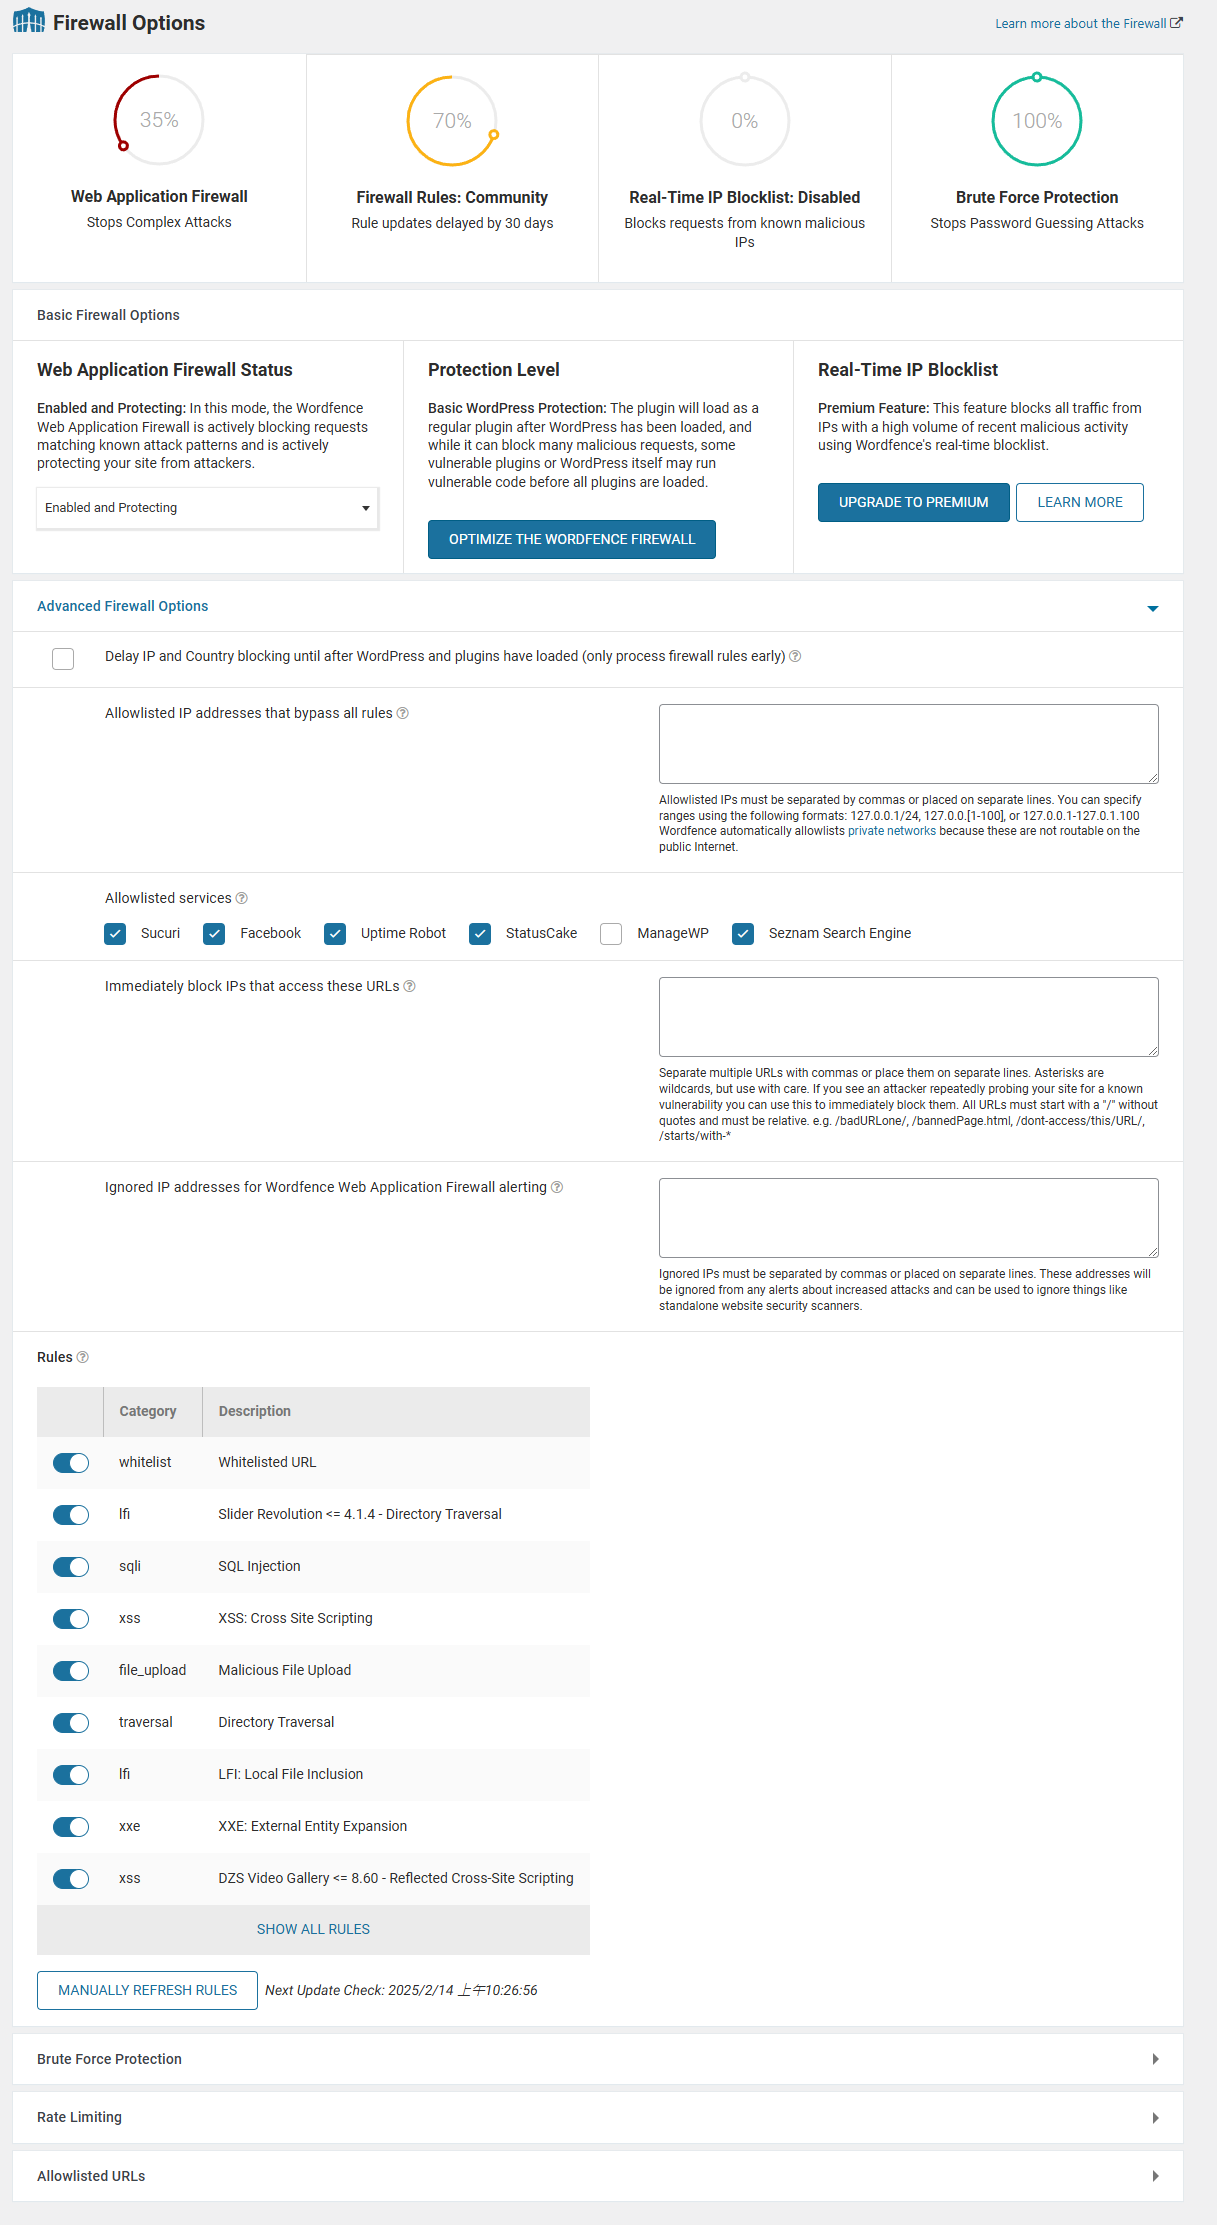
Basic Firewall Options
在 Web Application Firewall Status中會有以下三種模式,第一次使用可以選擇學習模式讓外掛了解你的使用方式,後面就可以改成啟用並保護。
在 Proection Level 我們可以點擊Optimize the Wordfence Firewall,從.user.ini寫入直接針對容易成為漏洞的程式碼進行保護。
- Enabled and Protecting: 啟用並保護
- Learning Mode: 學習模式
- Disabled: 已停用
Advanced Firewall Options
在進階防火牆中可以設定IP白名單、黑名單和限制網路爬蟲。
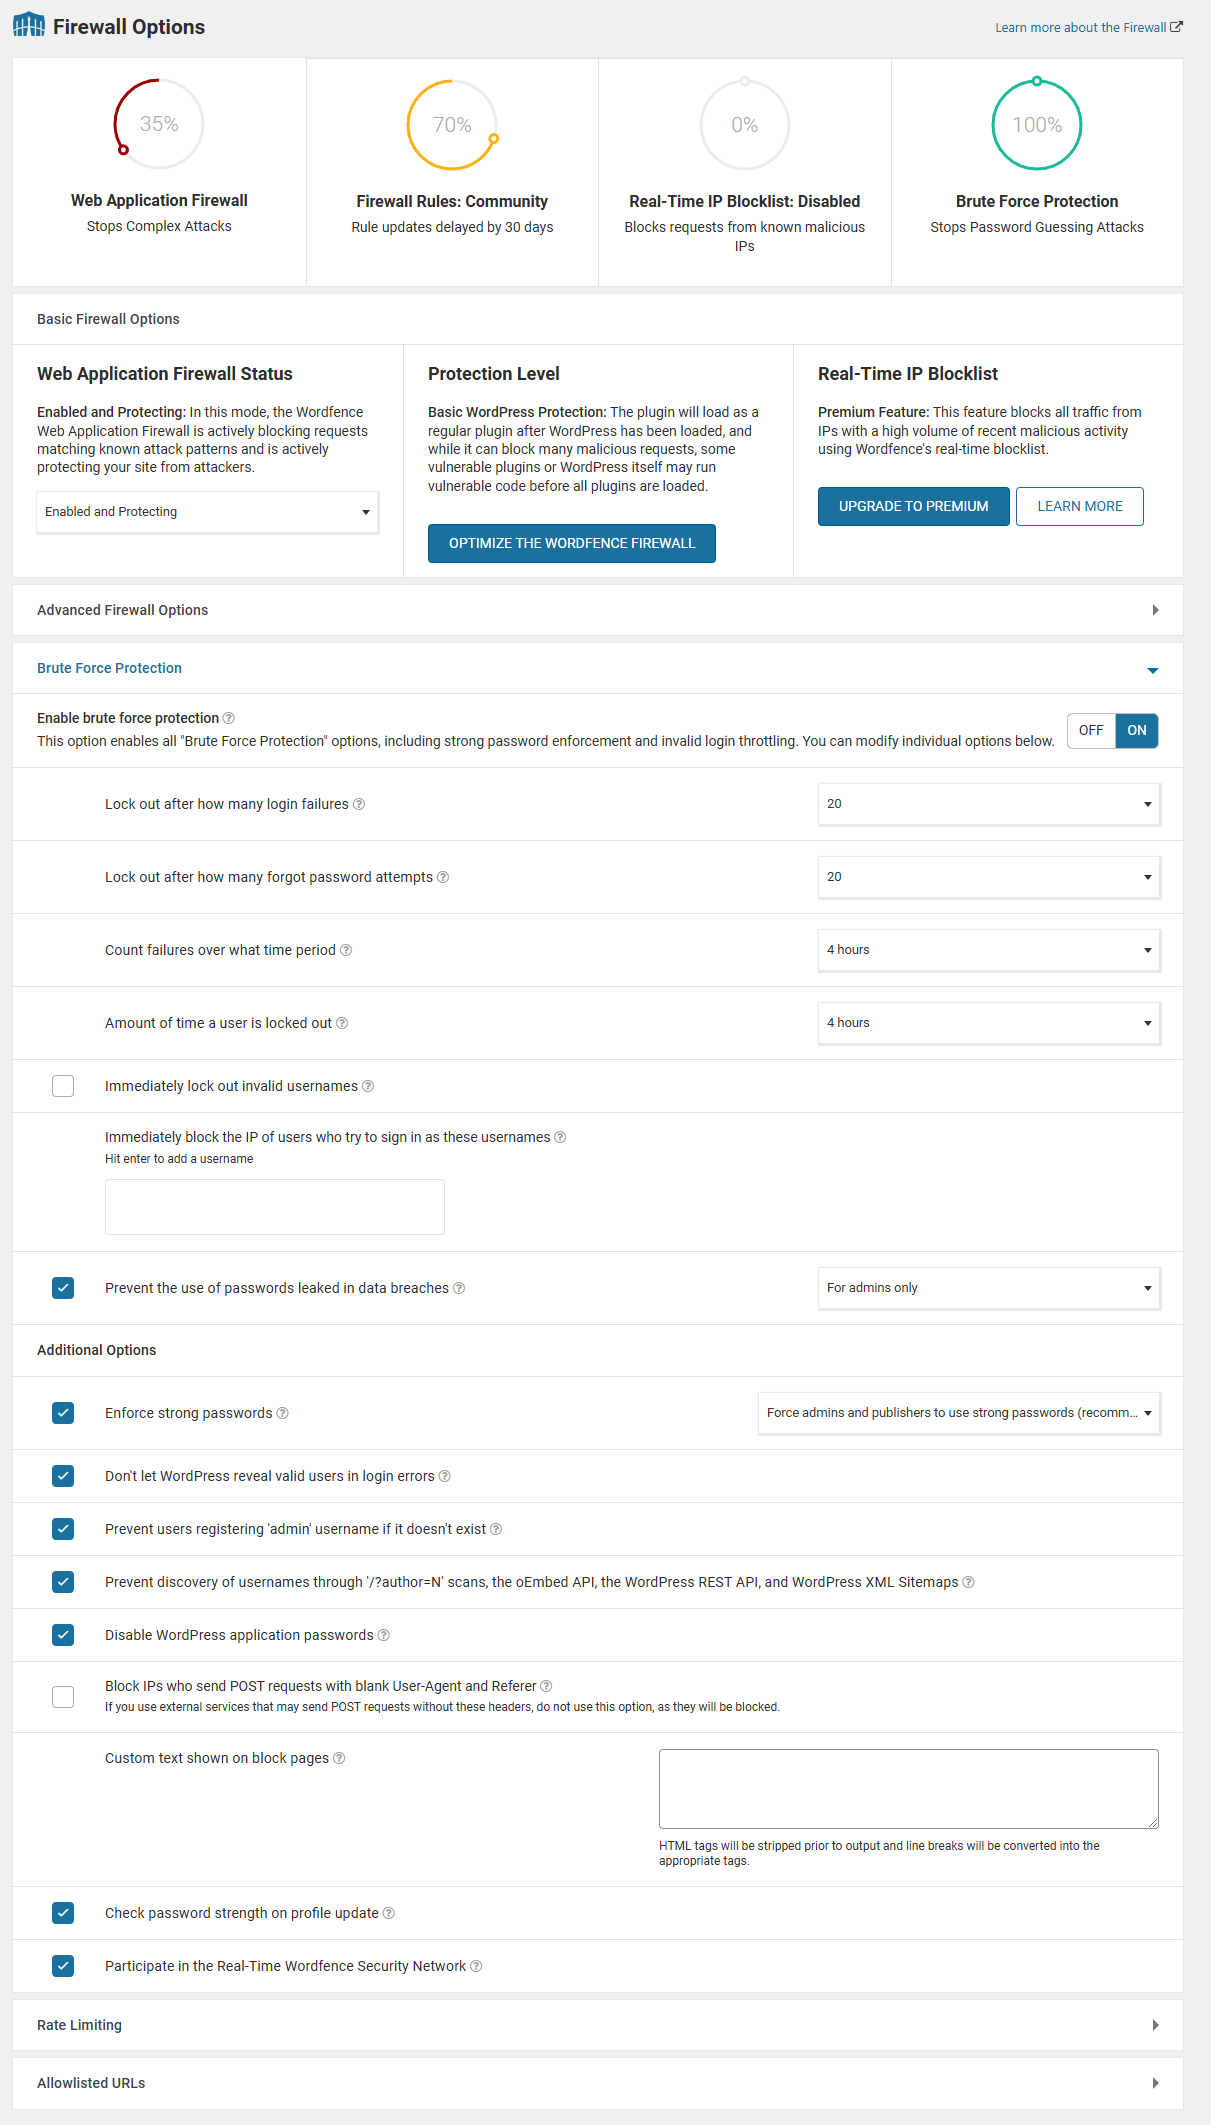
Brute Force Protection
暴力破解是針對惡意登入達到一定次數直接封鎖該IP,不過預設值偏高、建議調整成以下設定降低主機資源耗用,其他的採用預設即可。
Count failures over what time period 是指一定時間內的失敗次數,例如1天內該帳號登入失敗次數達5次。
- Lock out after how many login failures(登入失敗幾次後鎖定): 5
- Lock out after how many forgot password attempts(忘記密碼嘗試多少次後鎖定) : 5
- Count failures over what time period(時間內失敗次數): 1day
- Amount of time a user is locked out(使用者鎖定時間): 1day
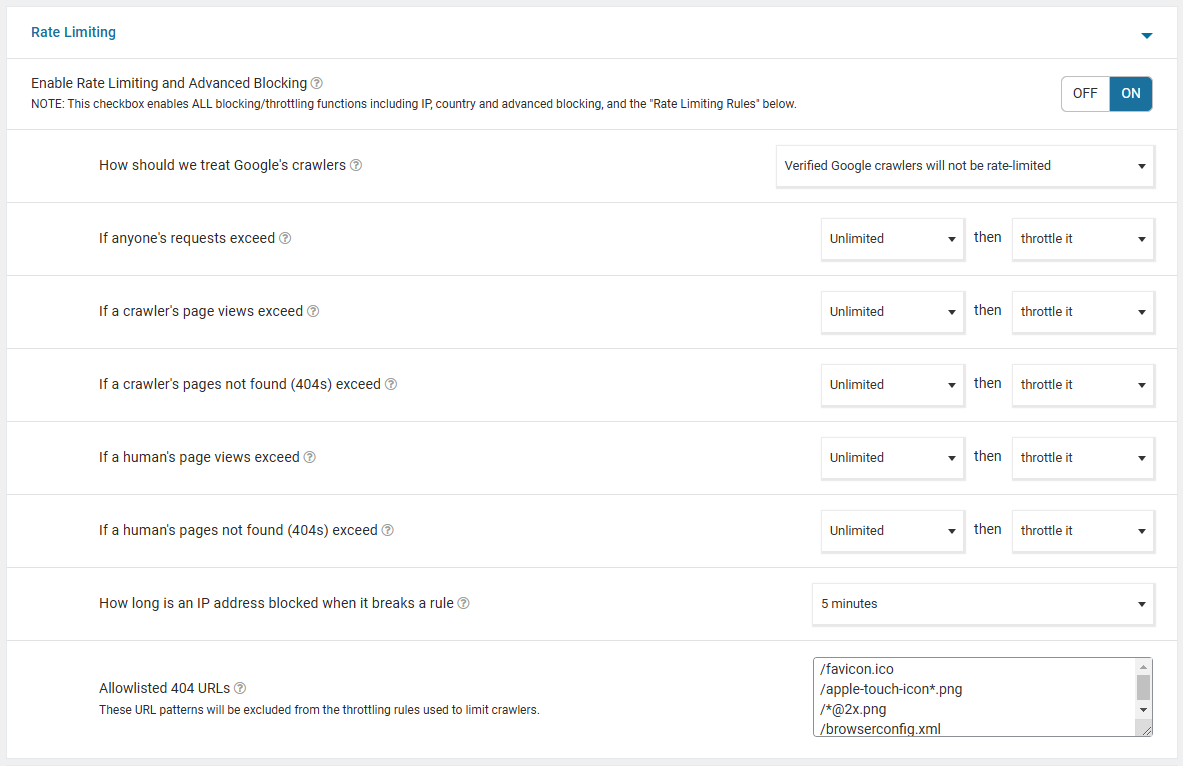
Rate Limiting
限制速率這個功能可以針對爬蟲跟訪客進行限制,如果你租用的是虛擬主機又因訪客量大是可以考慮進行限制,不然使用預設即可。
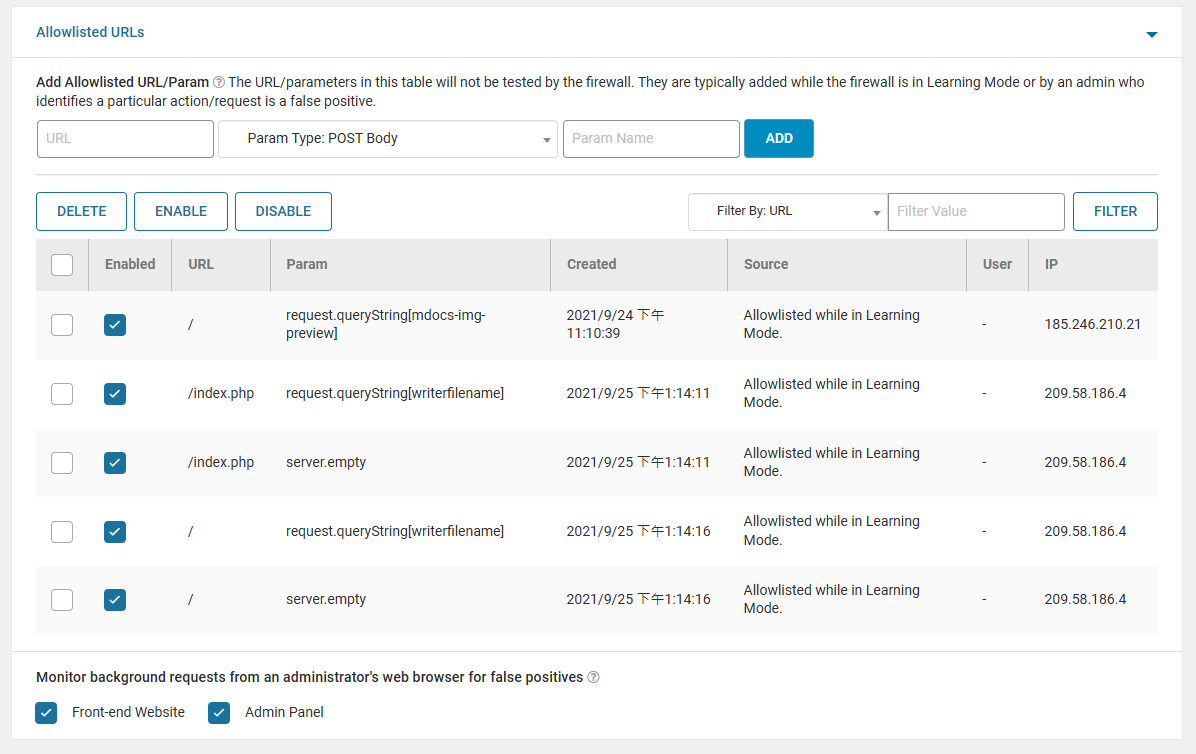
Allowlisted URLs
許可網址,下面的網址是防火牆處於學習模式時自動新增或者我們手動增加。
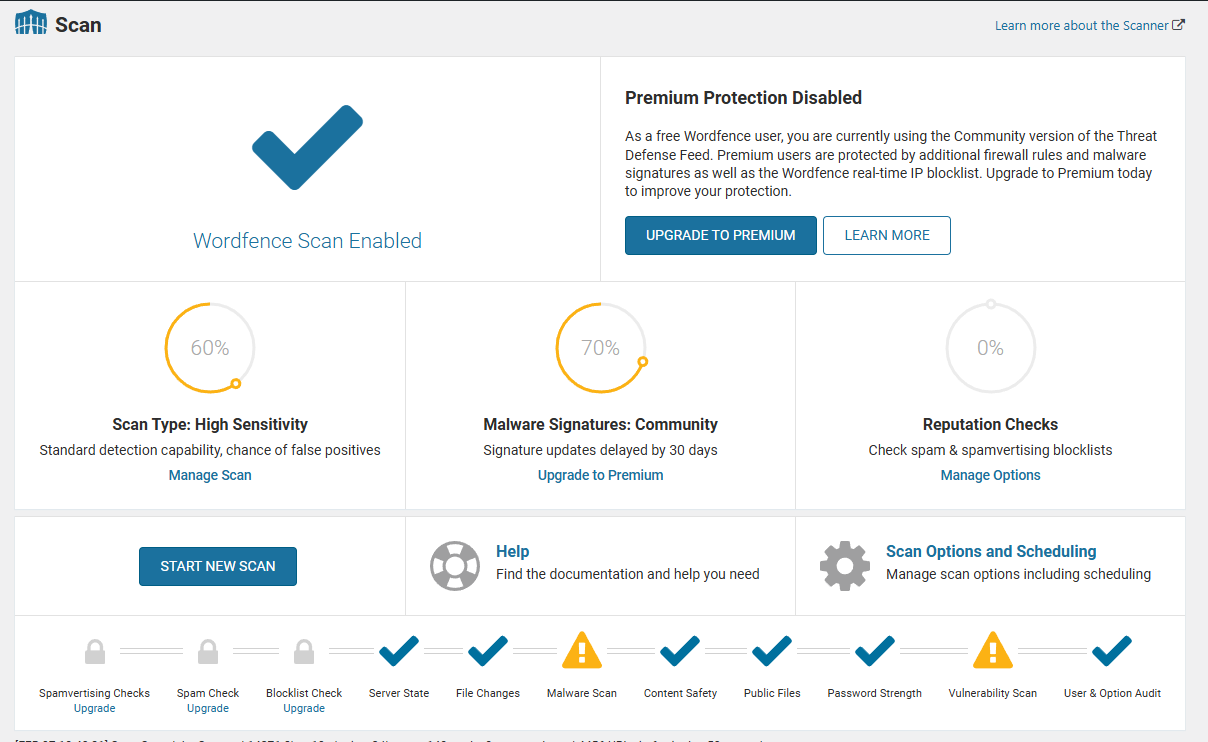
Scan 掃描
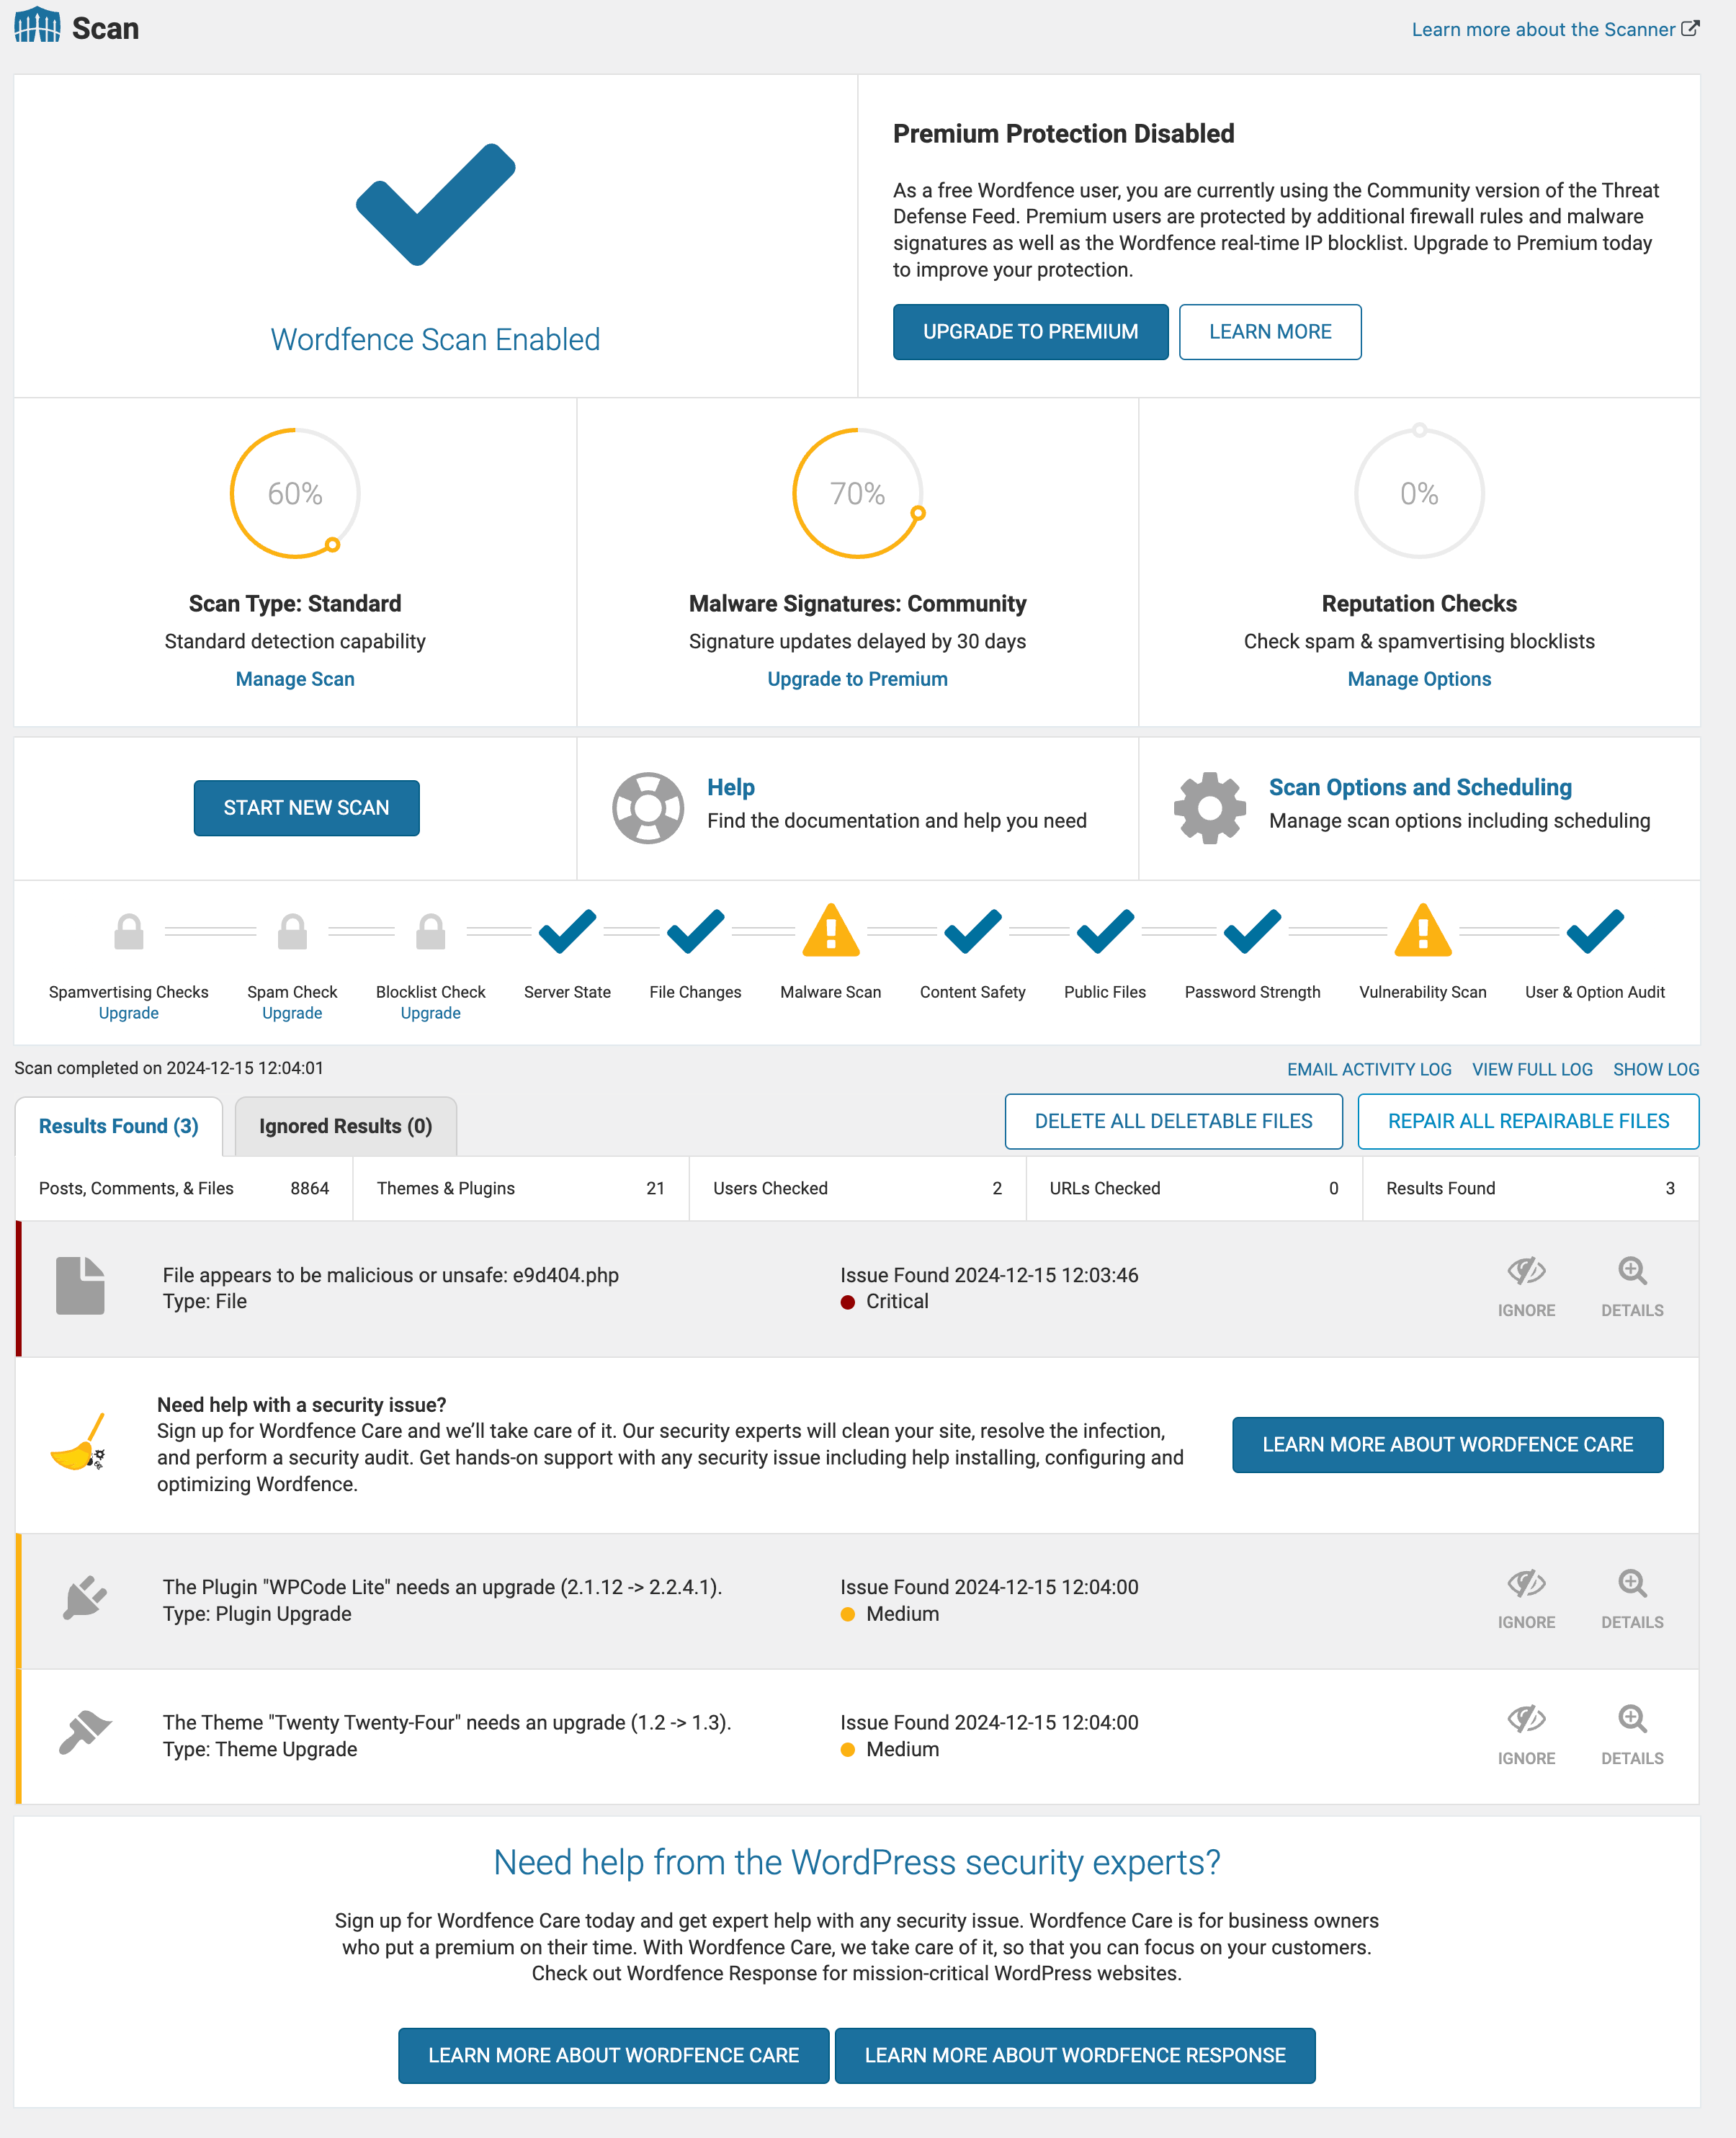
這邊可以直接點選 Start New Scan 針對網站掃描異常的程式碼或檔案。
當掃描完發現有一支PHP的惡意程式和外掛需要更新,惡意程式我們可以點擊 Delete All Deletable Files 刪除檔案即可。
Tools 工具
Live Traffic
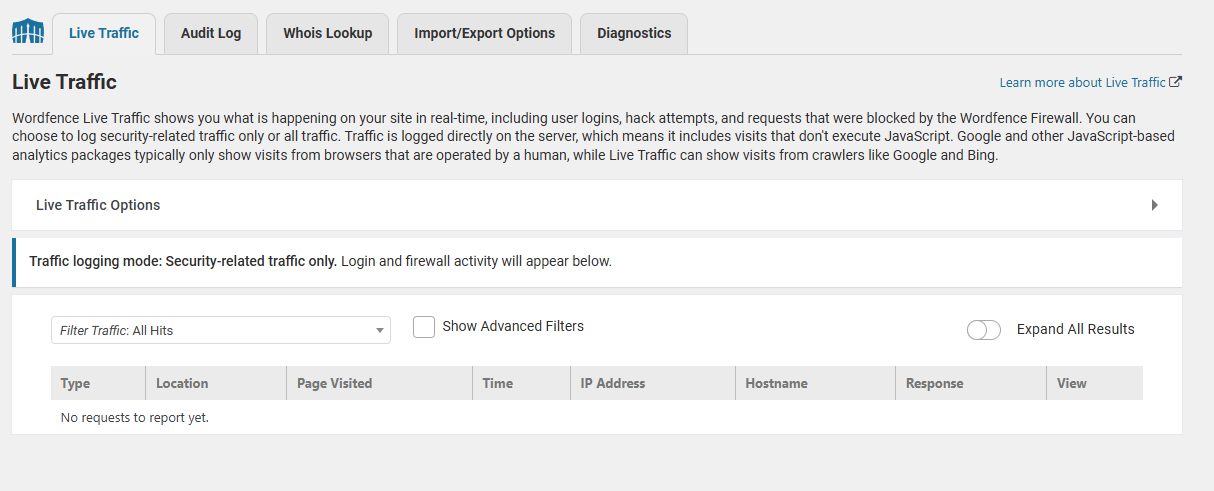
這個功能可以將使用者登入、駭客攻擊以及Wordfence 防火牆封鎖進行紀錄,我們保持預設僅記錄僅與安全相關的流量。
Audit Log
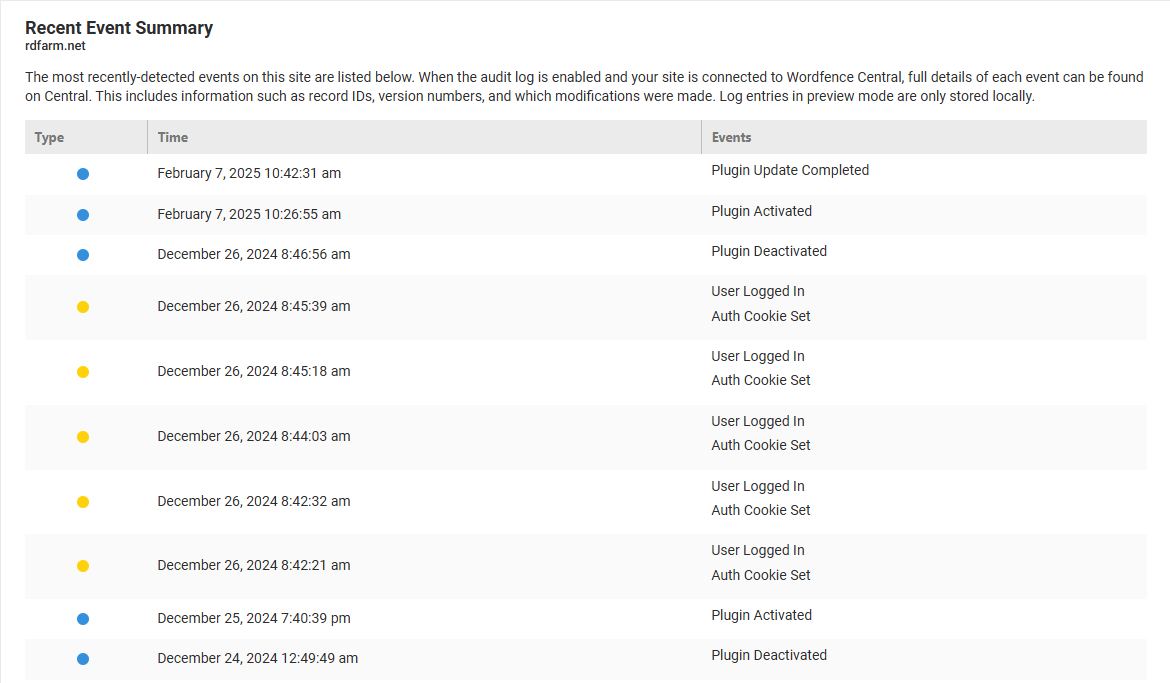
這個功能會將網站上的事件進行紀錄,例如使用者登入、外掛更新/刪除等動作,也可以選擇升級付費版將記錄另外存在站外避免被竄改。
Whois Lookup
透過whois 查詢,可以找到要針對我們網站從事惡意活動IP及所在國家和管理者機構。

Import/Export Options
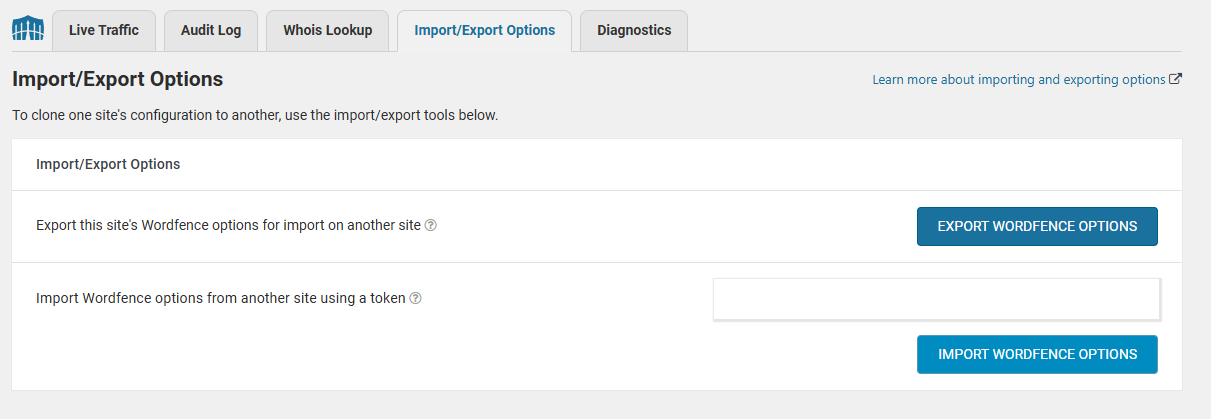
如果你有多個網站需要套用,可以在這邊將設定檔進行匯入匯出動作,省下重複設定的時間。
Login Security 登入安全
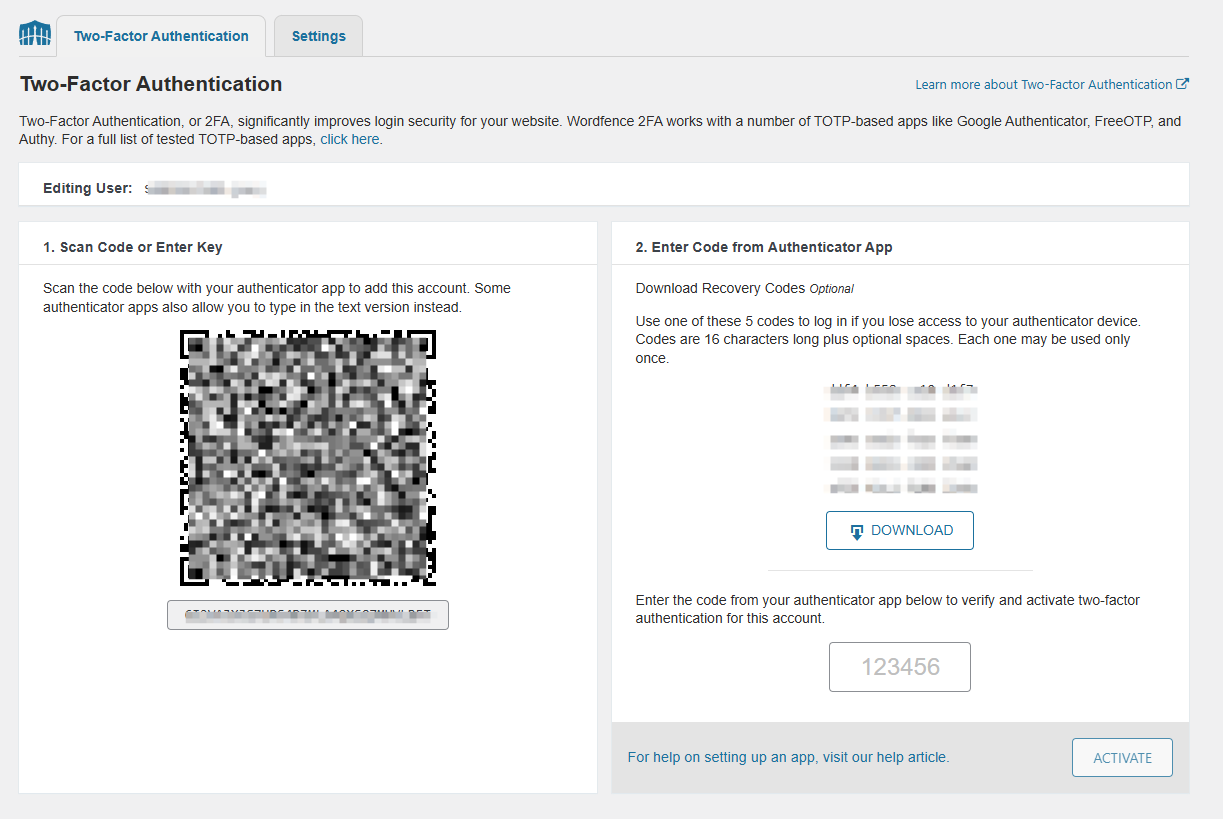
Two-Factor Authentication
很多網站因資安問題導致帳密外洩,導致過往的帳號密碼登入就存在被破解的風險。
現在很多廠商都會提供雙重驗證(2FA)來增加盜用登入難度,這時可以選擇安裝Google或微軟的Authenticator APP設定兩步驟登入以增加安全性。
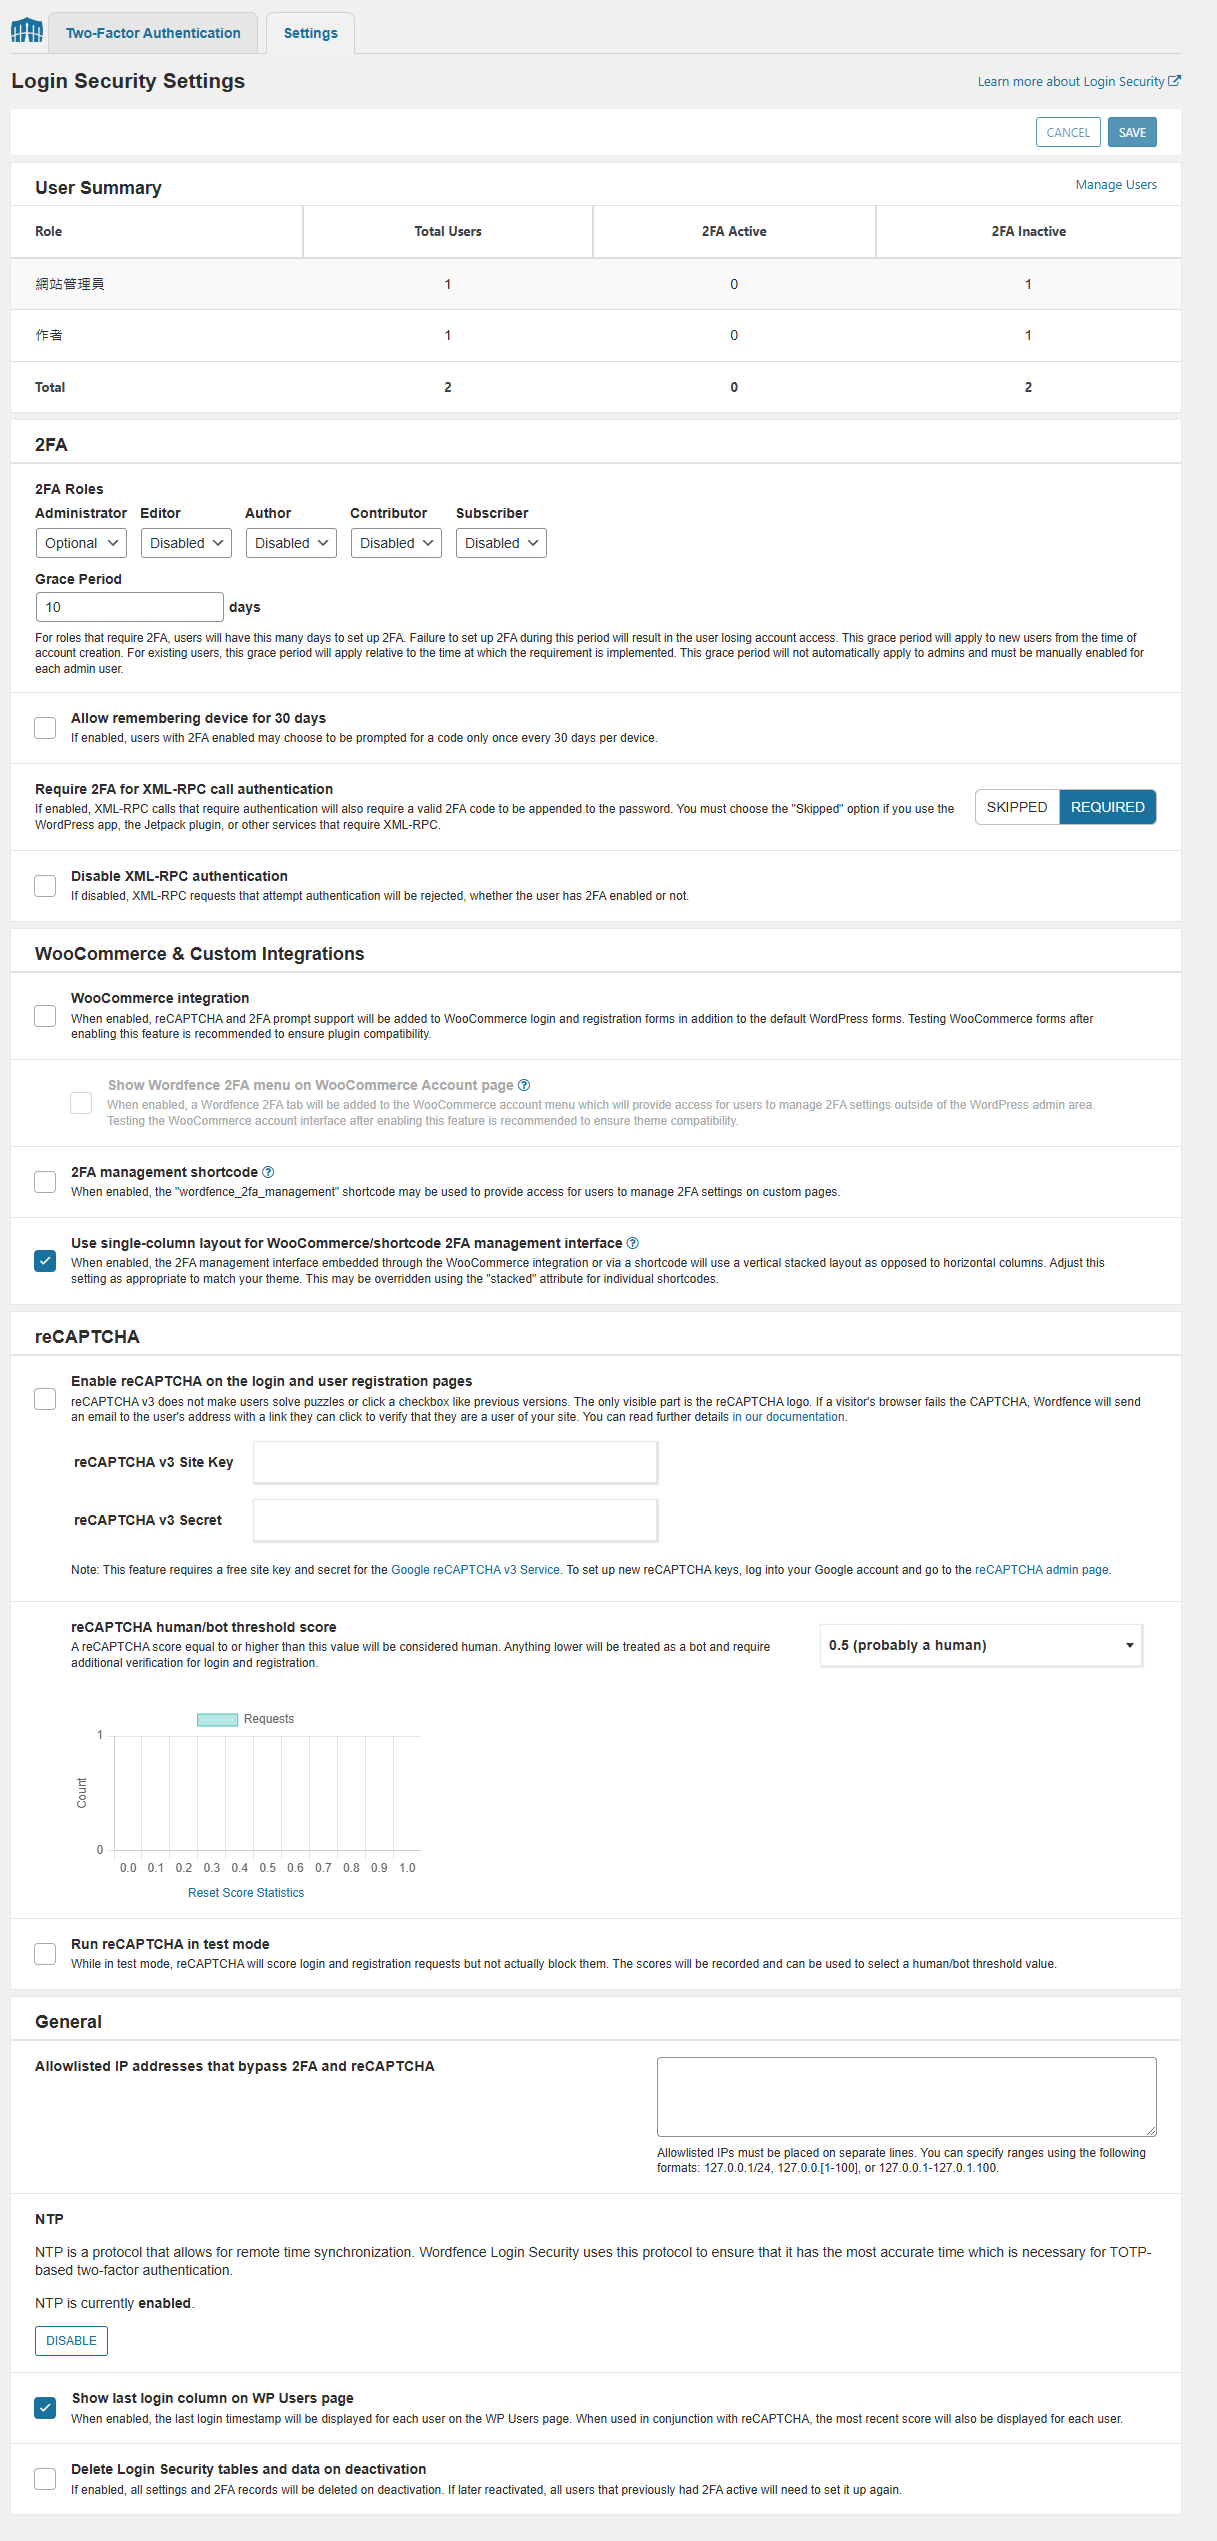
Login Security Settings
前面如果有設定2FA登入,在這邊就可以查看使用的用戶數。
2FA Roles:可以針對不同權限是否要啟用2FA
Allow remembering device for 30 days:如果有啟用2FA每次登入都要輸入兩次就稍嫌麻煩,這時可以勾選這個功能,同裝置每30天才需要驗證一次。
reCAPTCHA:如果不想啟用2FA,可以使用由Google提供的功能來阻擋機器人惡意登入。
All Options 所有選項
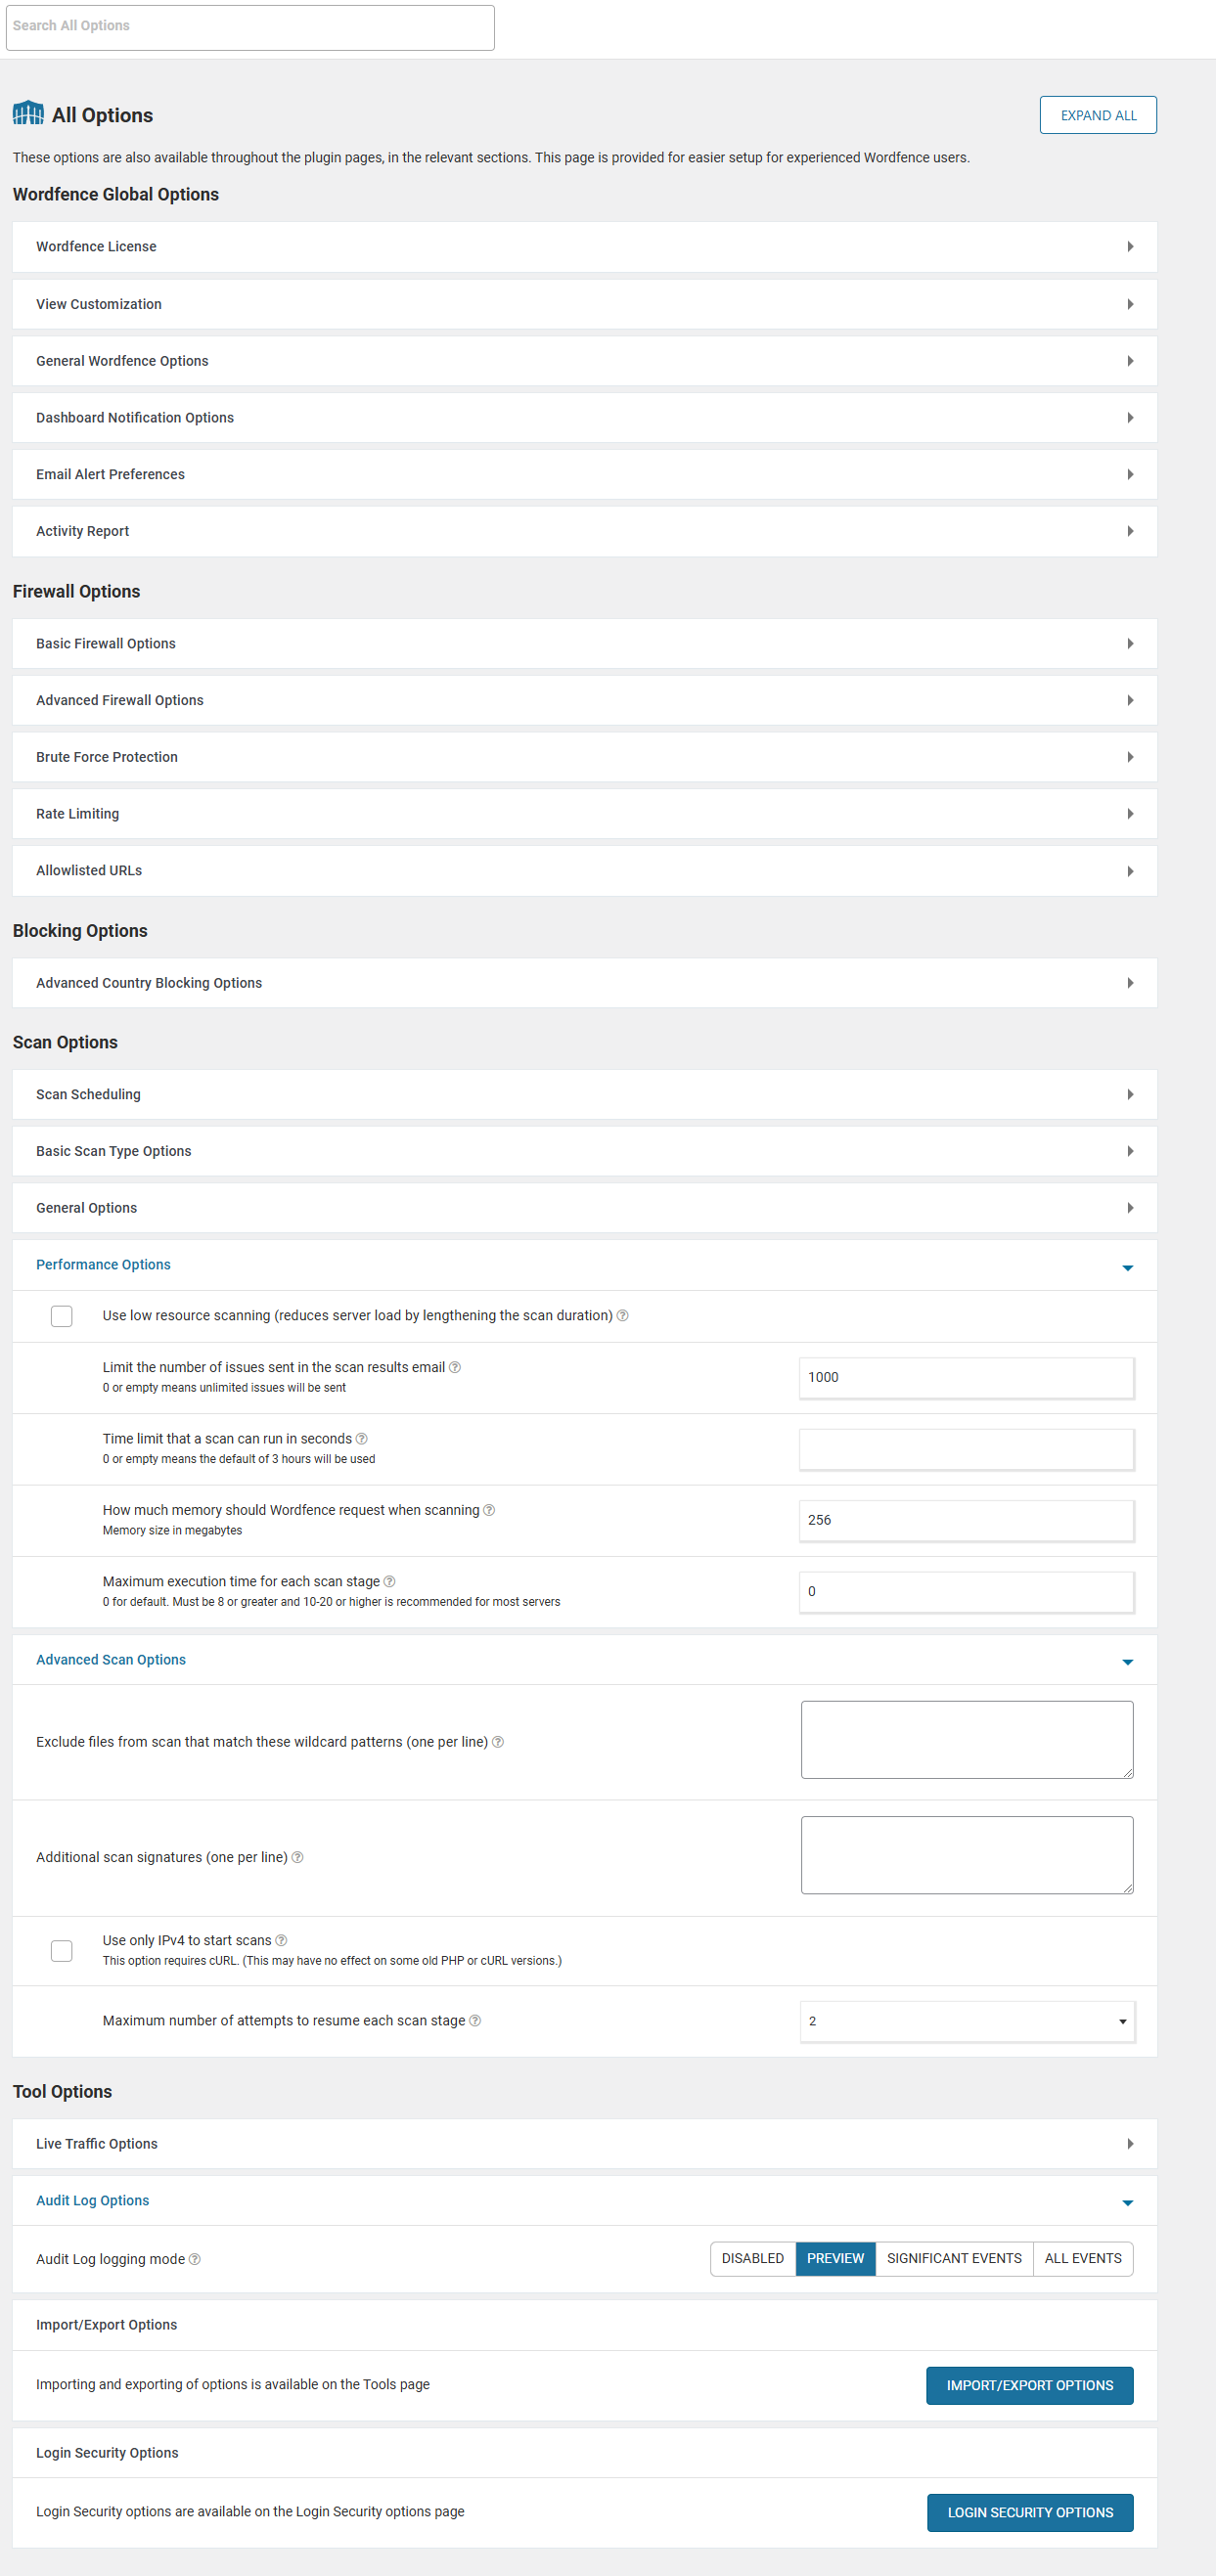
前面的設定步驟覺得煩瑣又雜亂,不妨直接來到這個頁面,這邊已經將所有設定都統整在一起了。
