一直覺得用WordPress搭配WooCommerce建立的商城不好上架、維護功能花費時間太多?
不妨試試開源電商系統OpenCart,一樣都是使用PHP和MySQL開發、加上以輕量MVC架構在功能客製上比較簡單,不像Magento這類大型電商因為架構複雜就需要由專業團隊來維護。
Table of Contents
系統要求
硬體支援
- 2 CPUs
- 2GB of memory
軟體需求
- PHP 8.0 以上
- Nginx 或 Apache
- MariaDB 5.5 以上
安裝
基本設定
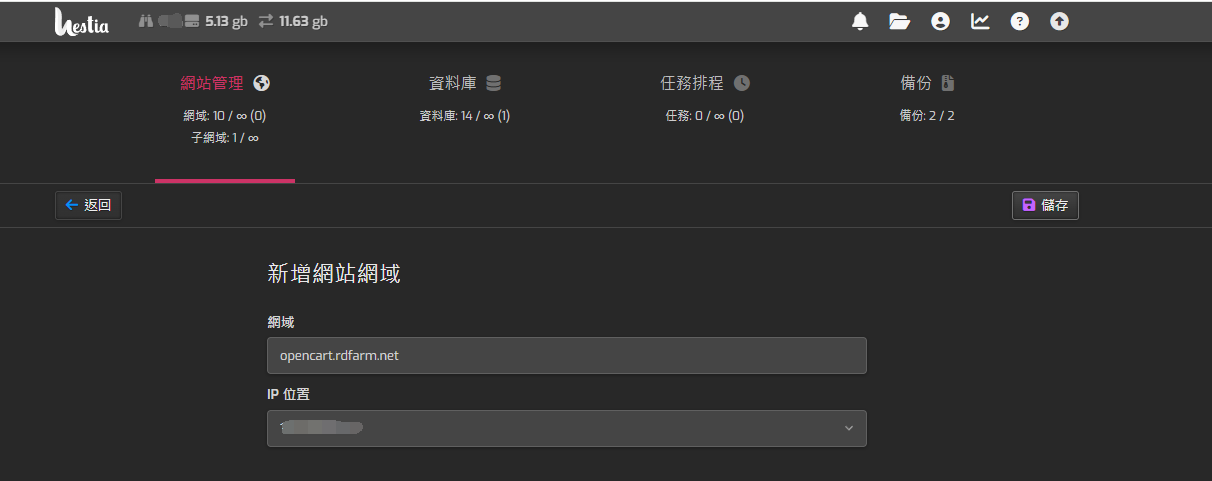
首先建立一個網域,並指向主機
接著設定網域的SSL憑證
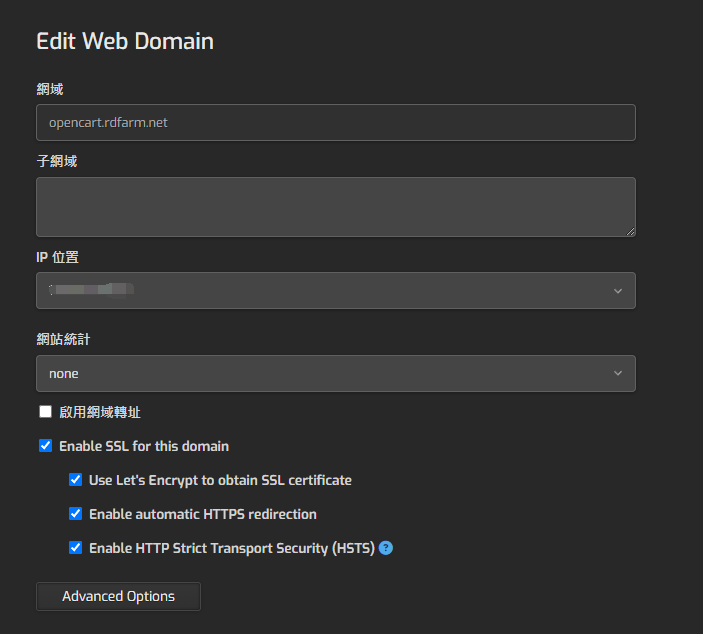
這邊會採用HestiaCP內建的快速安裝服務,HestiaCP安裝可以參考下面連結
HestiaCP 安裝,功能更強大的網站VPS管理工具
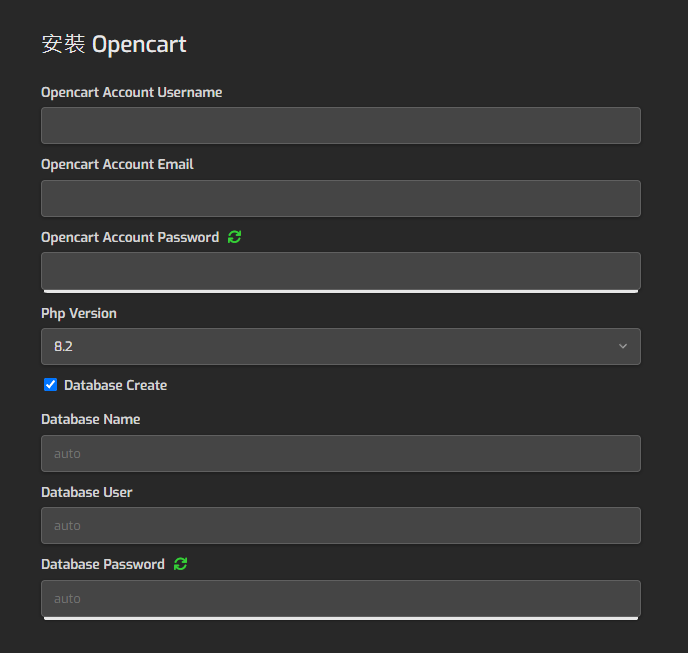
伺服器設定完後,接下來我們到進行網站設定
一開啟網站通常會出現「Warning: is_dir(): open_basedir restriction in effect」錯誤

這時我們需要到「public_html/storage/vendor/twig/twig/src/Loader/FilesystemLoader.php」,將90行和106行程式碼修進行修改
修改前
$checkPath = $this->isAbsolutePath($path) ? $path : $this->rootPath.$path;修改後
$checkPath = $this->rootPath.$path;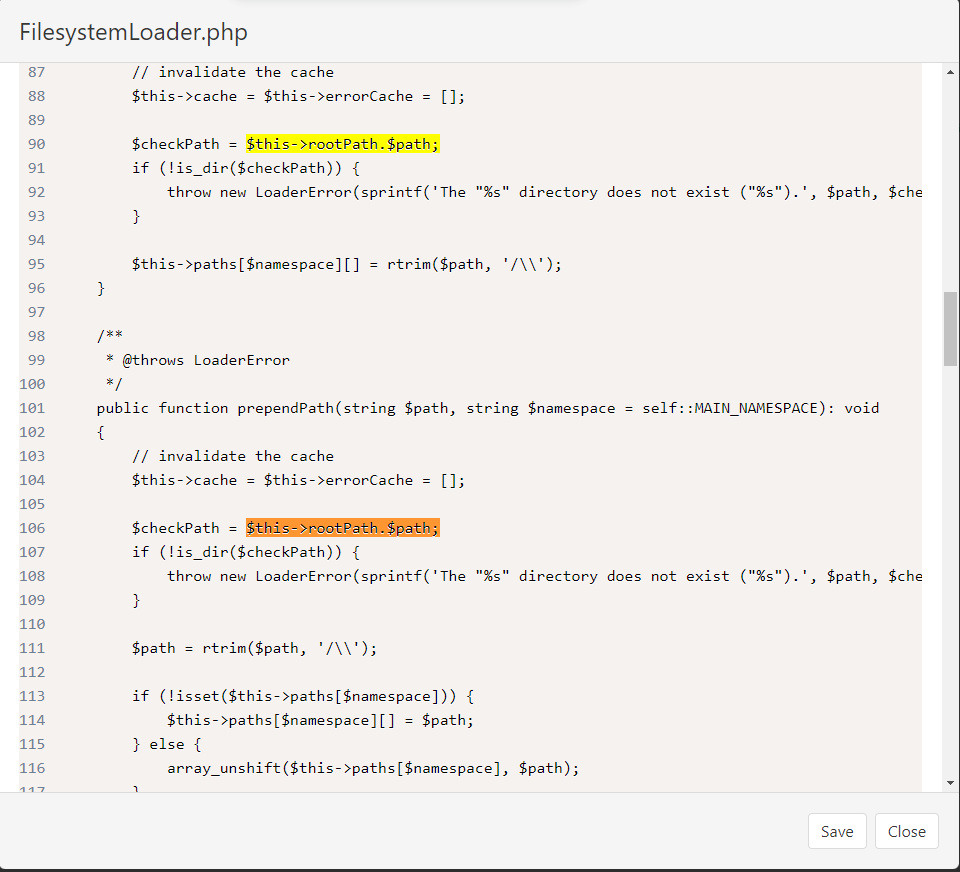
這時再次回到網站就會發現open_basedir限制已經不見,網站能正常呈現
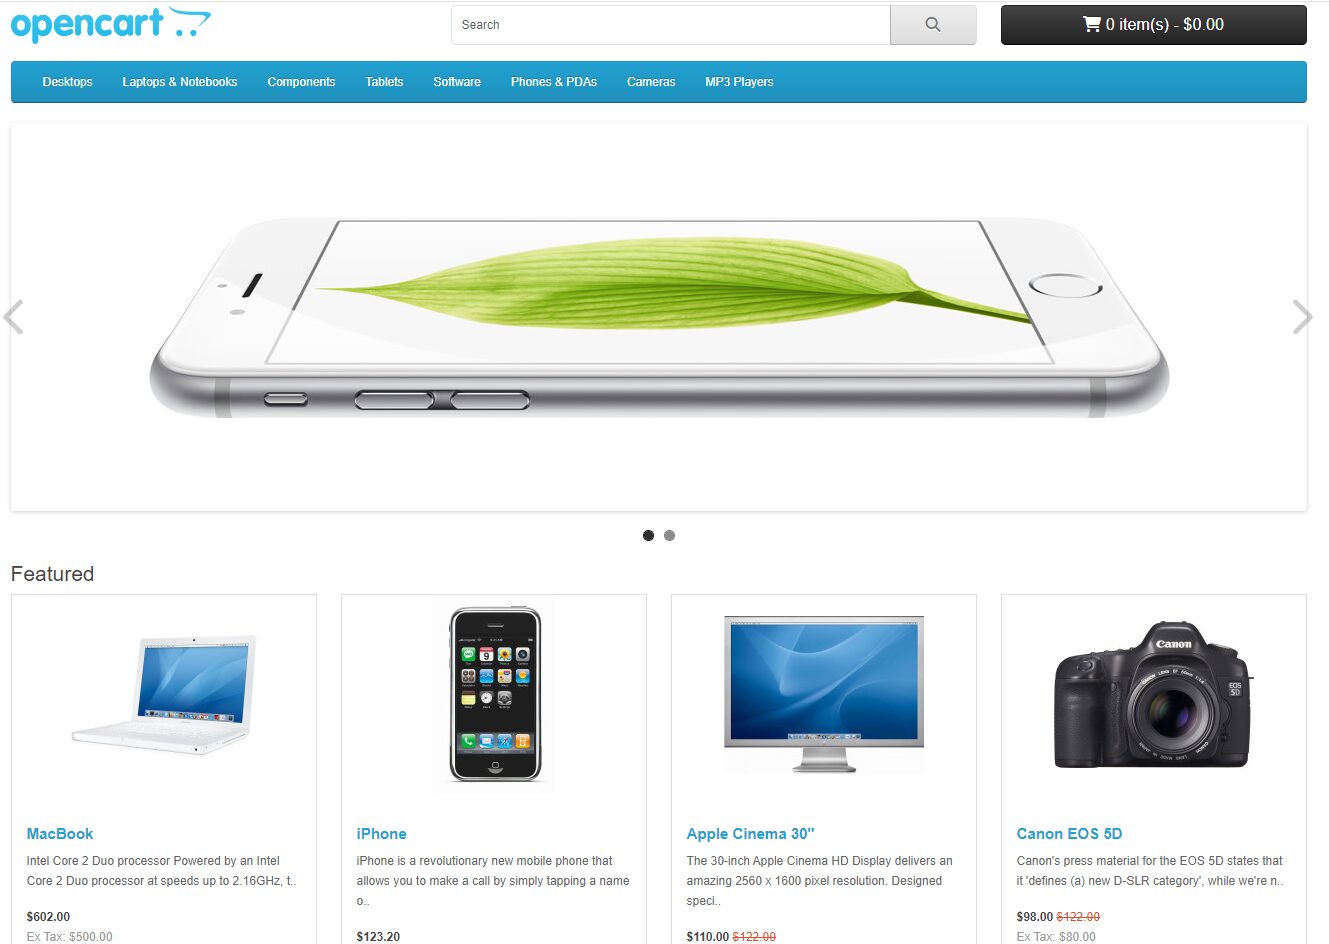
基本設定
後台功能
接下來在網址後方輸入 /admin 進入後台,接著輸入一開始設定的帳號密碼
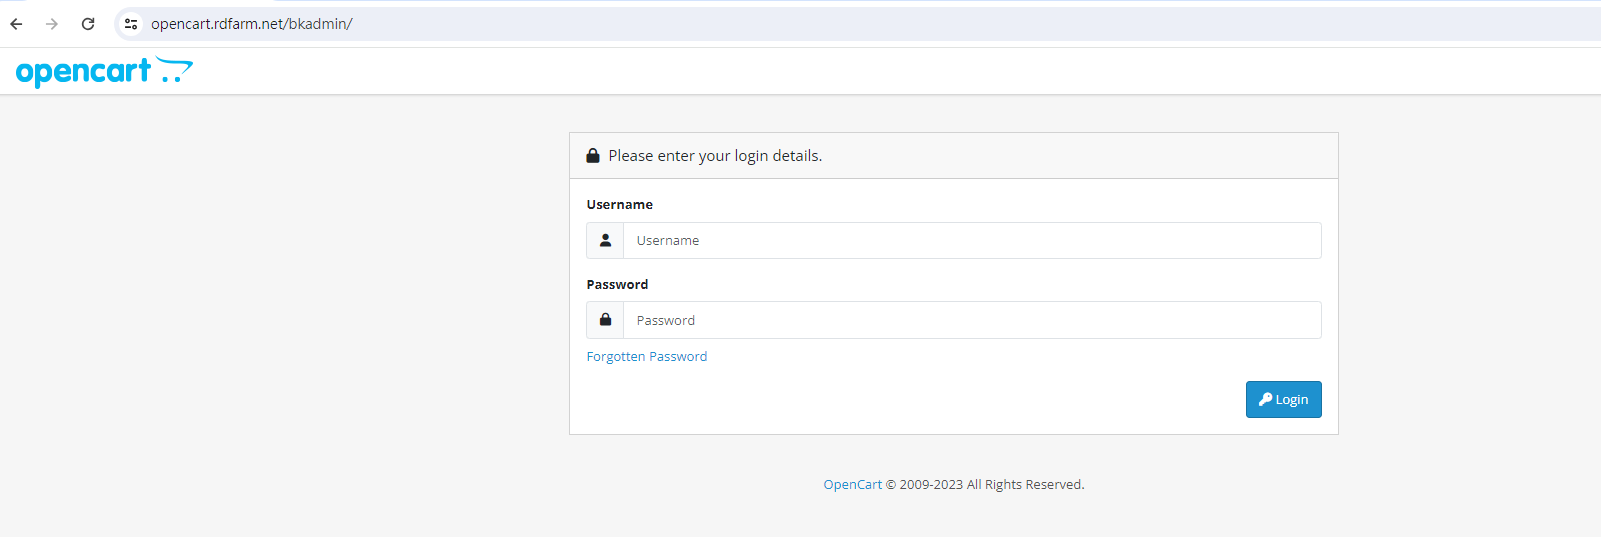
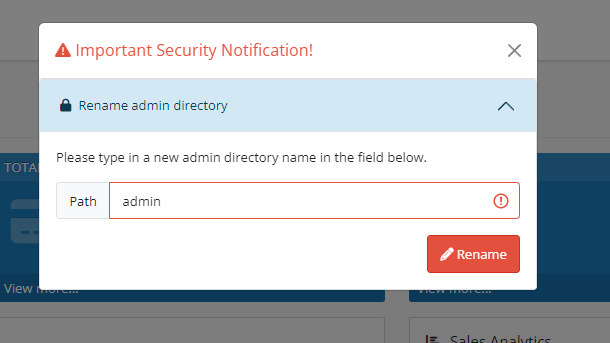
第一次進入後台會跳出網址更改要求,這時務必要修改並記住,才不會到時候無法進入後台
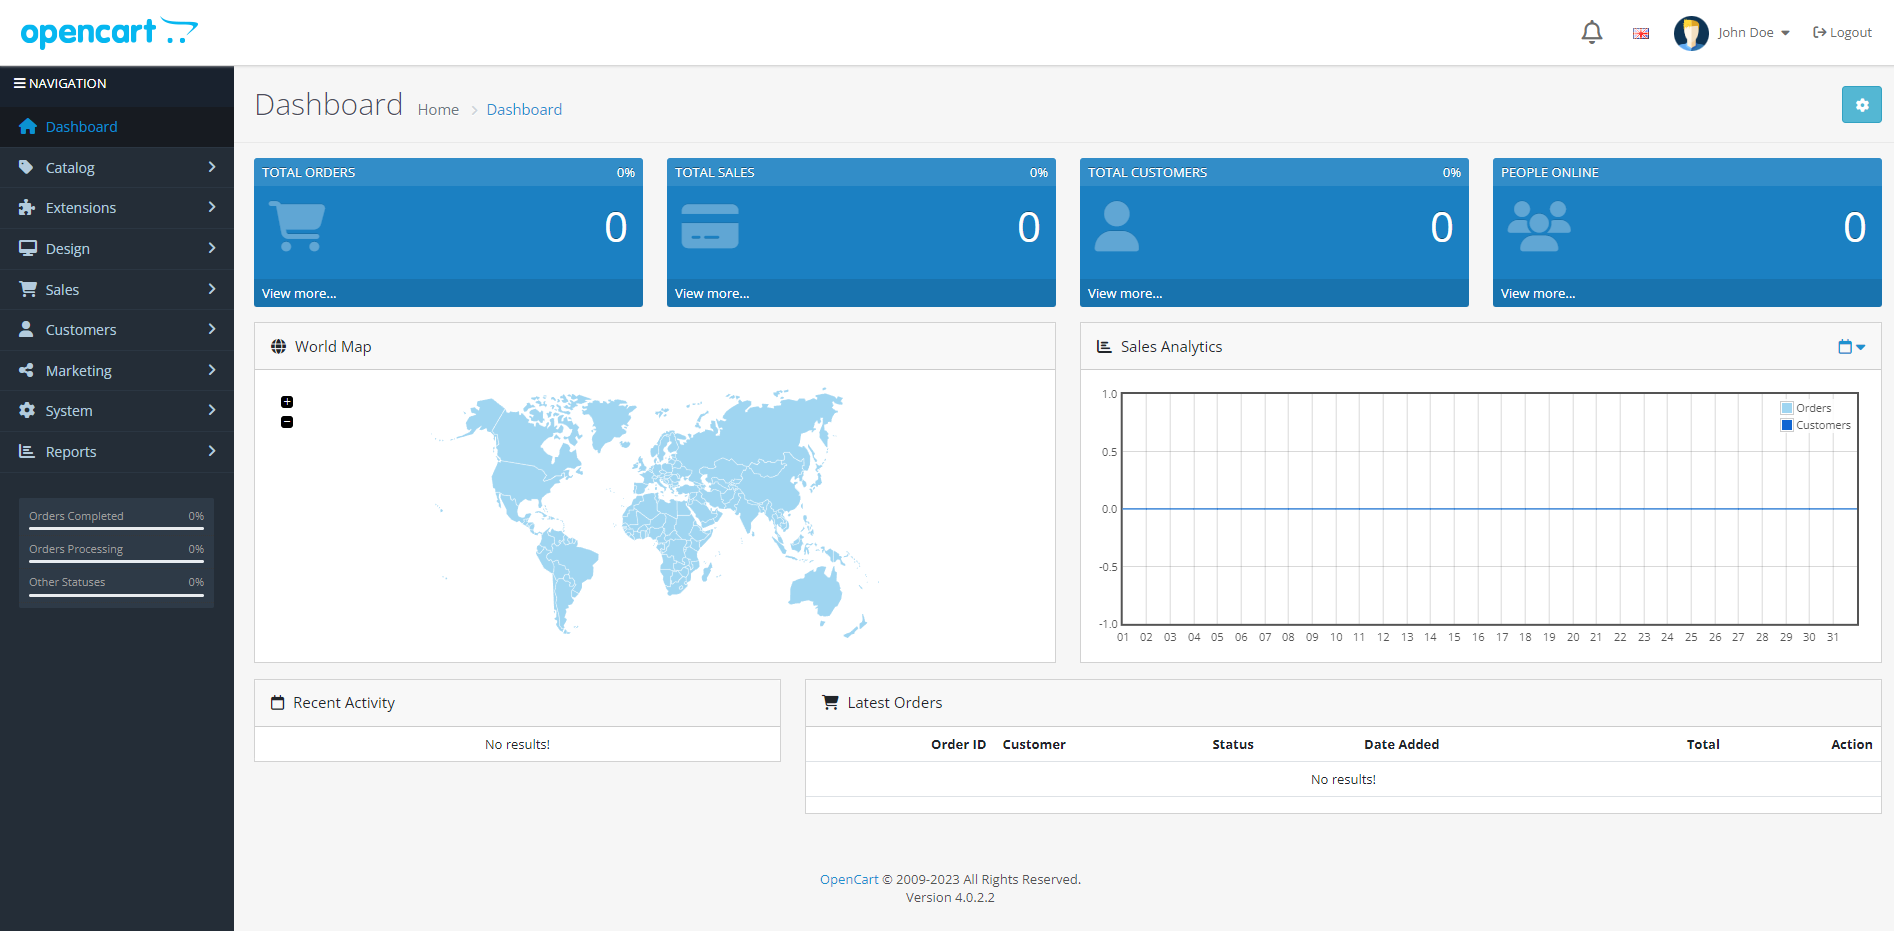
在後台會看到以下分類,每個分類皆獨立對應不同功能
中文語系設定
系統預設是英文介面,這時我們可以使用台灣開發者翻譯的中文語系套件
下載連結 OpenCart 台灣正體中文語系 4.0.2.3
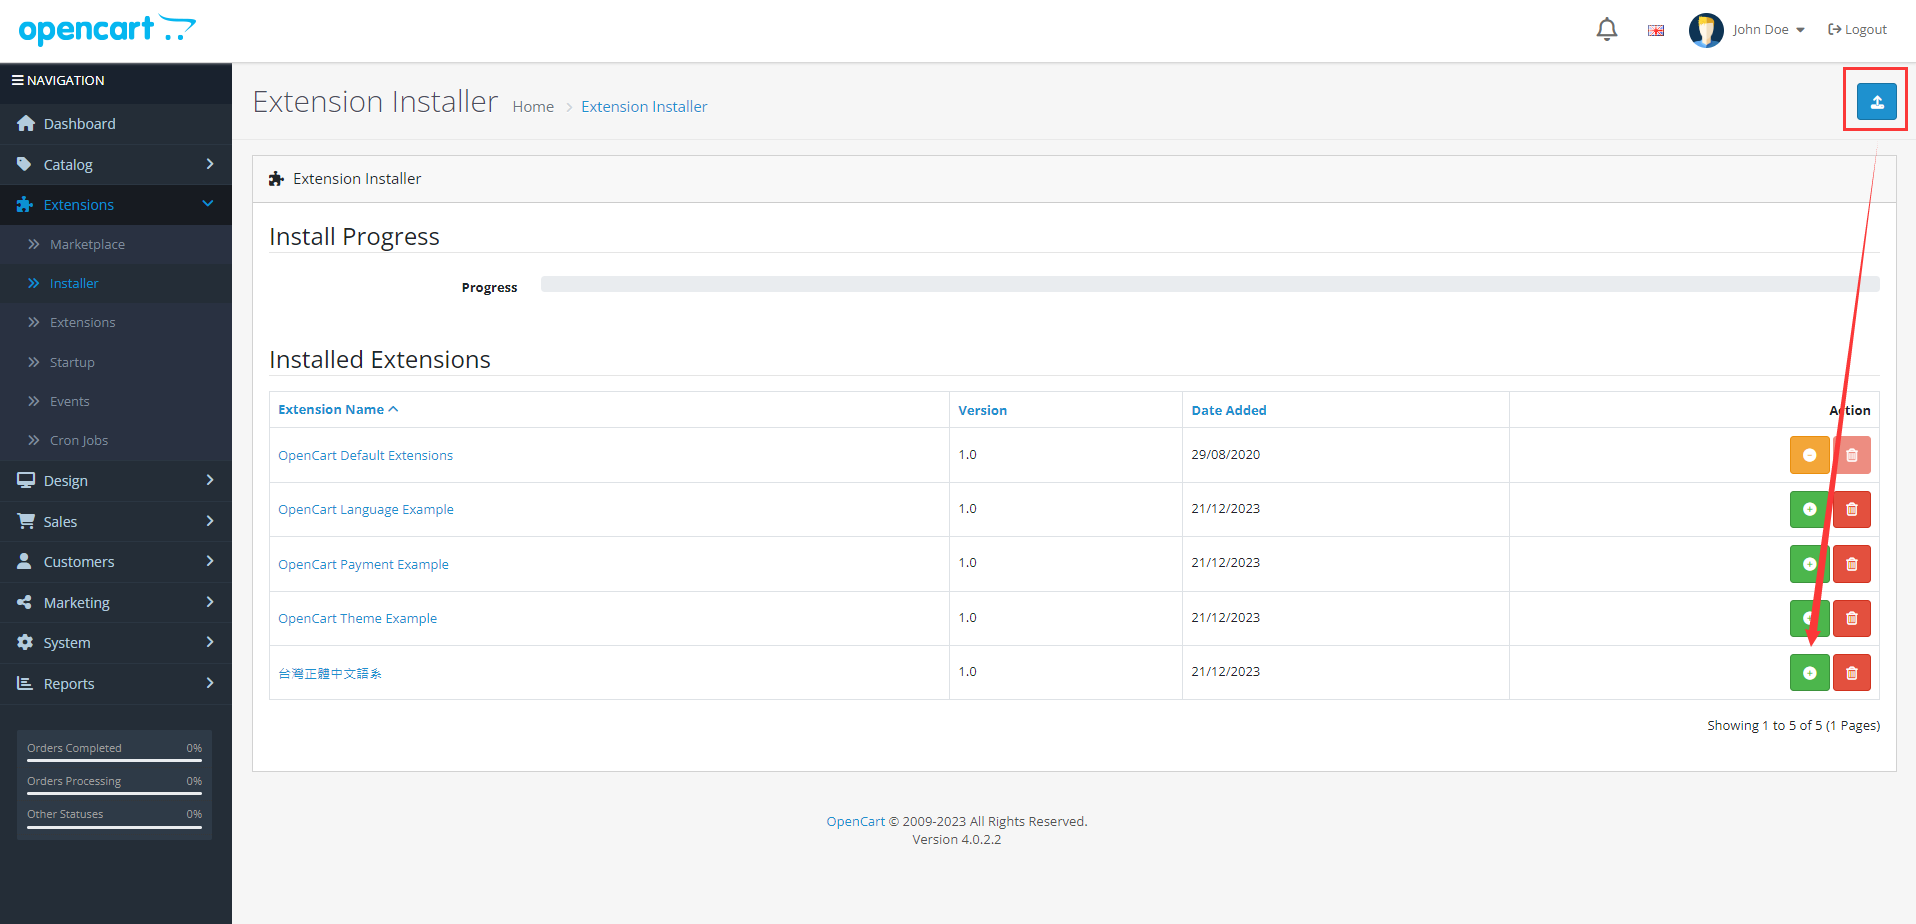
下載完成後到Extensions 底下的 Installer 進行上傳並安裝
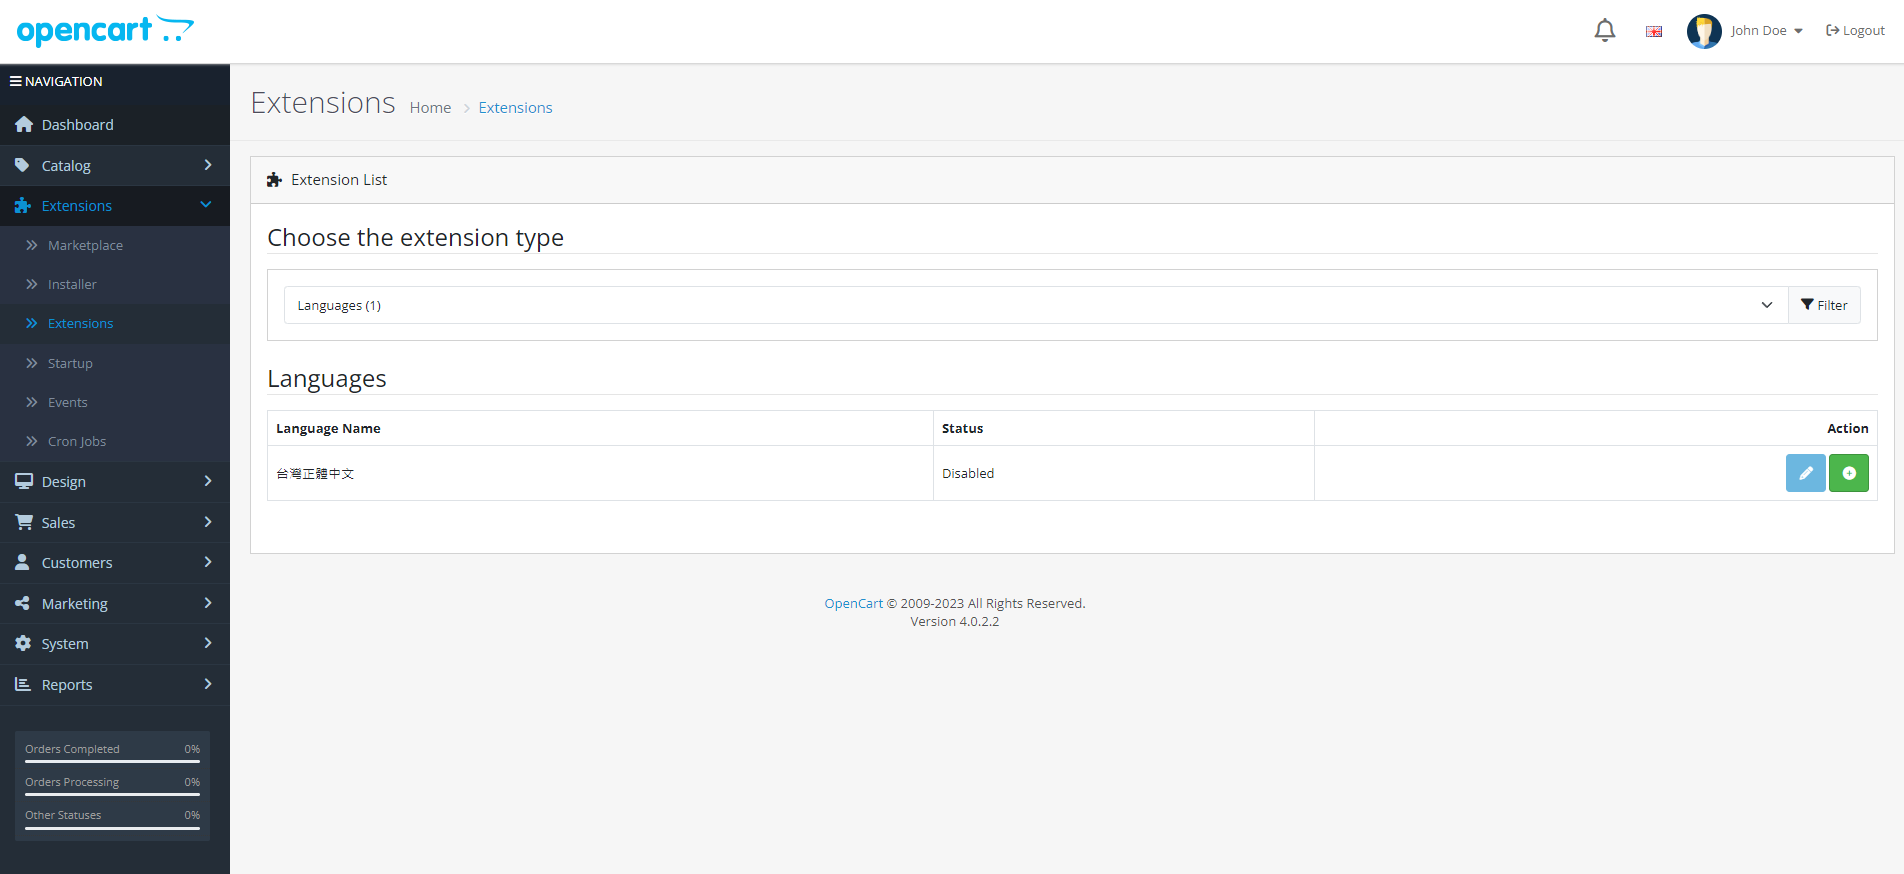
接著一樣到 Extensions 底下的 Extensions 進行啟用
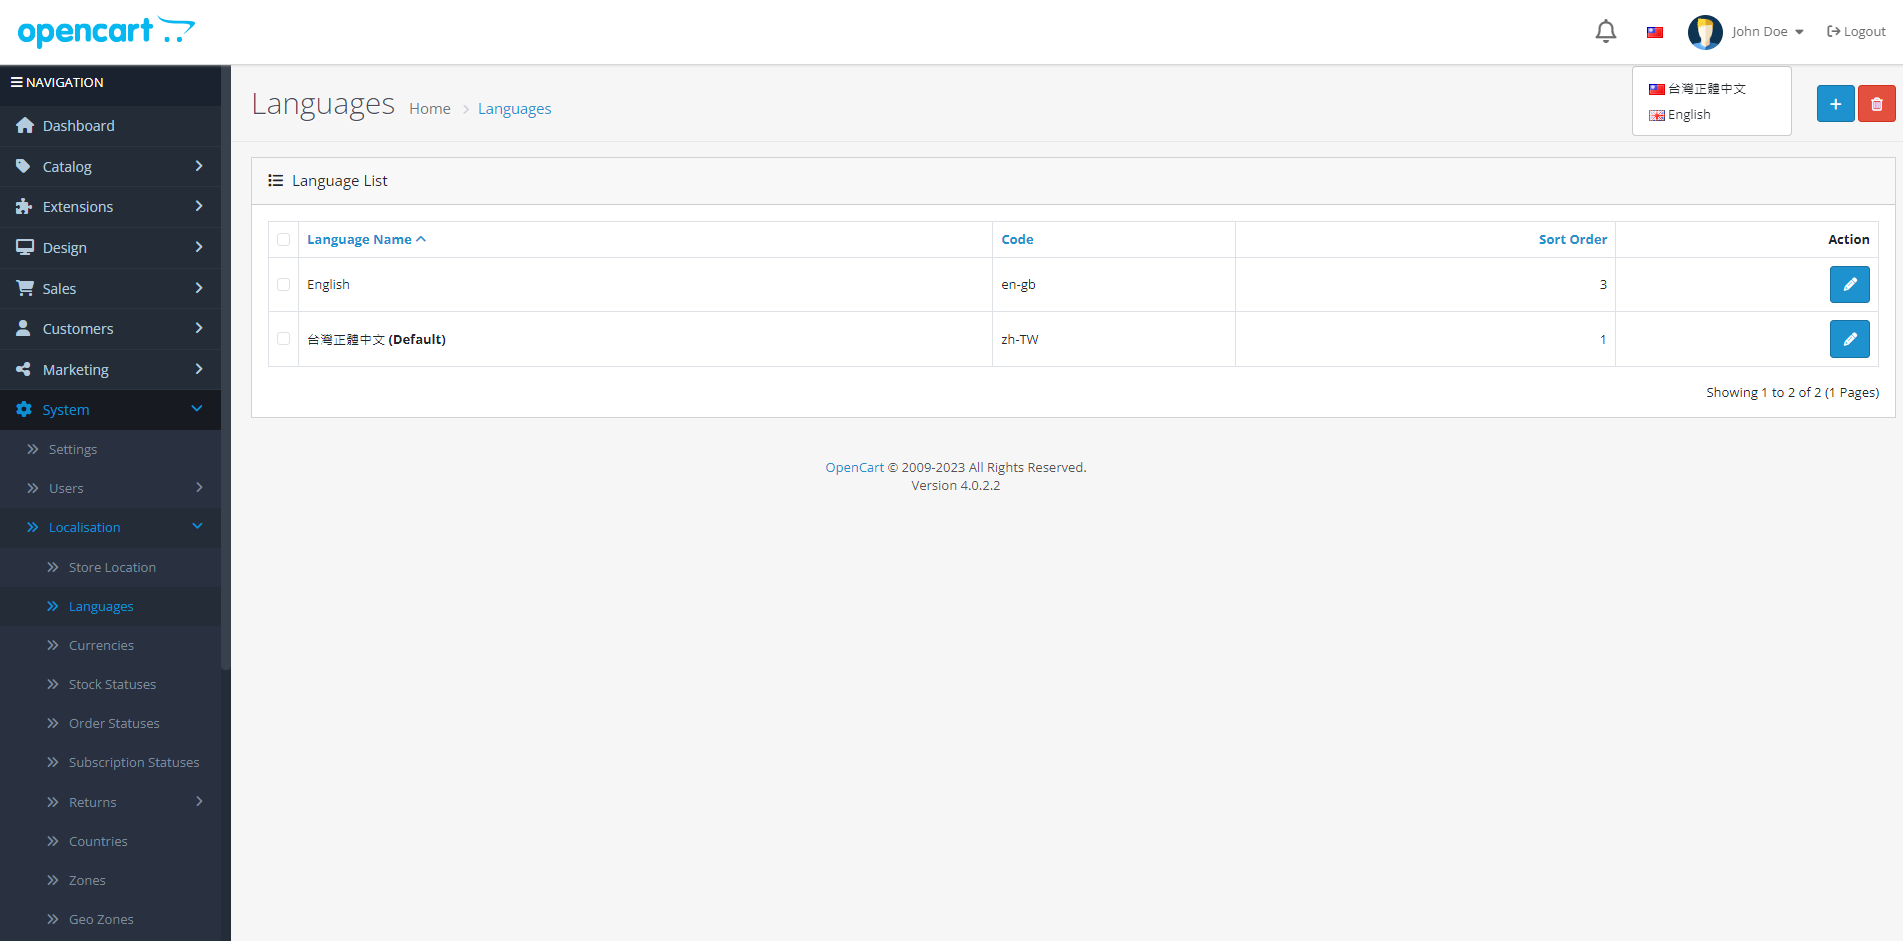
這時前後台上方的語系會出現英文和正體中文兩種,目前預設會變成繁體中文
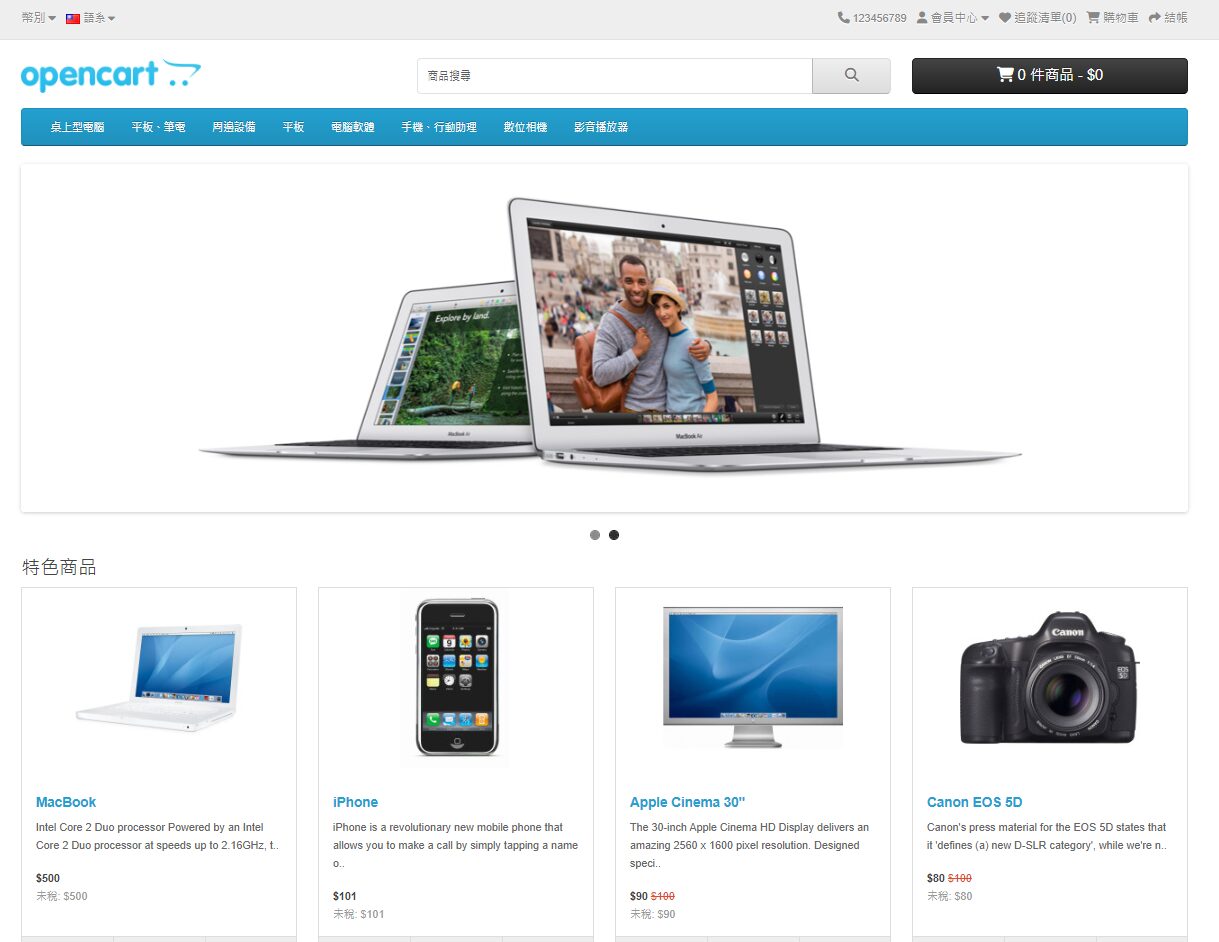
在前台的畫面也就會變成中文了
金流設定
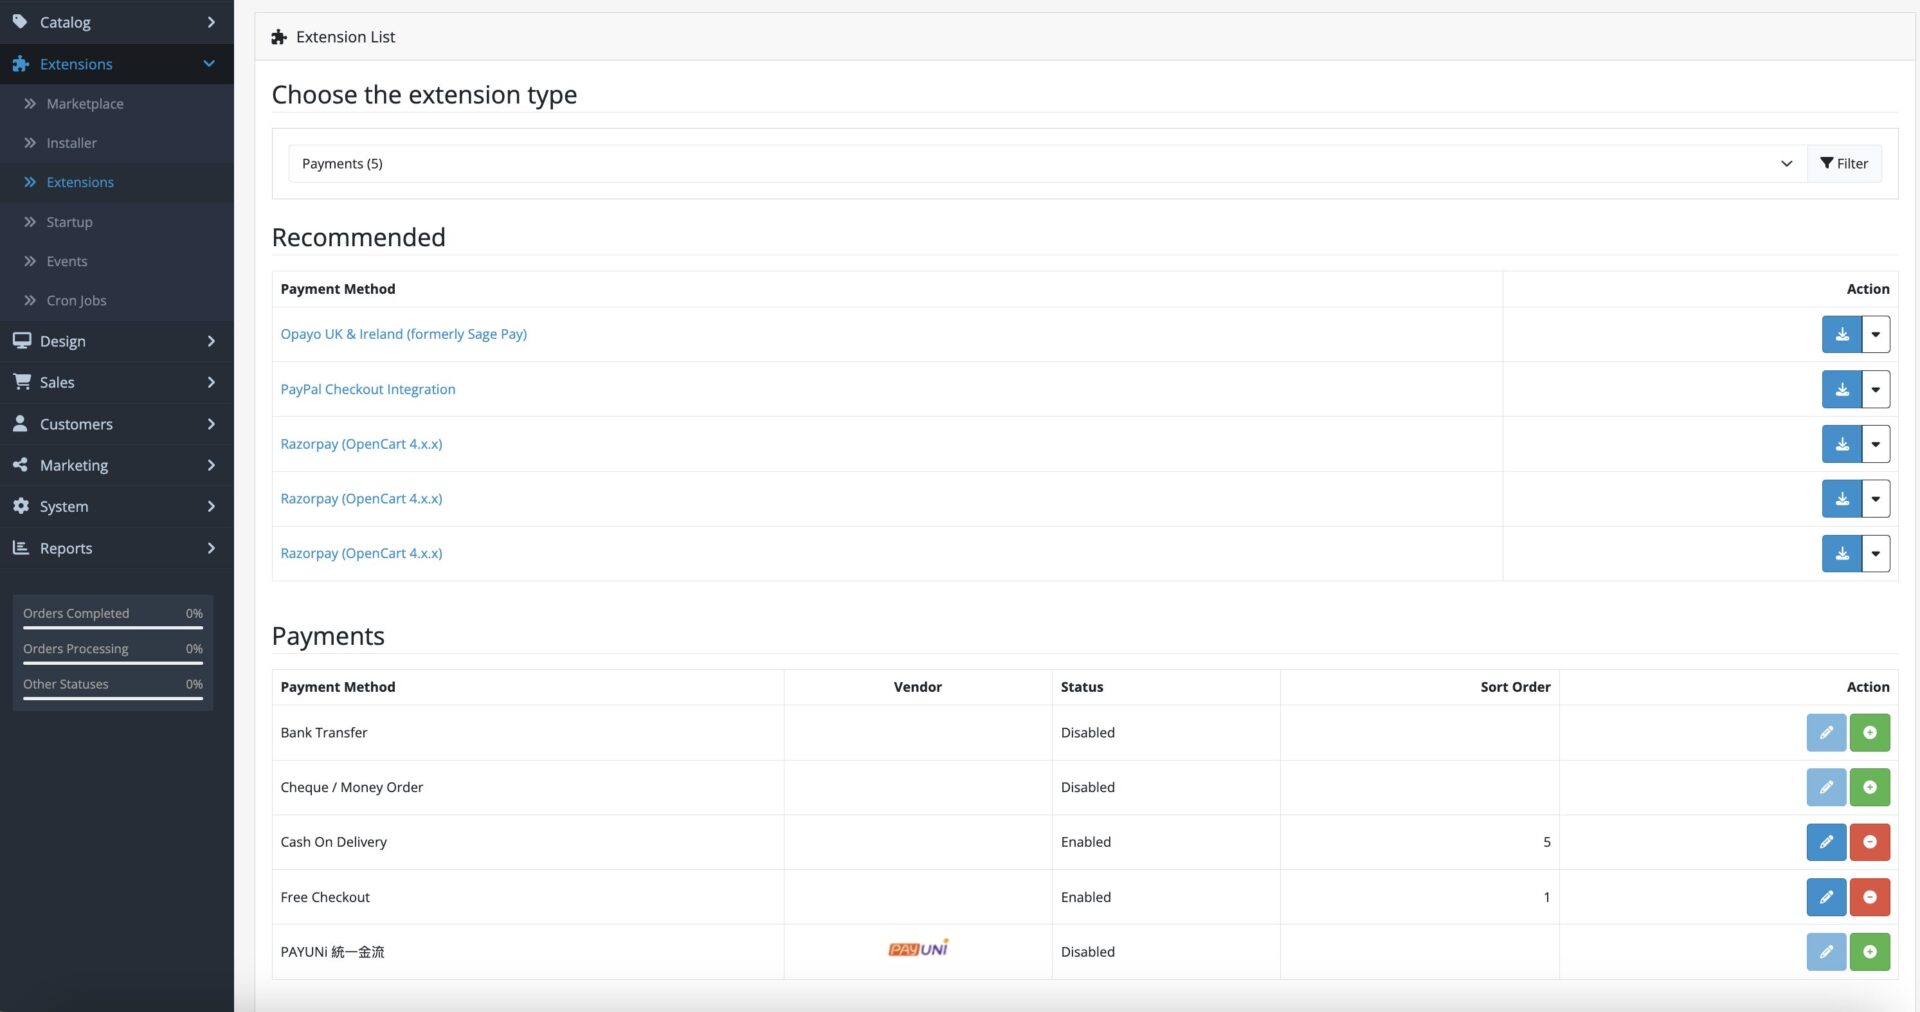
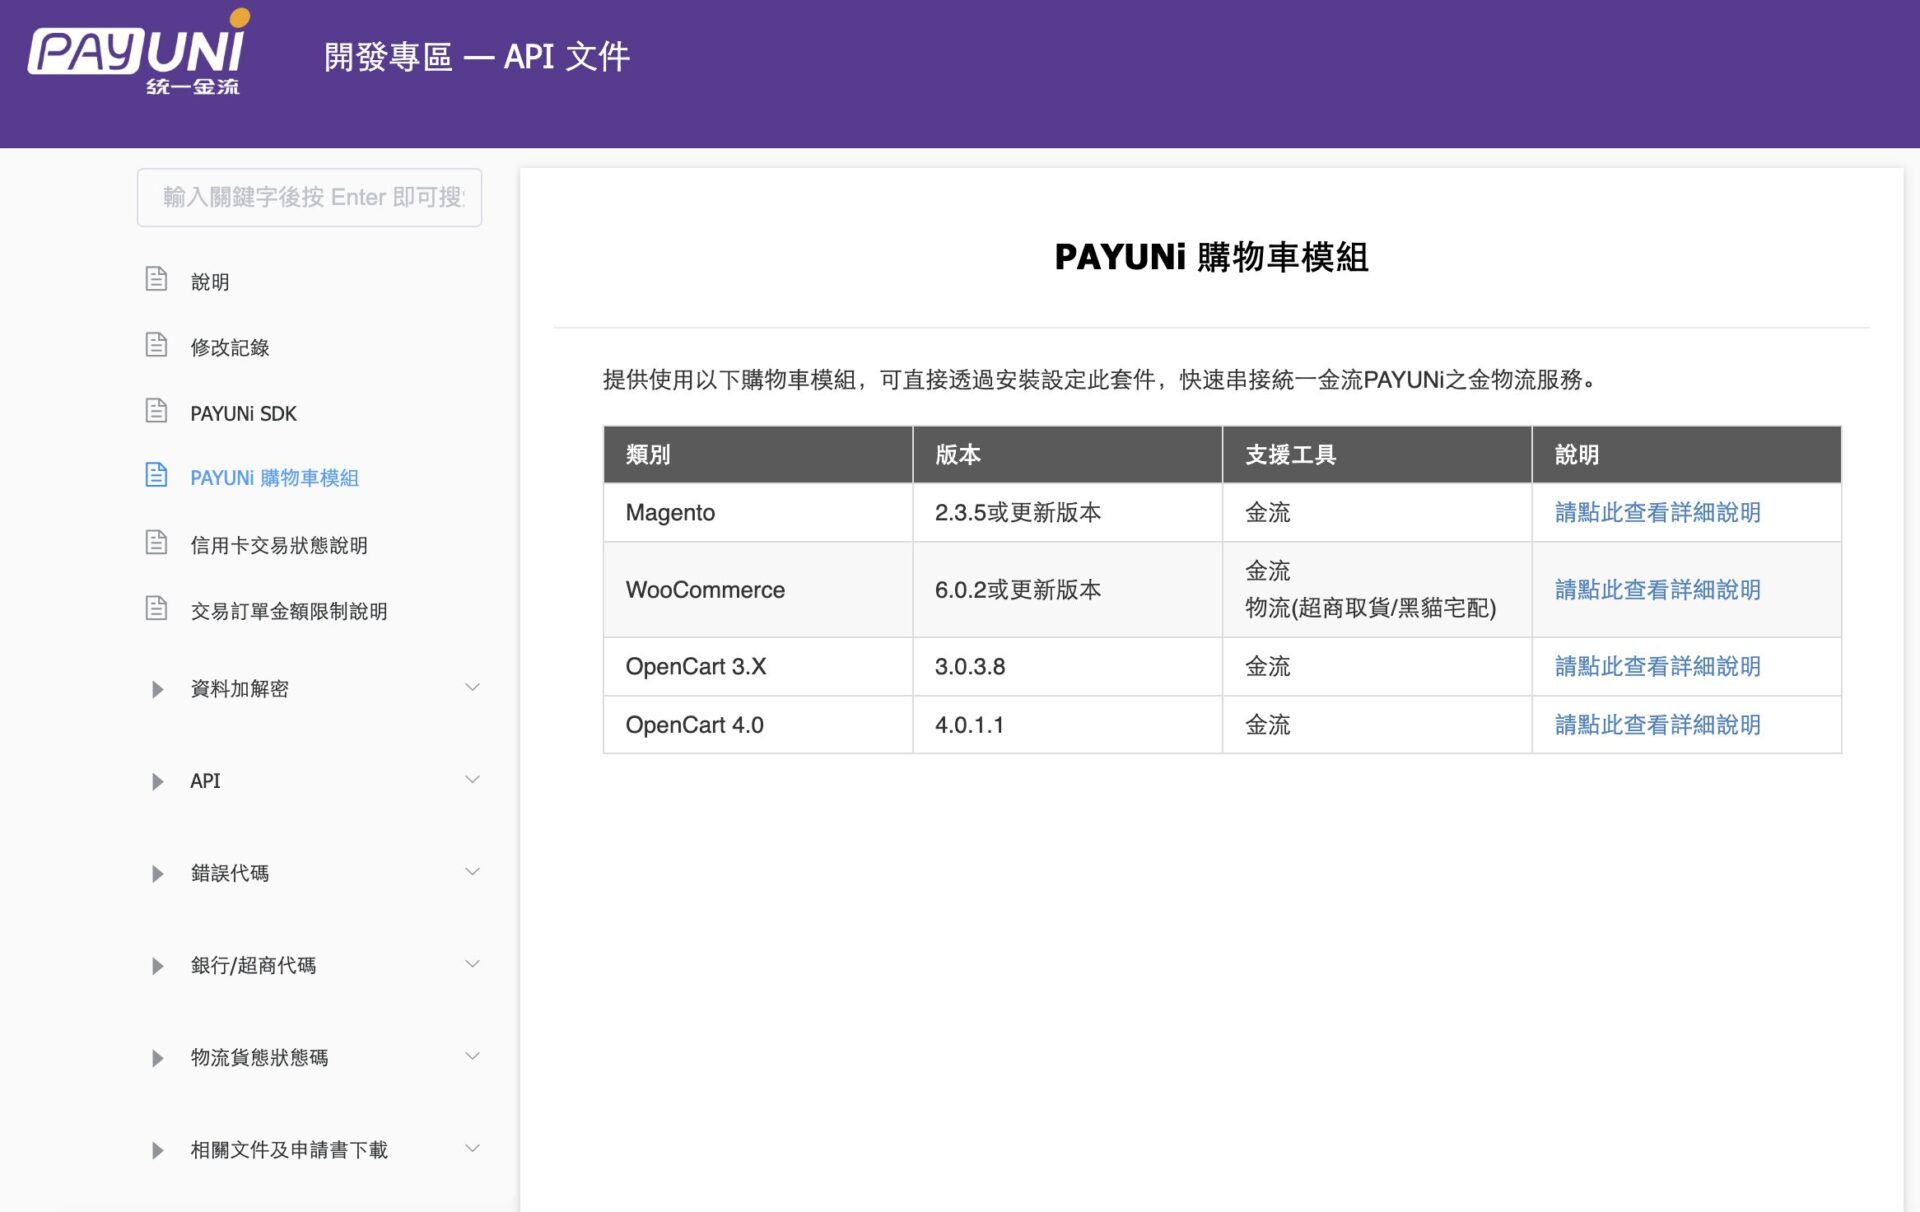
目前金流廠商有開發「套裝模組」的有綠界科技、藍新科技、統一金流,如果要使用官方開發的模組,這邊我會建議使用統一金流會比較安全。
綠界和藍新所提供的模組只支援5年前的版本,這會受限於廠商外掛版本落後進而安裝舊版的系統引起新功能的缺乏和資安問題。
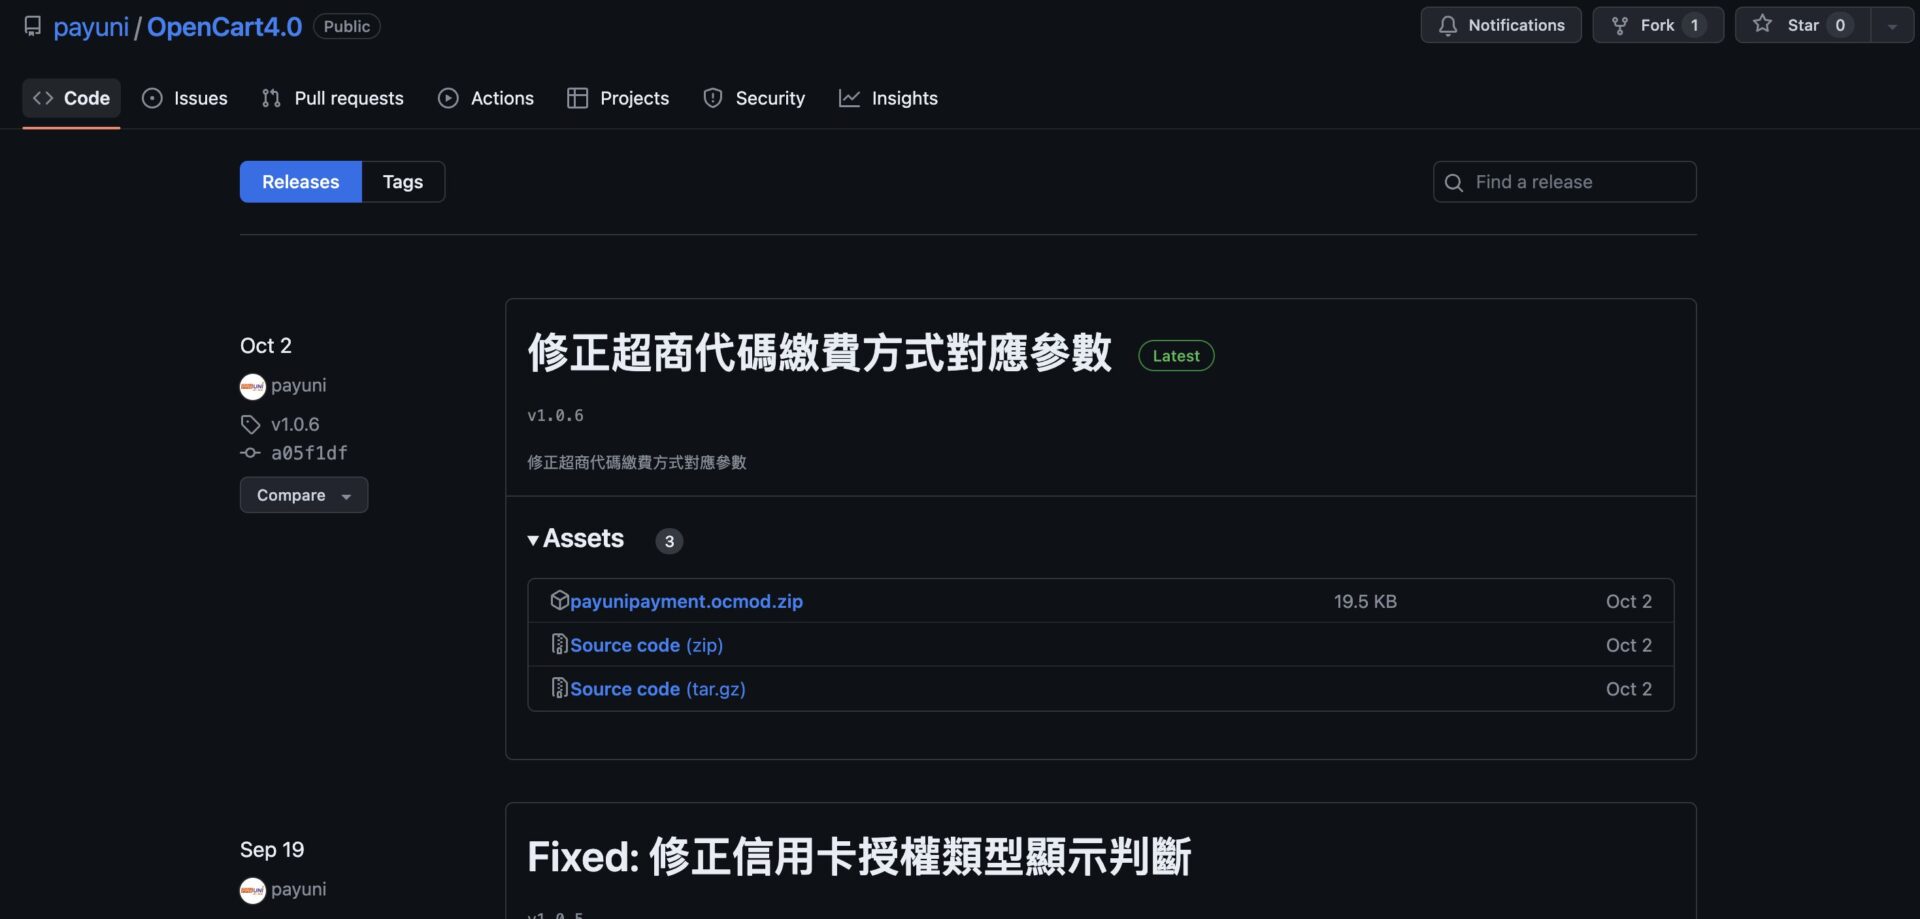
統一金流所提供的程式碼可以在GitHub下載,下載的版本記得選 payunipayment.ocmod.zip 才能安裝上去
下載連結:PAYUNi 購物車模組 OpenCart 4.0
下載完成後一樣到Extensions 底下的 Installer 進行上傳並安裝
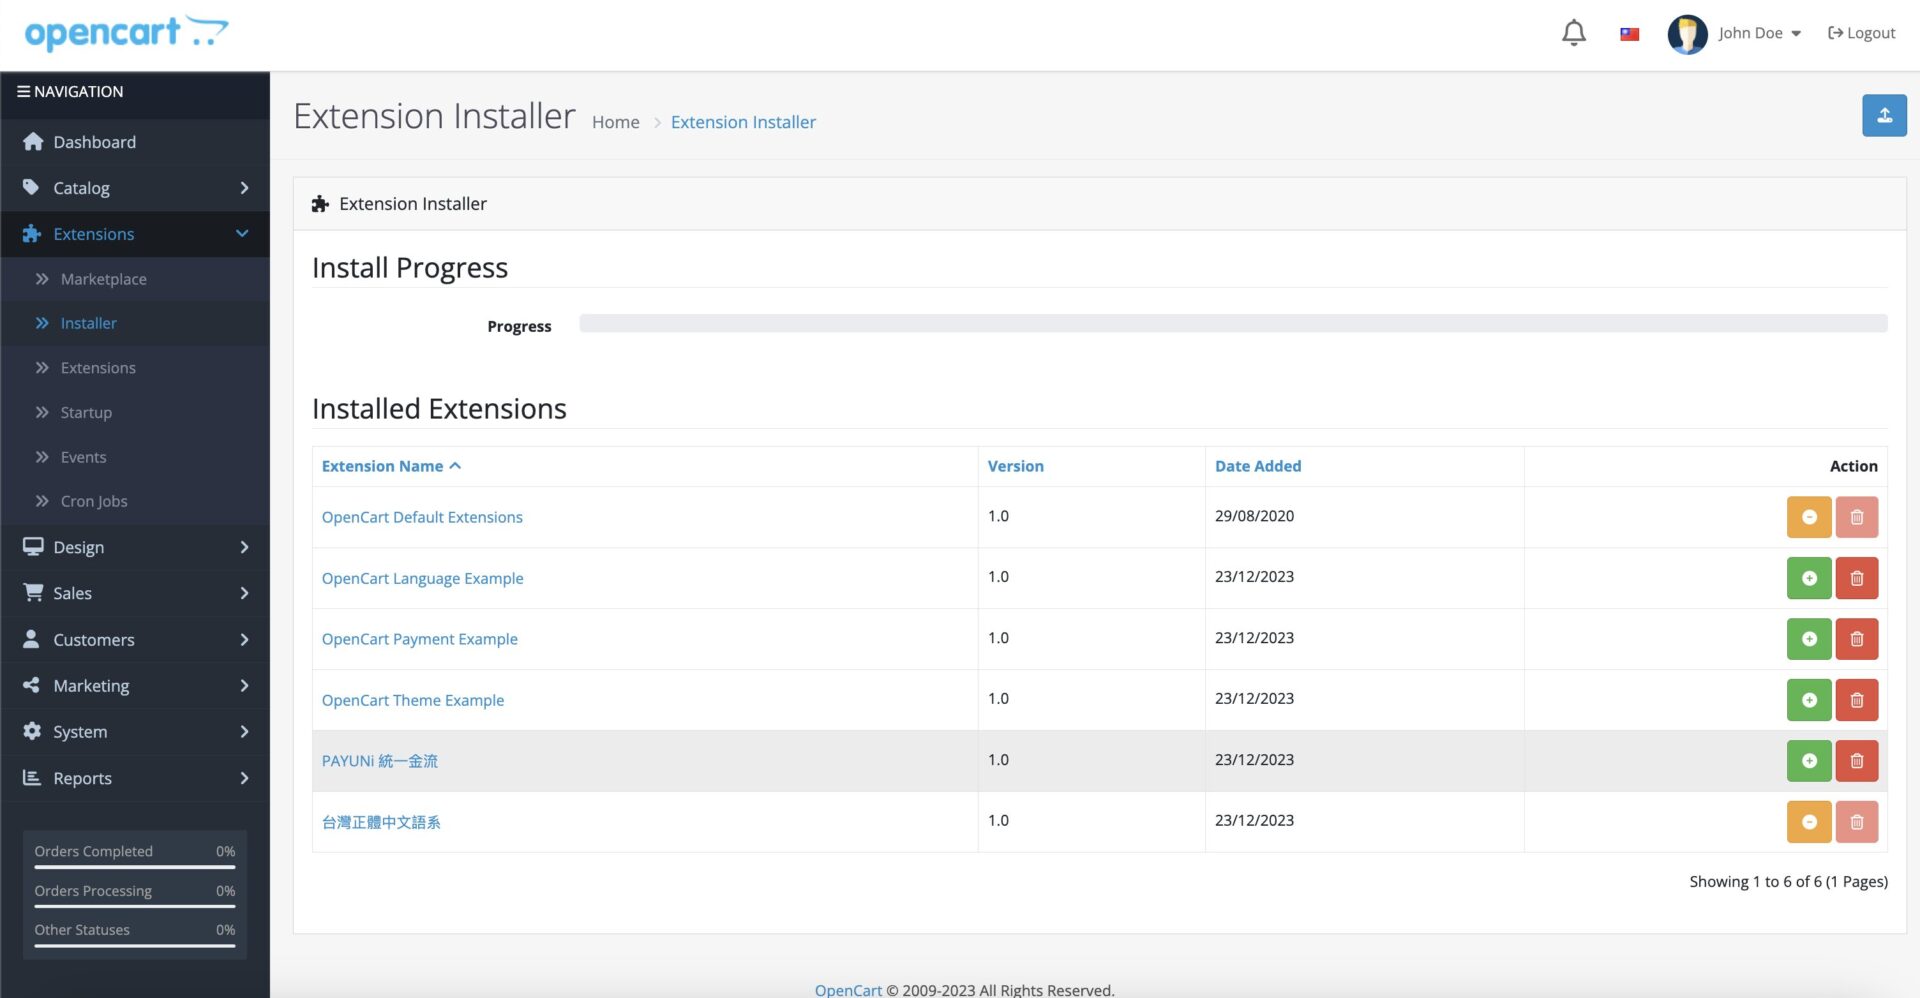
接著一樣到 Extensions 底下的 Extensions 啟用,這時結帳就能套用統一金流了
