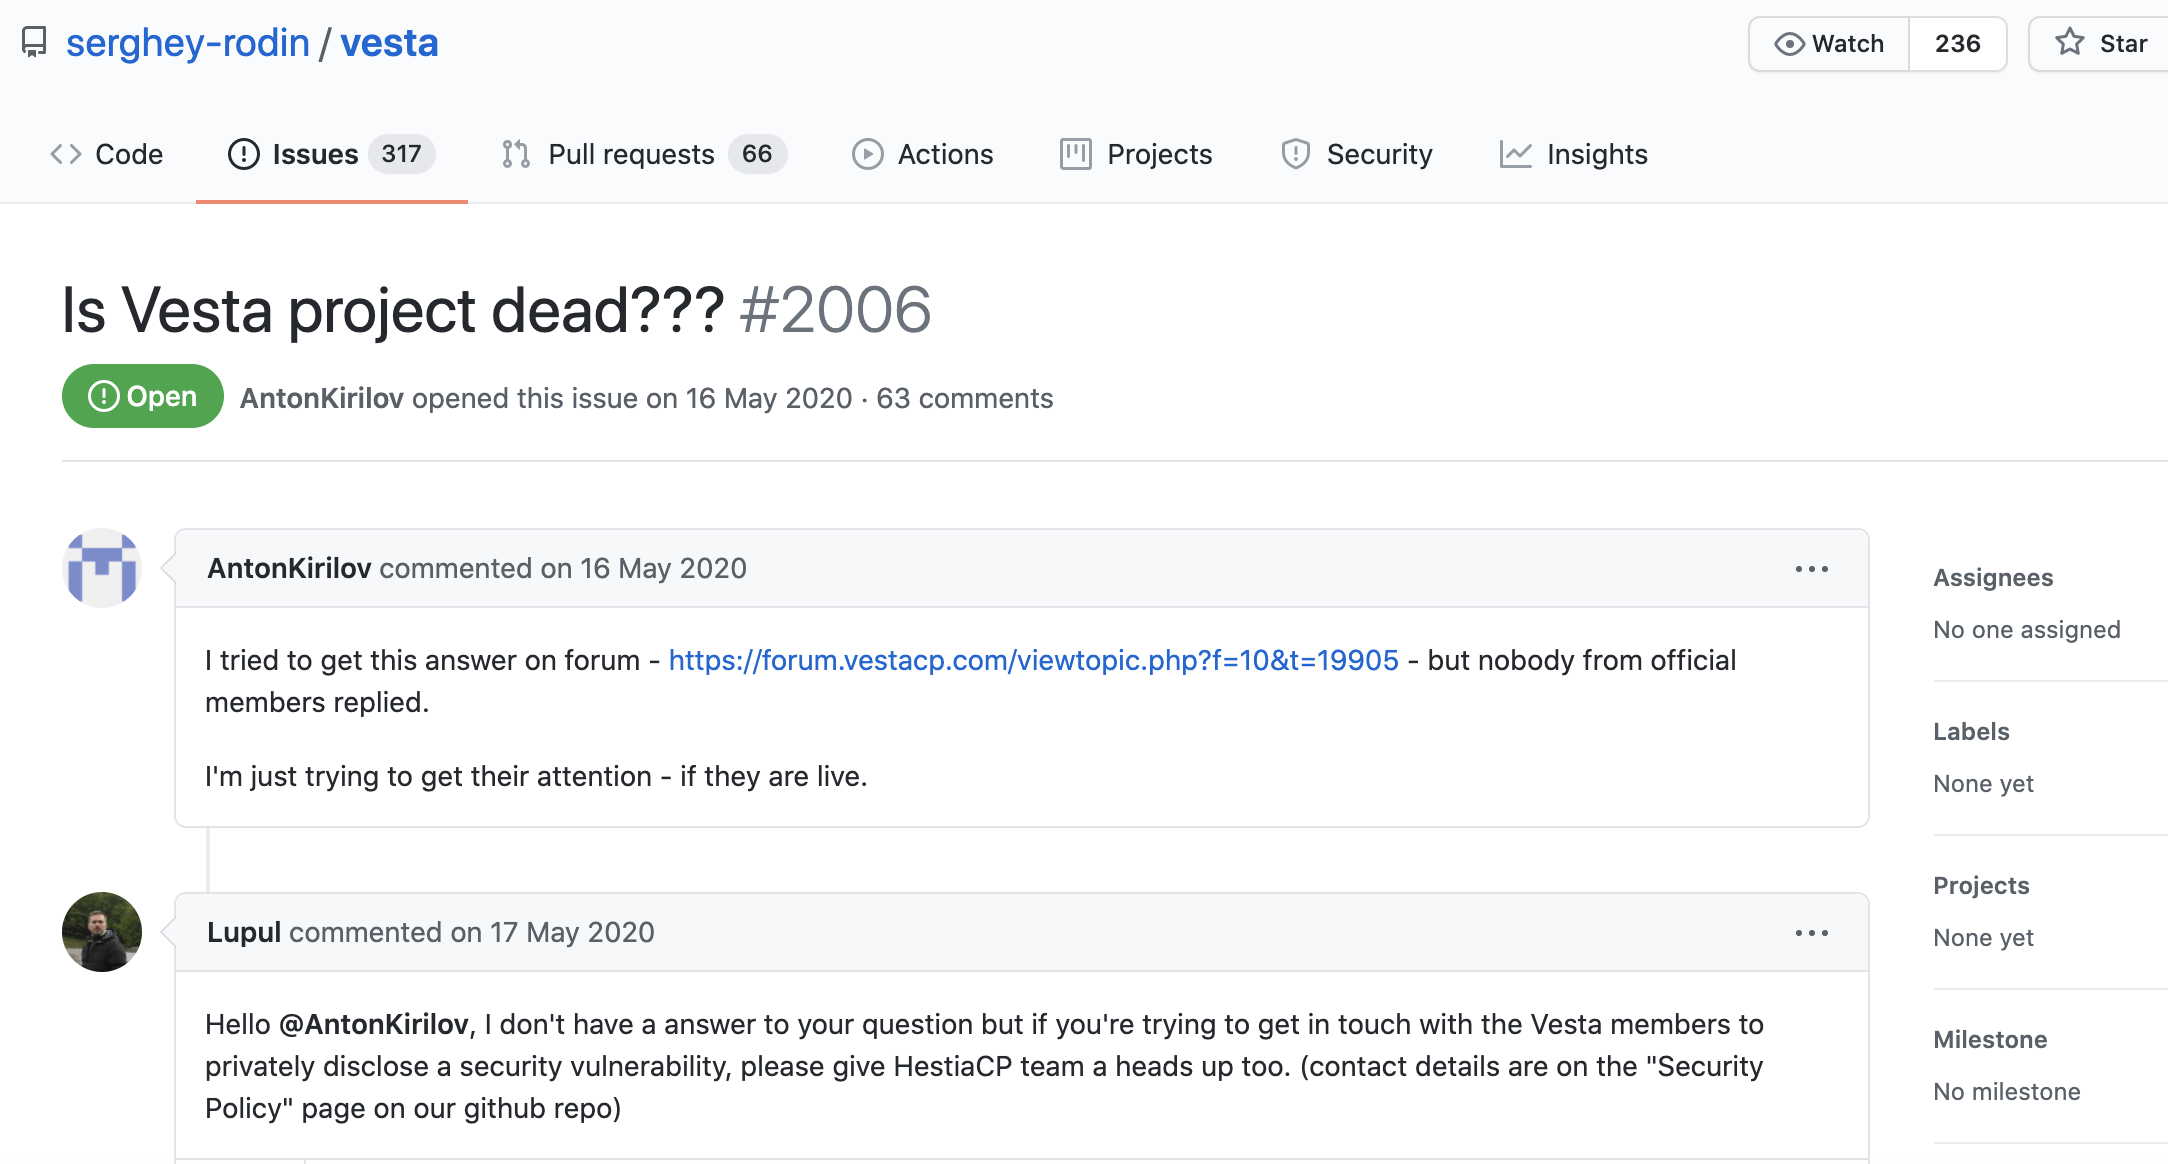
前陣子發覺VestaCP的似乎停止更新了在Github發現了此討論串,依目前狀況判斷後續會有大量漏洞不會被修補,為了網站安全所以優先將要上線的網站直接部署到新的伺服器。
Hestia Control Panel (簡稱HestiaCP) 是VPS面板管理工具之一,是從VestaCP 發展出來的分支,HestiaCP 不但擁有 VestaCP 原先的功能還增加了一鍵部署,架設WordPress等開源網站更加輕鬆了。唯一的缺點是不支援CentOS,也無法使用轉移工具直接搬家,但可以使用備份資料逐一將檔案和資料庫進行轉移。
Table of Contents
HestiaCP 硬體支援
記憶體最低512MB
建議值1GB
如果是使用WordPress架設網站,使用2G會更順暢
HestiaCP 支援系統版本
- Debian 9
- Debian 10
- Ubuntu 16.04 LTS
- Ubuntu 18.04 LTS
- Ubuntu 20.04 LTS
- Ubuntu 22.04 LTS
在安裝之前如果是剛建立好的主機,可已先依照下面的順序將伺服器基礎防護提高 CentOS、Ubuntu指令皆通用
1、先建立新的使用者,往後SSH登入就用新帳號 「Linux 建立新使用者」
2、進入 /etc/ssh/sshd_config 將 PermitRootLogin 修改成 no ,避免直接使用root帳號就能登入
HestiaCP 安裝
接下來先將Linux主機更新
sudo apt update && sudo apt upgrade安裝Hestia通用腳本
wget https://raw.githubusercontent.com/hestiacp/hestiacp/release/install/hst-install.sh*2024/10/9新增
如果要安裝指定的php或mariadb版本,伺服器是ubuntu系列,請下載這個腳本
wget https://raw.githubusercontent.com/hestiacp/hestiacp/release/install/hst-install-ubuntu.sh如果要安裝指定的php或mariadb版本,伺服器是debian系列,請下載這個腳本
wget https://raw.githubusercontent.com/hestiacp/hestiacp/release/install/hst-install-debian.sh輸入以下指令,進入修改php和mariadb要安裝的版本,debian系統需將ubuntu進行替換
nano hst-install-ubuntu.sh這邊要安裝的項目可以自行挑選,記得網域和信箱要換成你個人的
https://docs.hestiacp.com/getting_started.html
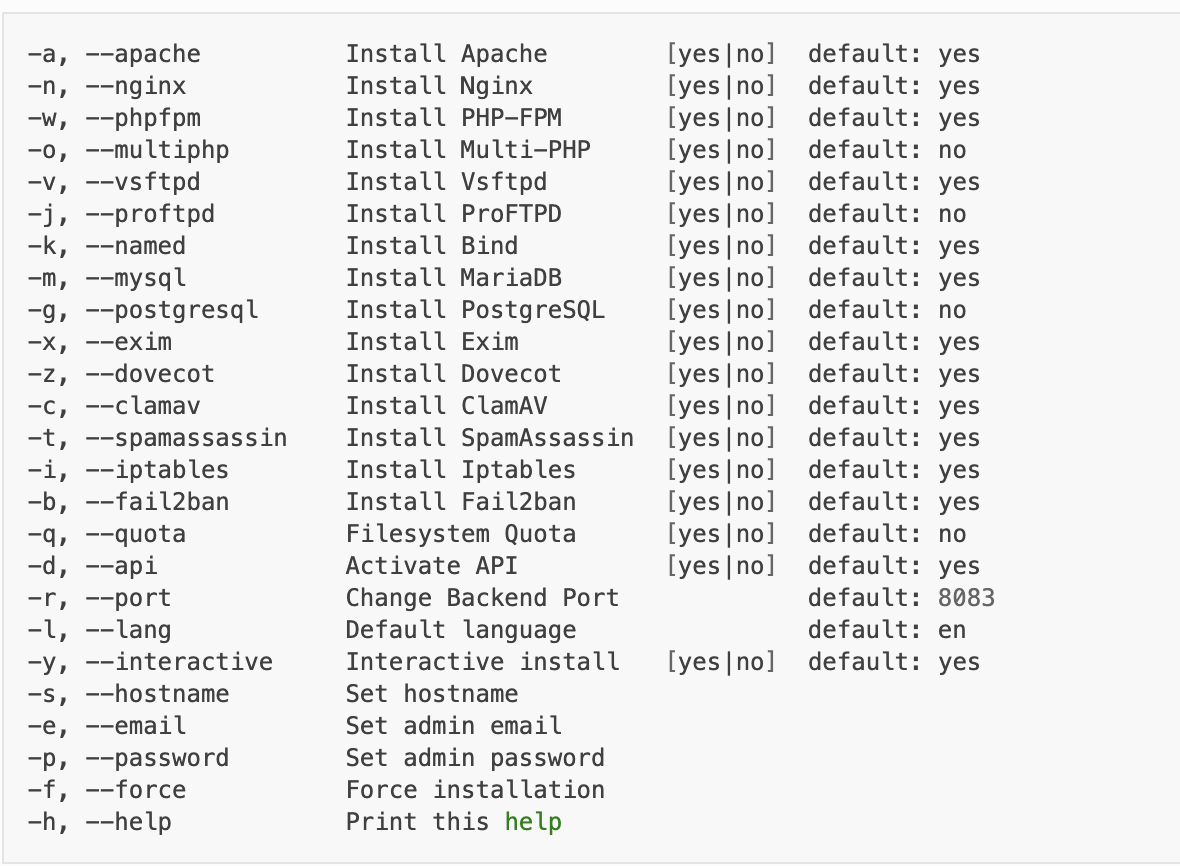
如果不會用到DNS和Mail Server,可以直接套用下面的指令即可
下面指令提供架設網站所需的 nginx、php-fpm、mariadb、iptables
*2022/11/23新增
網域的部分必須要使用 二級網域(子域名)才能正常安裝,否則會跳出 RFC-1178 錯誤
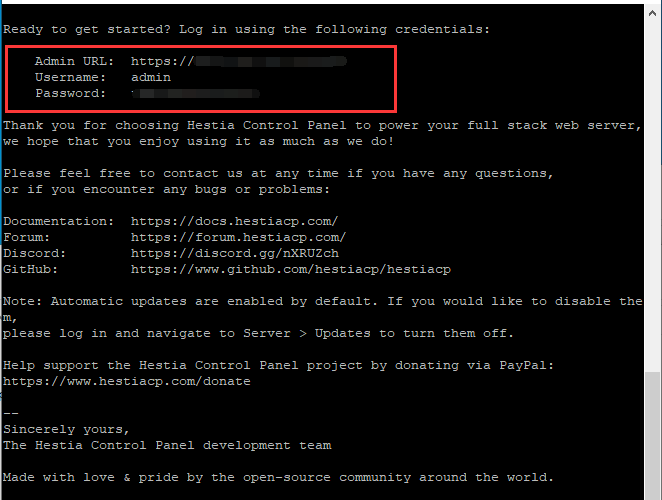
bash hst-install.sh -a no -w yes -o yes -v yes -k no -m yes -g no -x no -z no -c no -t no -i yes -b yes -q no -d yes -r 8083 -l zh-tw -y no -s host.yourdomain.com -e mail@gmail.com -f yes當安裝完成後,請將紅框中的登入資料保存好
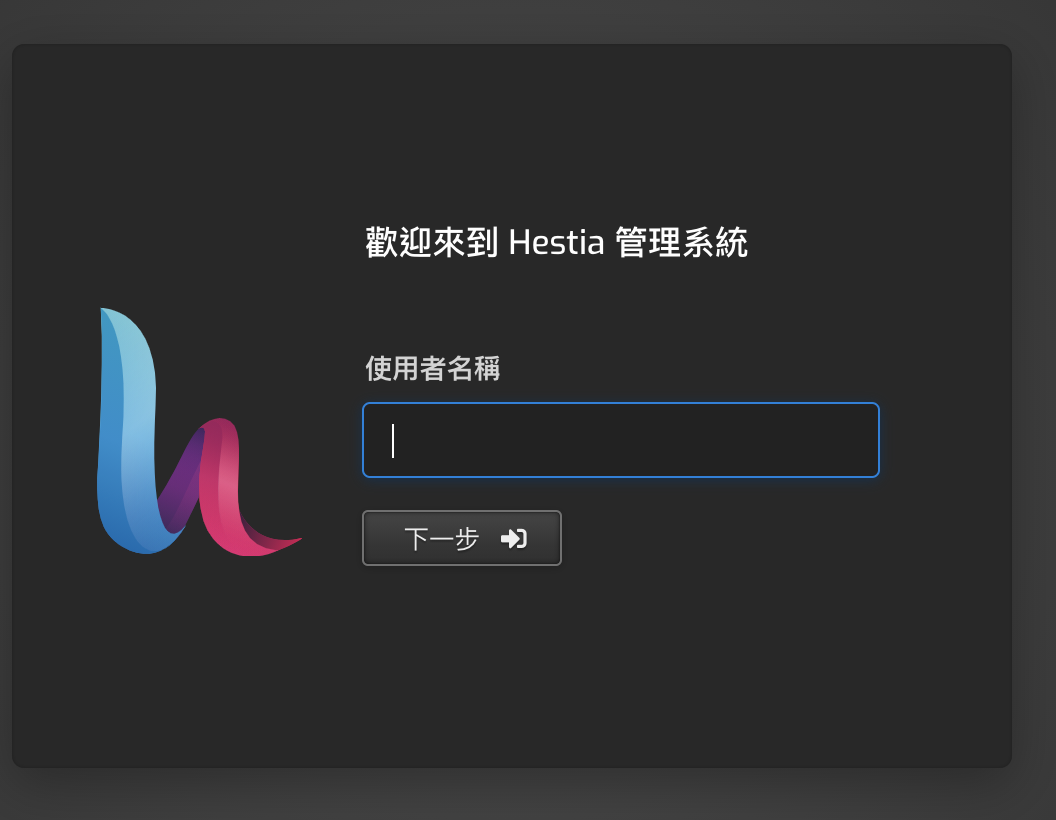
最後輸入您的網址加上指定的port即可到後台,預設port是8083
HestiaCP 設定
HestiaCP 後臺設定
當我們登入後,首先要將密碼改成我們記得住的,所以點擊右上角紅框處,接著在紅框中填寫新密碼後點選儲存
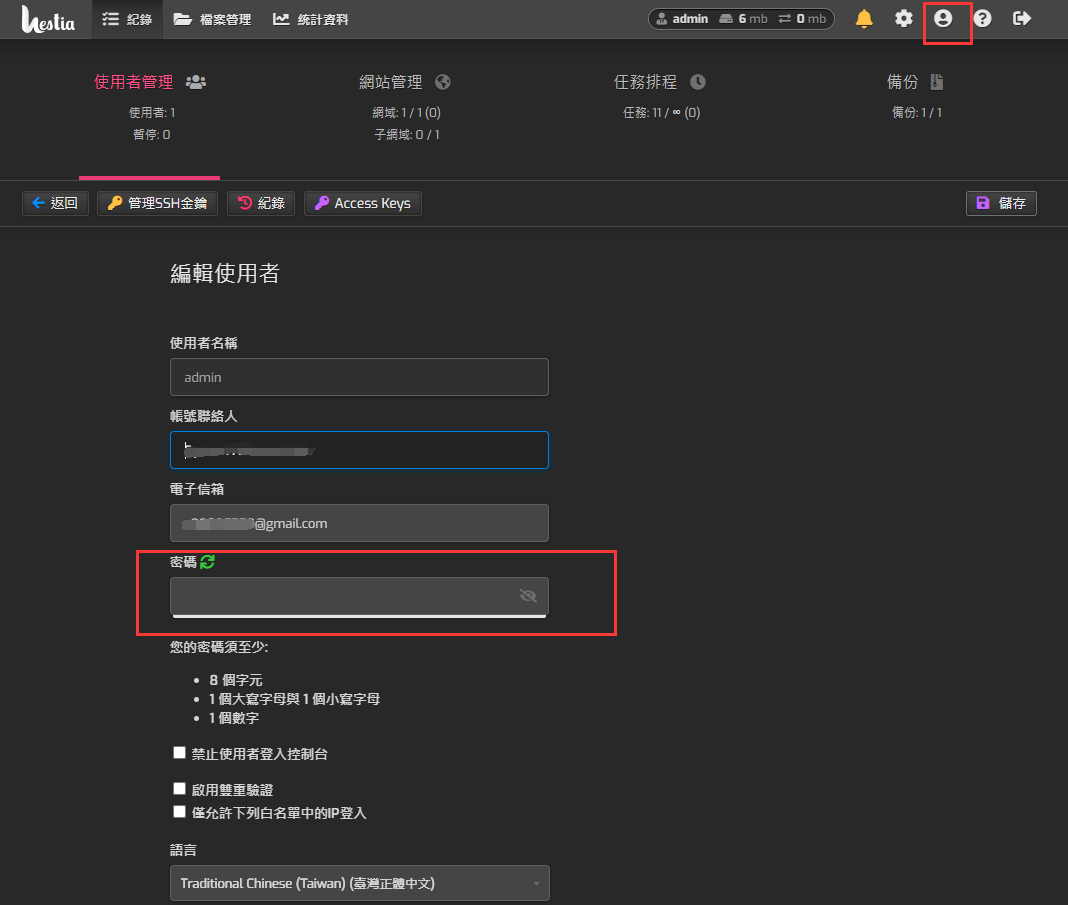
接著將管理工具調整成適合我們操作
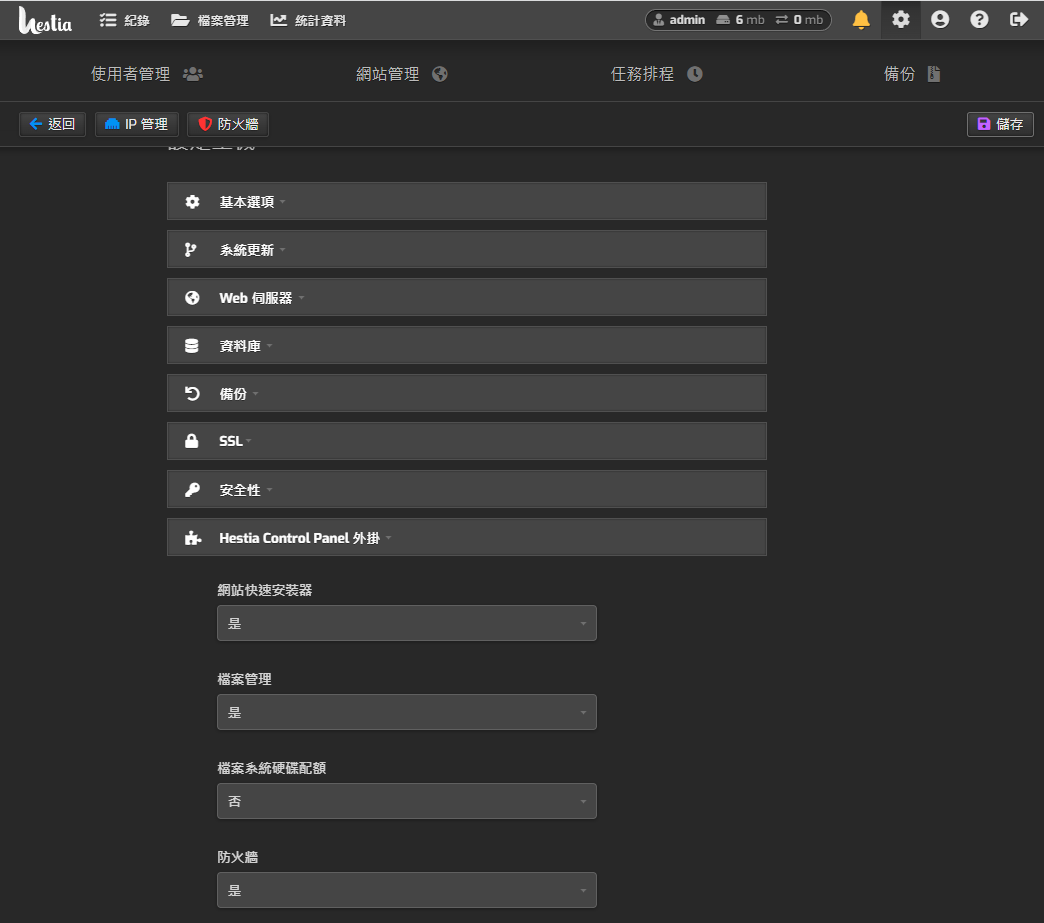
首先點選右上角齒輪符號,接著點選紅框的設定
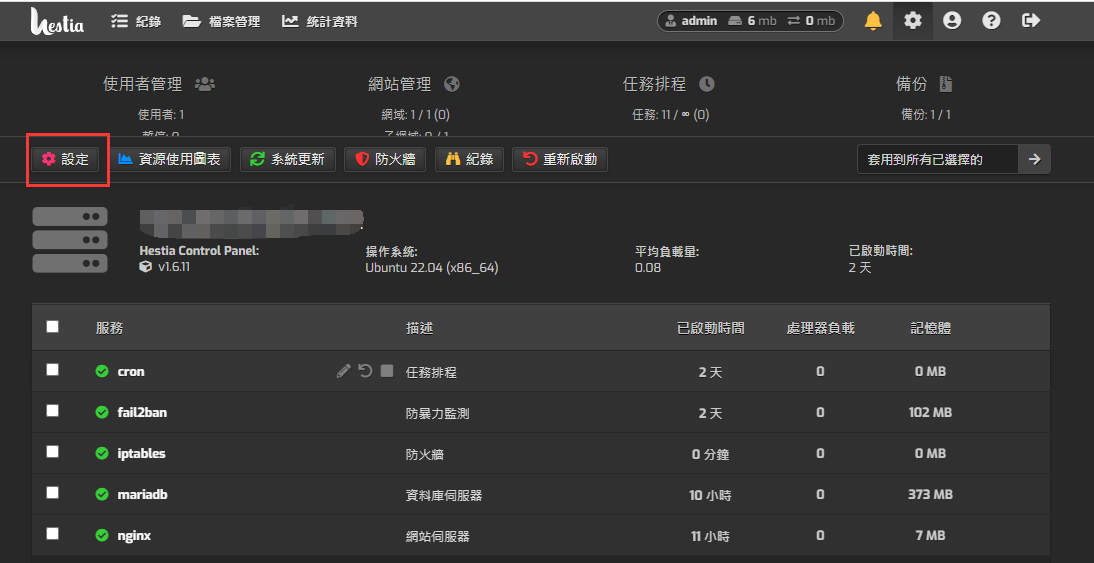
接著我們將時區改成Asia/Taipei UTC+08:00
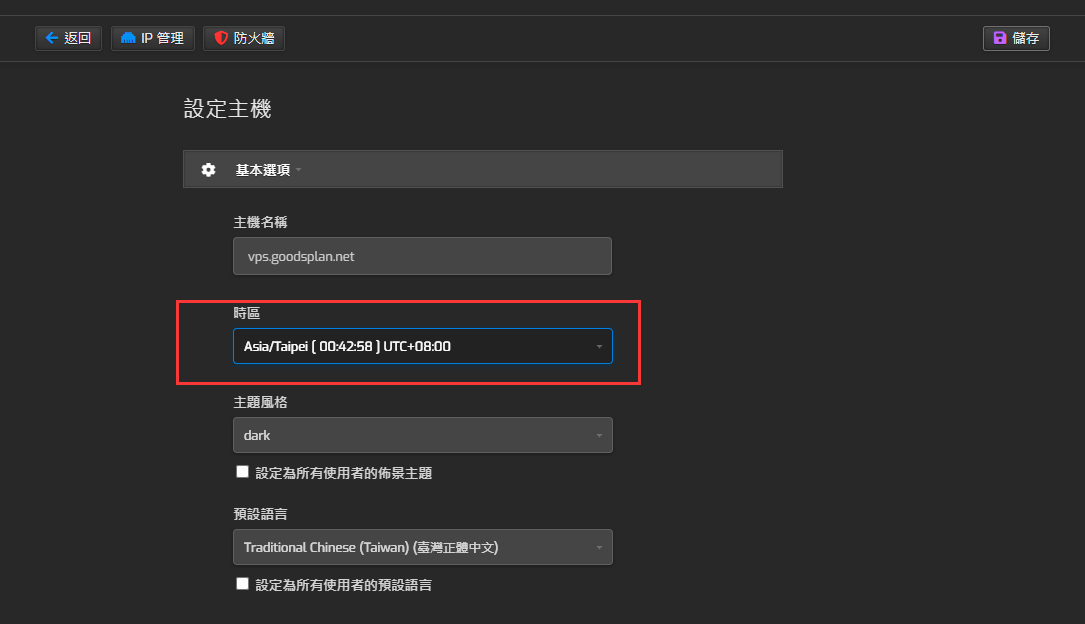
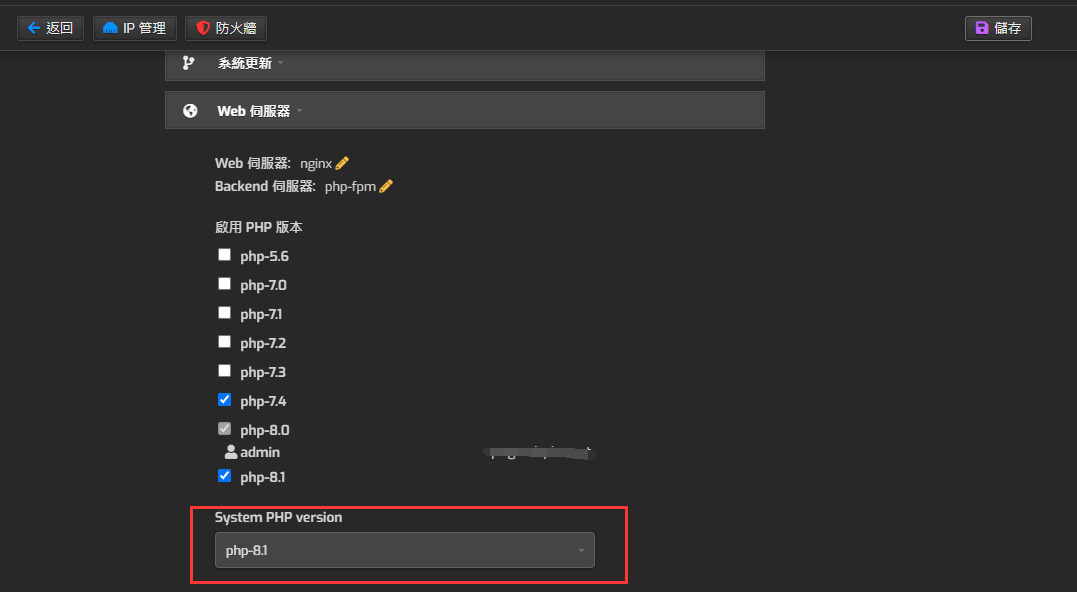
在 Web伺服器 中,請依照個人需求勾選php版本
System PHP version,這部份建議勾選7.4以上版本 (安全性支援僅到2022 年 11 月 28 日)
接著來到 Hestia Control Panel 外掛 ,可以將所有功能通通開啟,後續我們就可以利用Hestia 提供的工具和腳本快速建立我們網站了
取得Let’s Encrypt SSL
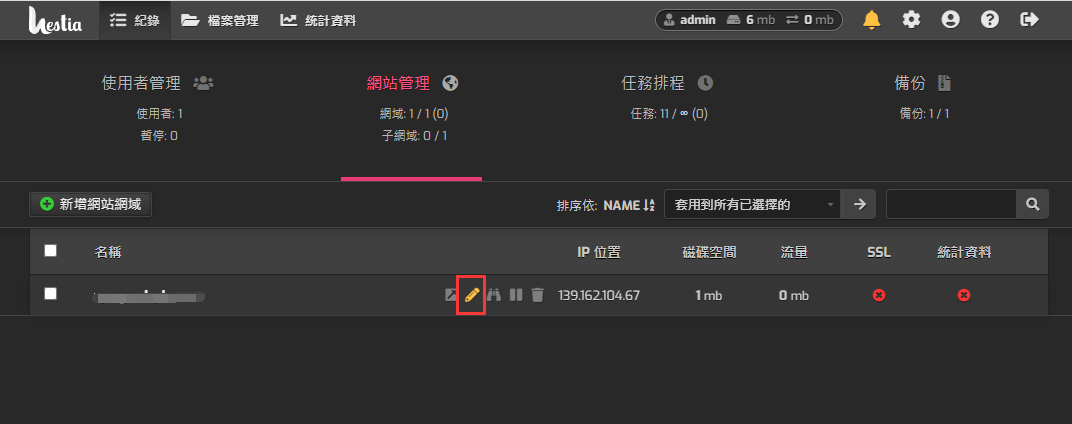
最後來到「網站管理」,針對我們的網域點擊鉛筆符號進行修改
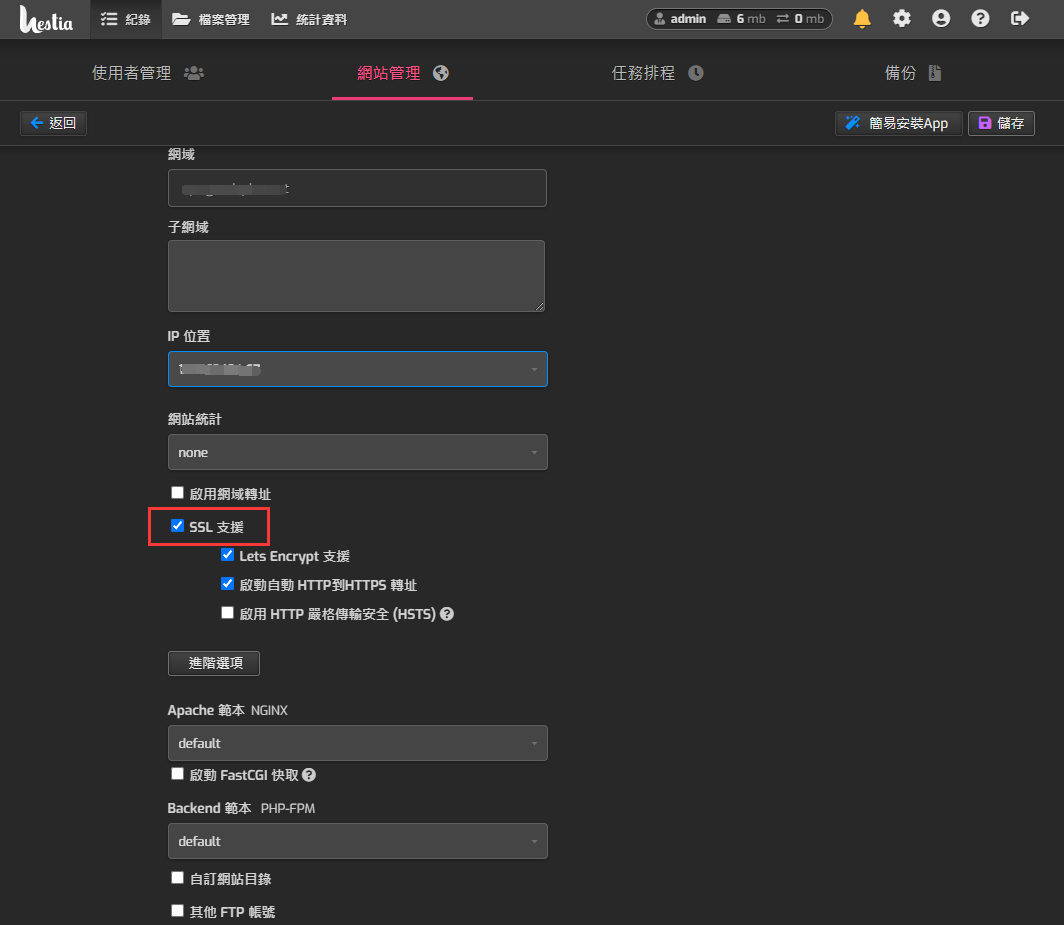
將 SSL支援 打勾,接著會跳出「Lets Encrypt 支援」、「啟動自動 HTTP到HTTPS 轉址」、「啟用 HTTP 嚴格傳輸安全 (HSTS) 」這三個選項,我們一樣全都勾選起來,最後點選儲存等待安裝完成
到這邊我們還需要將後台的憑證做更新,所以我們們要使用SSH登入伺服器,並輸入以下指令才告一段落
v-update-host-certificate 你的使用者帳號 網域名稱相關設定
HestiaCP 安裝 Redis ,用記憶體幫網站加快開啟速度